
PHOTO GALLERIES
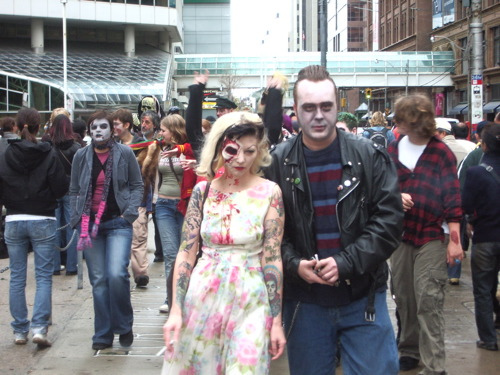
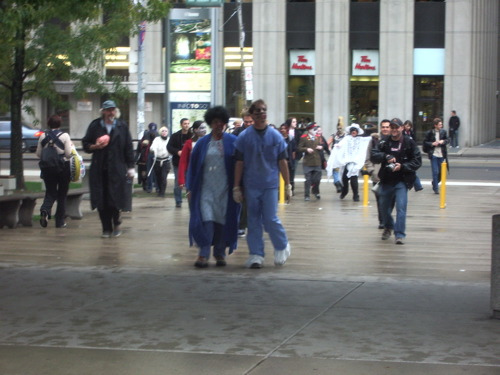
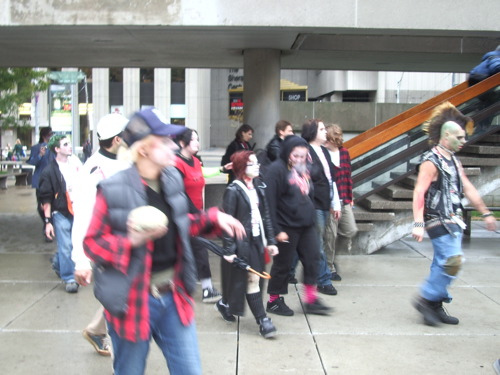
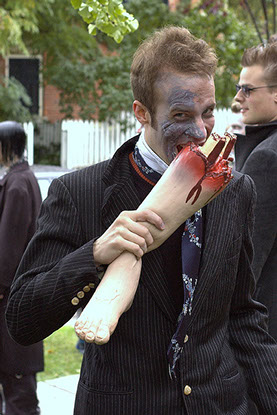
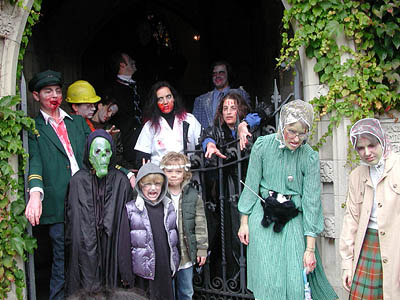
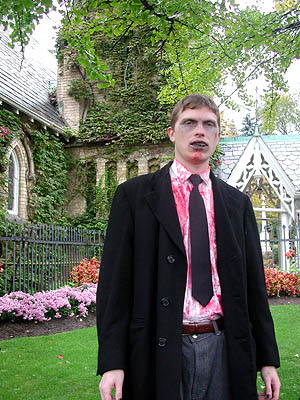
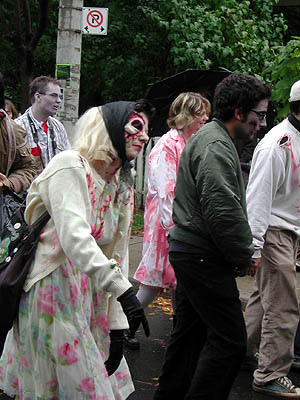
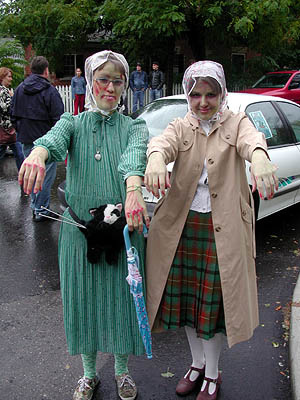
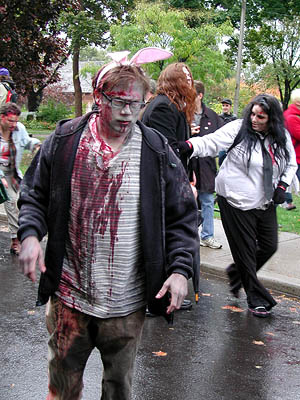
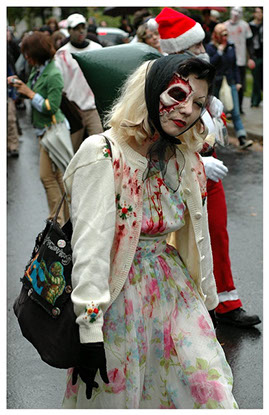
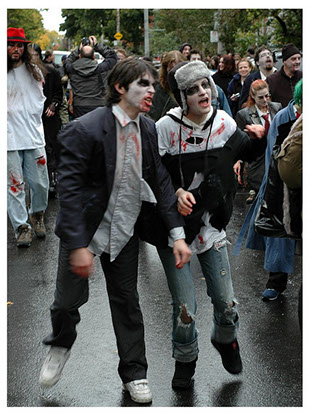
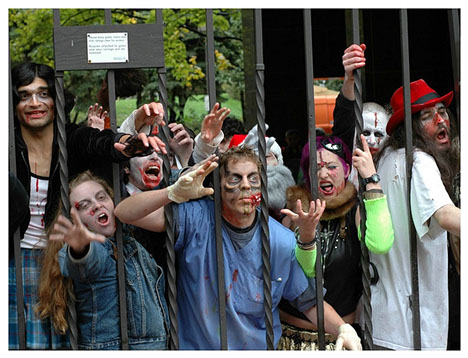
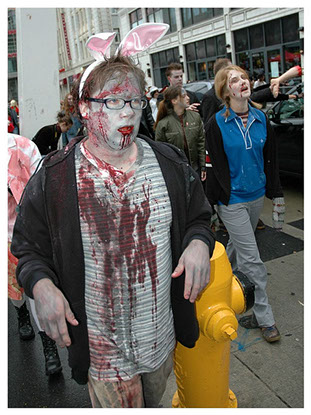
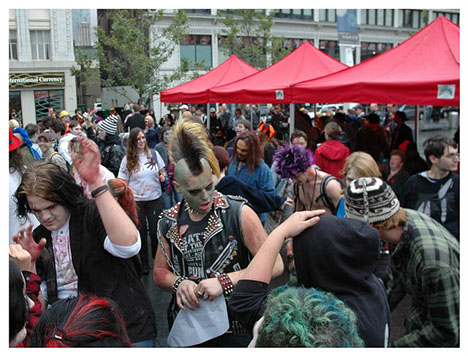
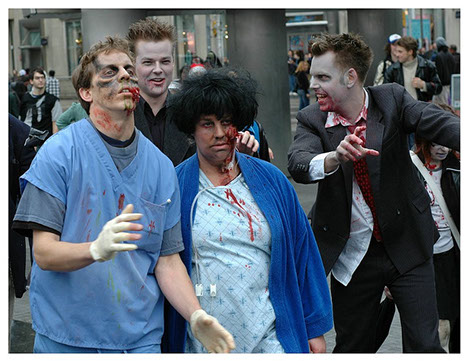
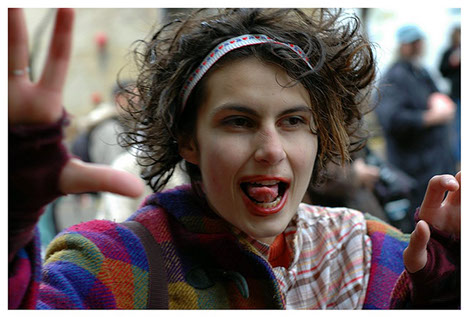
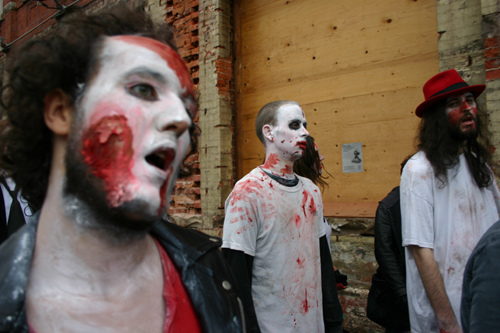
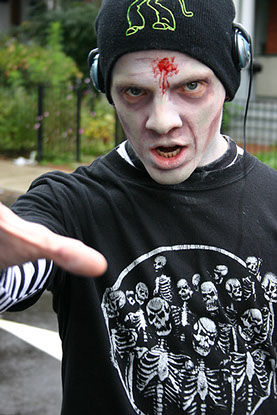
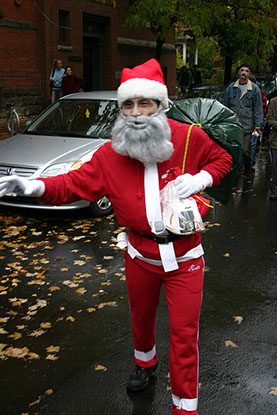
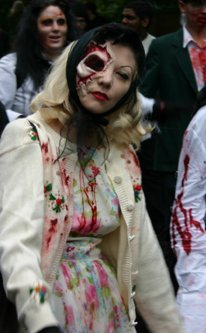
Toronto Zombie Walk 2005


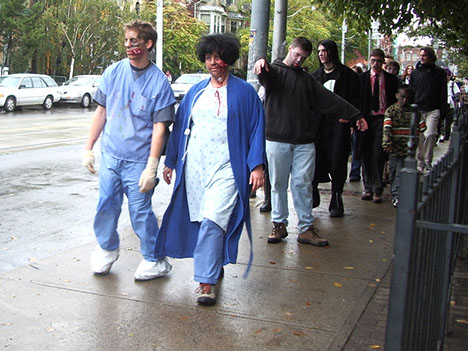
.jpg?crc=4054324112)
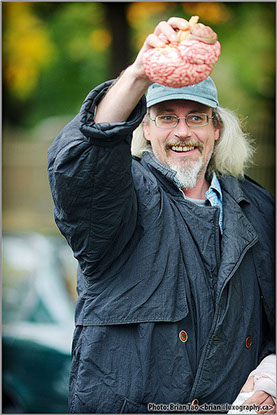
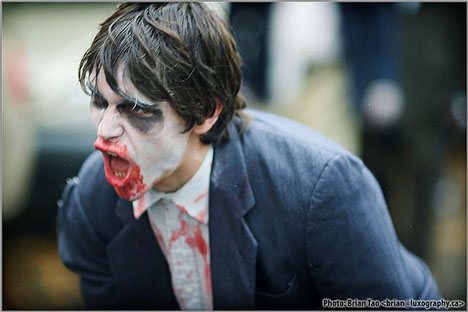
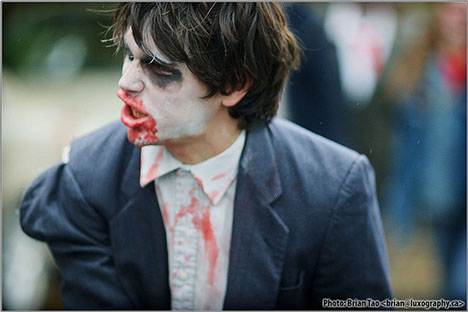


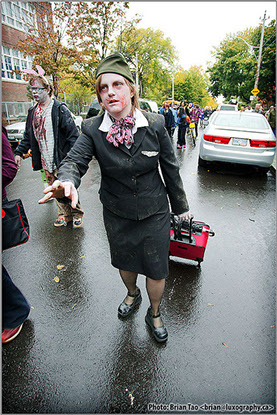
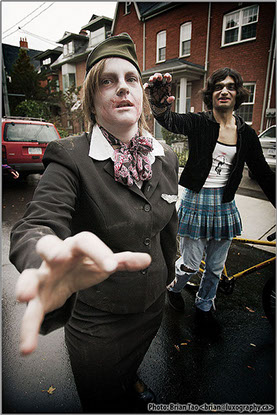
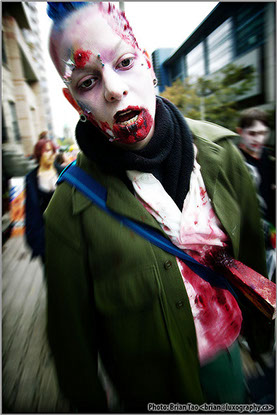
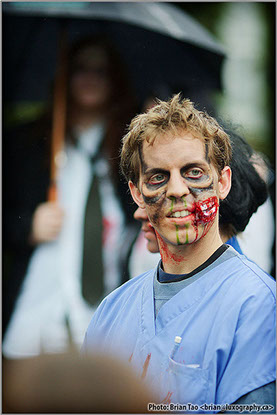
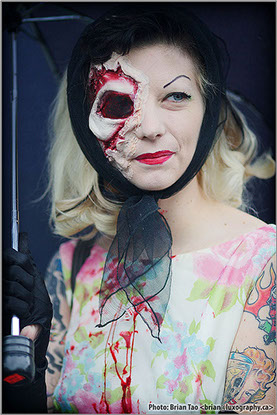
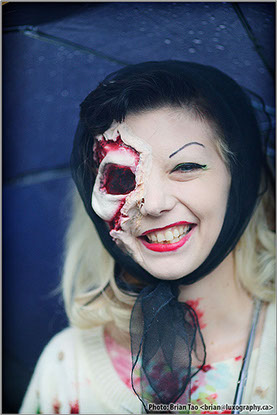
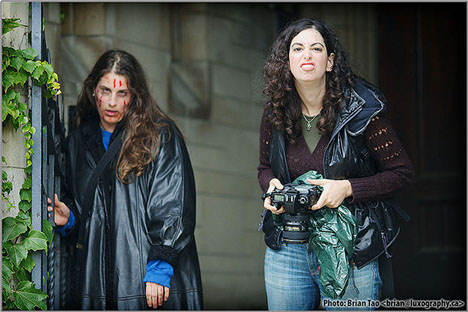
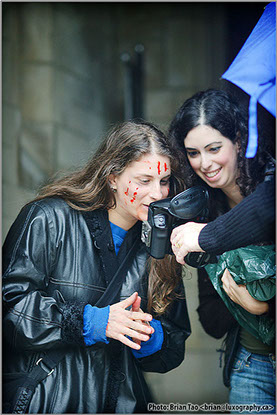
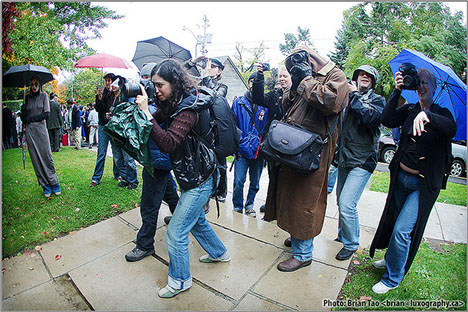
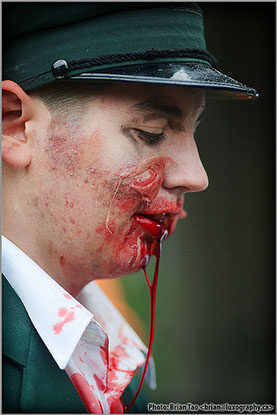
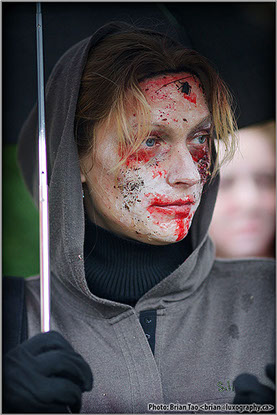
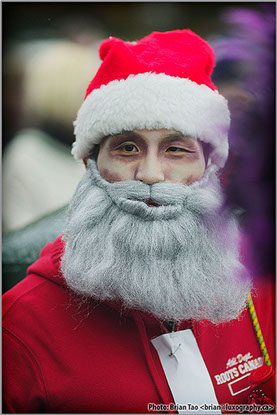
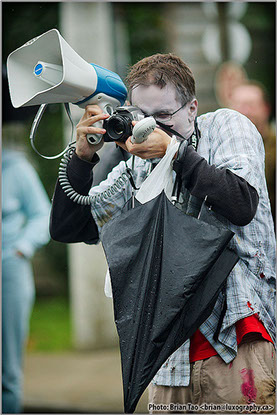
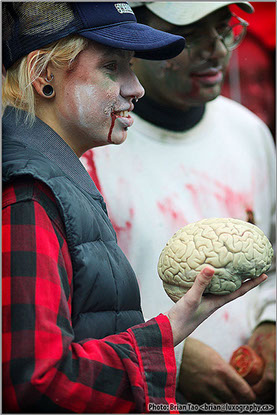
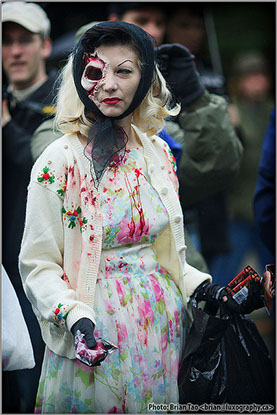
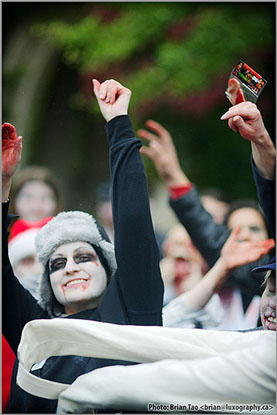
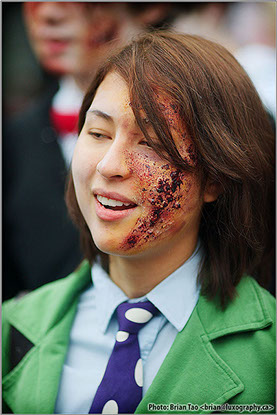
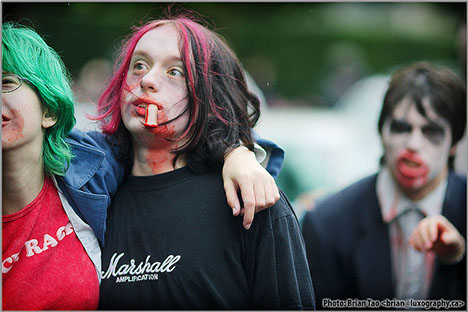
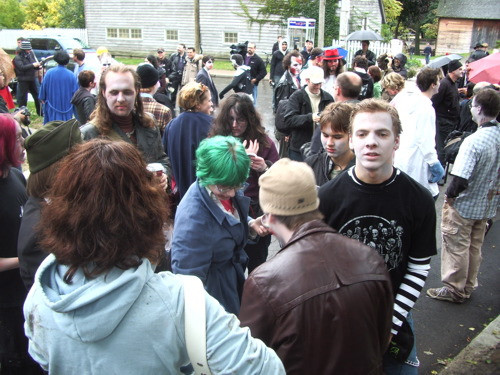
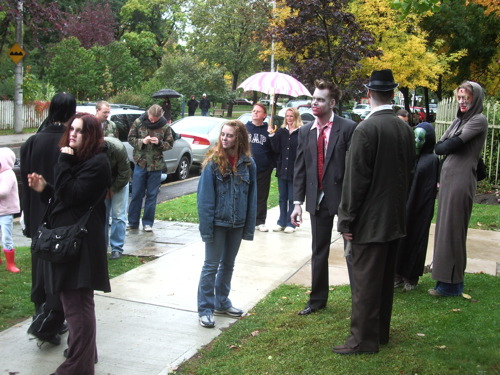
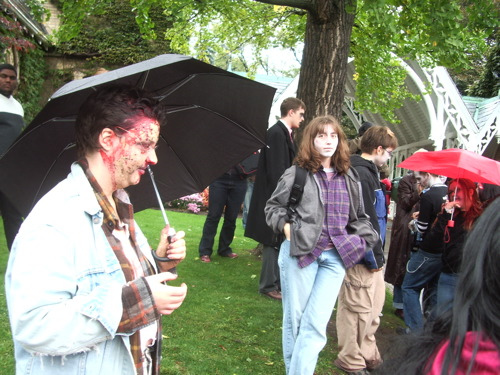
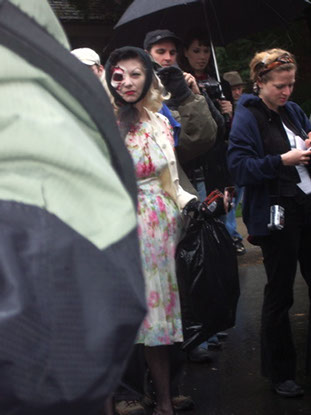
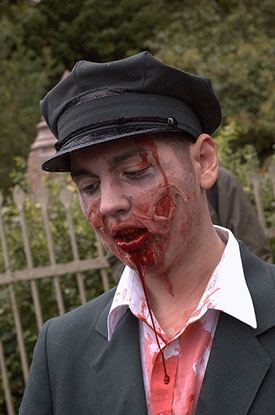
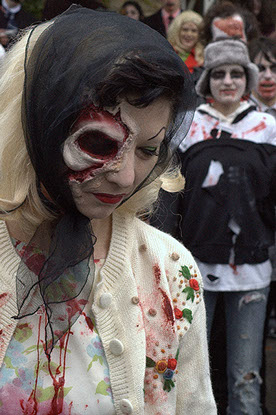
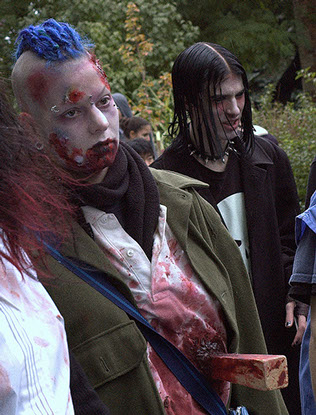
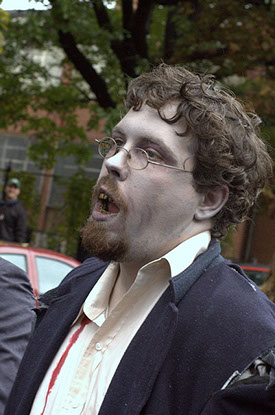
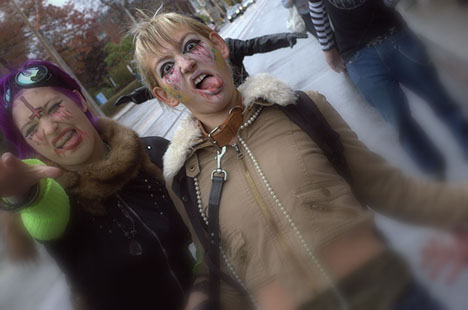
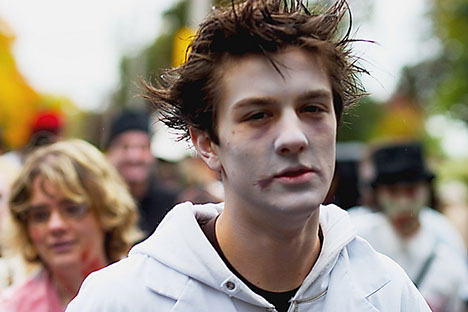
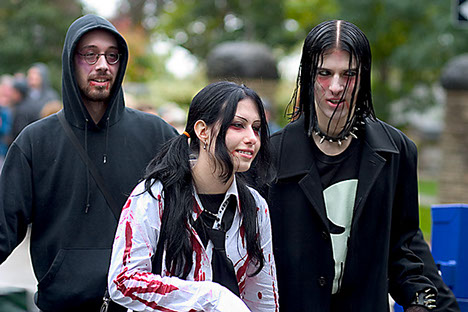
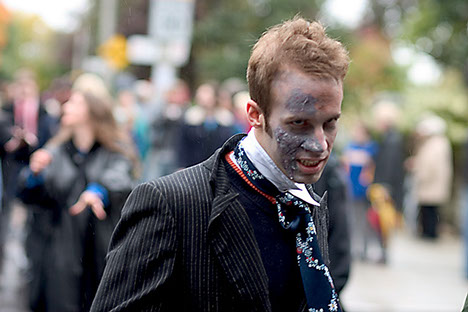
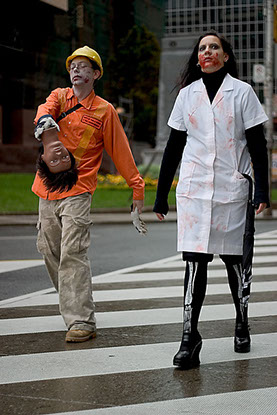
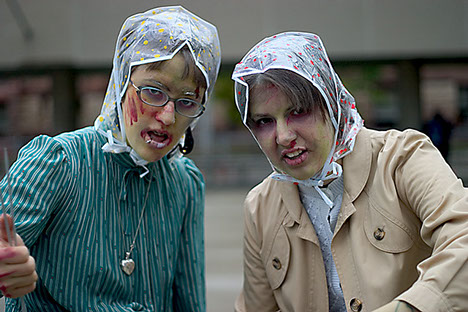
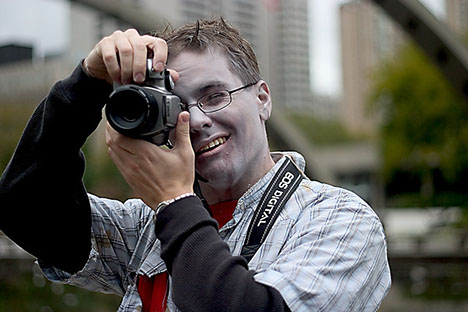
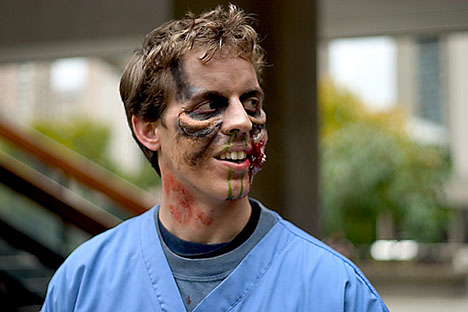
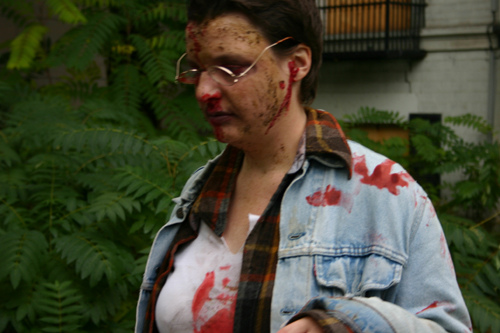
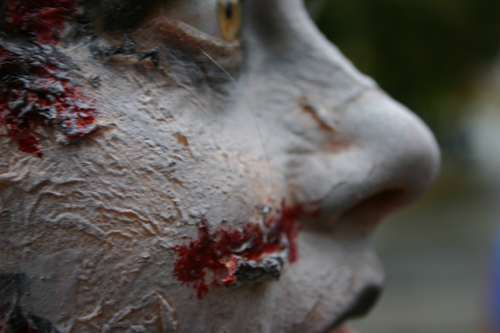
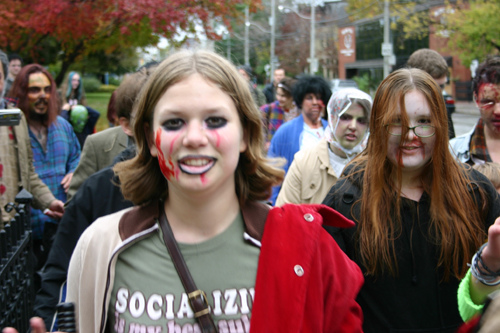
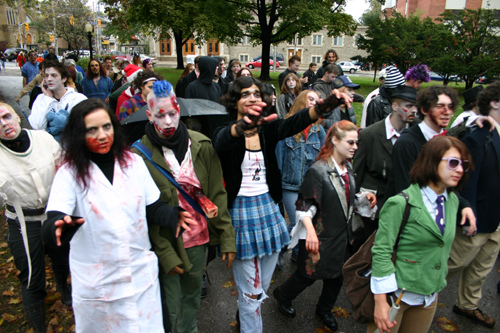
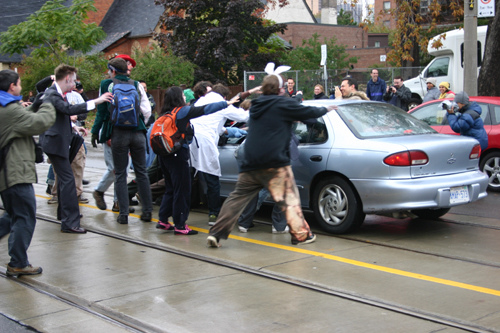
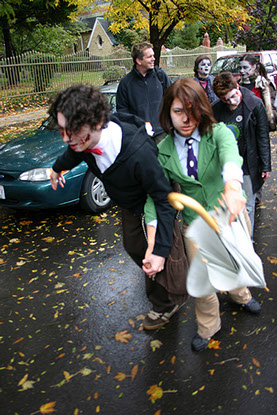
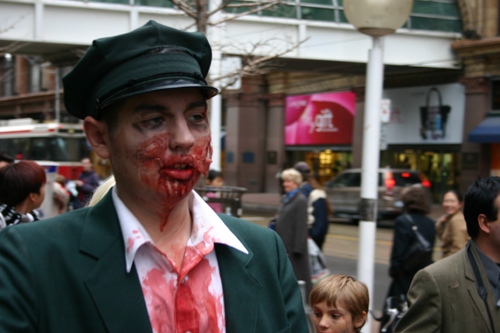
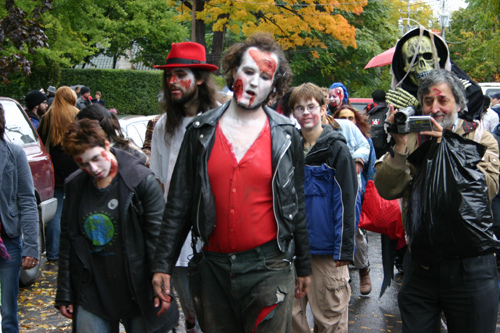
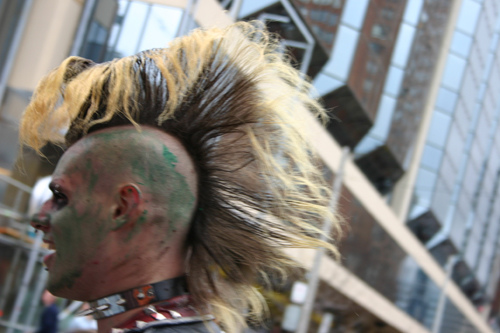
Photos by: Brian Tao #1
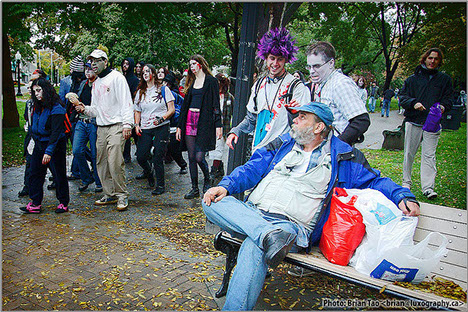
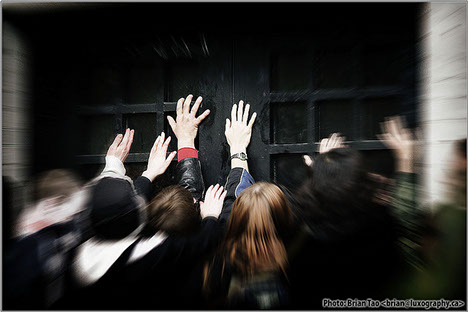
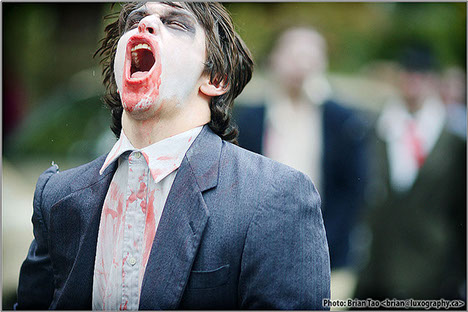
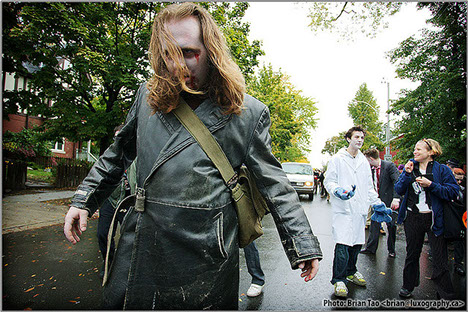
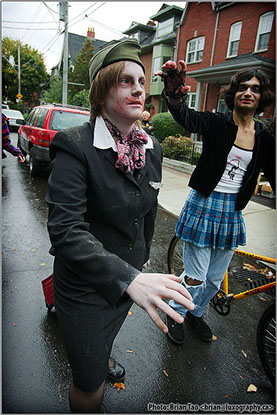
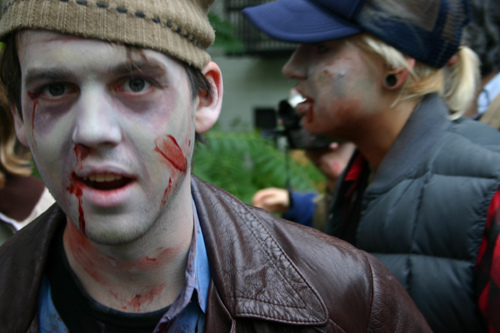
Photos by: Brian Tao #2
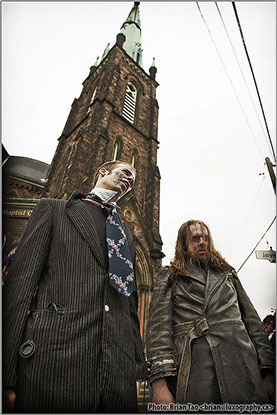
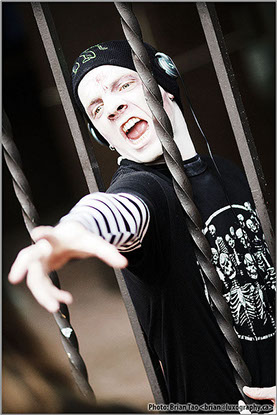
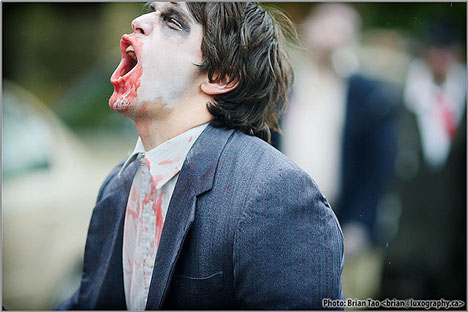
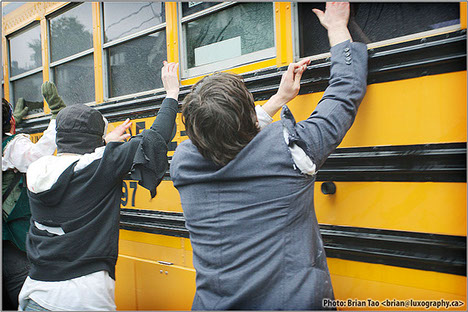
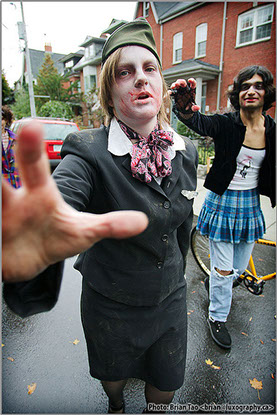
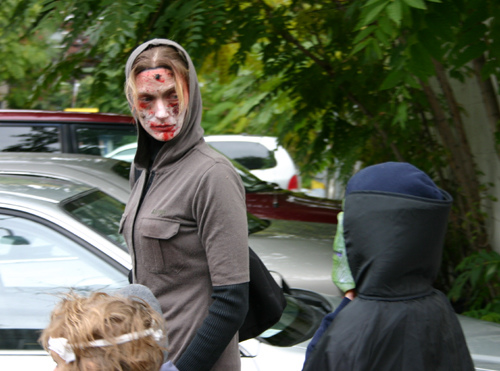
Photos by: Brian Tao #3
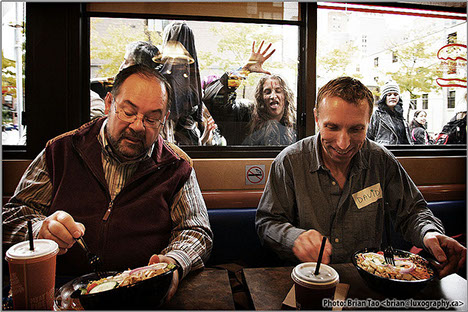
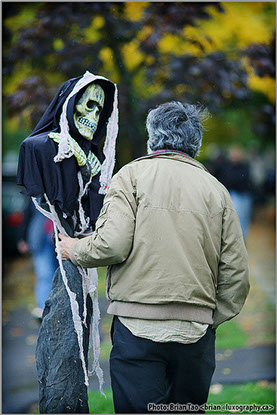
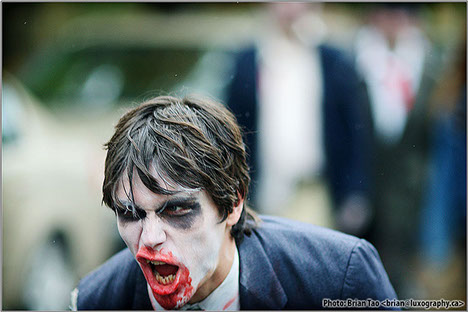
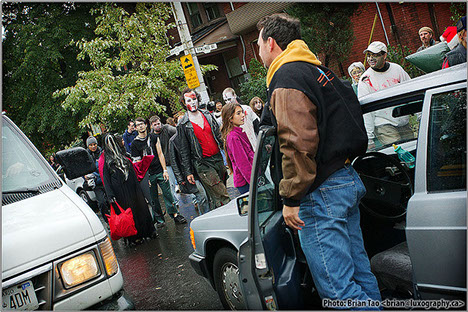
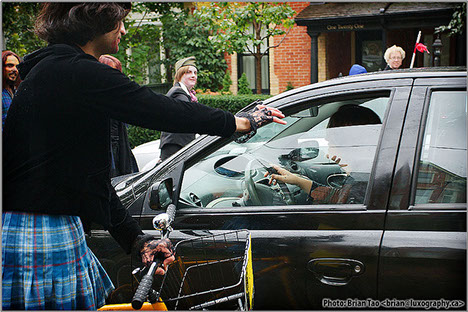
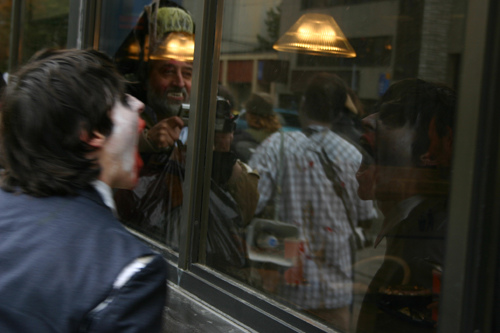
Photos by: Brian Tao #4
Photos by: Brian Tao #5
Photos by: Brian Tao #6
Photos by: Brian Tao #7
Photos by: Brian Tao #8
Photos by: Brian Tao #9
Photos by: Brian Tao #10
Photos by: Brian Tao #11
Photos by: Brian Tao #12
Photos by: Brian Tao #13
Photos by: Brian Tao #14
Photos by: Brian Tao #15
Photos by: Brian Tao #16
Photos by: Brian Tao #17
Photos by: Brian Tao #18
Photos by: Brian Tao #19
Photos by: Brian Tao #20
Photos by: Brian Tao #21
Photos by: Brian Tao #22
Photos by: Brian Tao #23
Photos by: Brian Tao #24
Photos by: Brian Tao #25
Photos by: Brian Tao #26
Photos by: Brian Tao #27
Photos by: Brian Tao #28
Photos by: Brian Tao #29
Photos by: Brian Tao #30
Photos by: Brian Tao #31
Photos by: Brian Tao #32
Photos by: Brian Tao #33
Photos by: Brian Tao #34
Photos by: Brian Tao #35
Photos by: Brian Tao #36
Photos by: Brian Tao #37
Photos by: Brian Tao #38
Photos by: Brian Tao #39
Photos by: Brian Tao #40
Photos by: Brian Tao #41
Photos by: Brian Tao #42
Photos by: Brian Tao #43
1 - 1
<
>
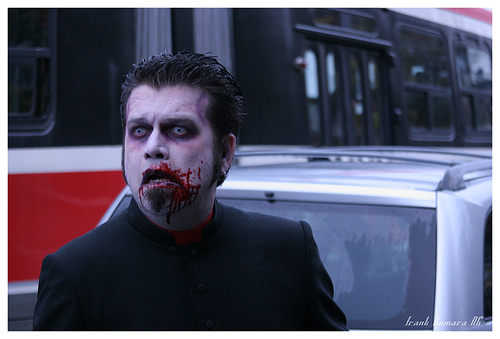
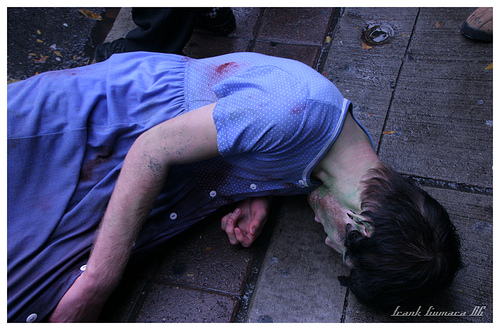

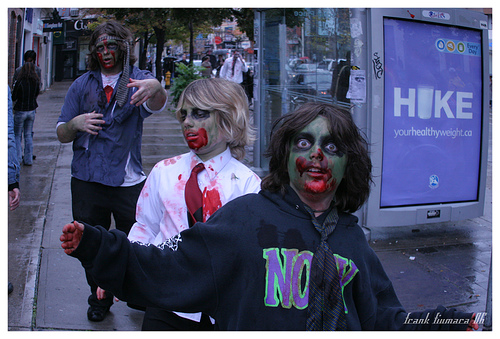
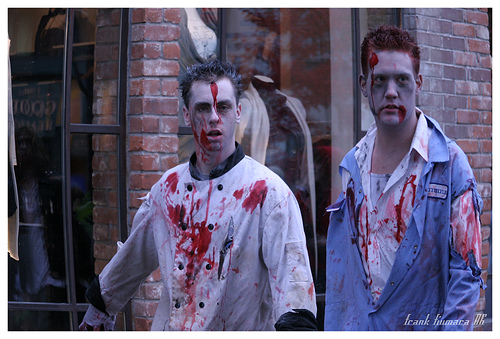
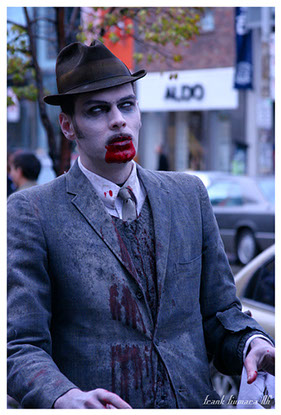
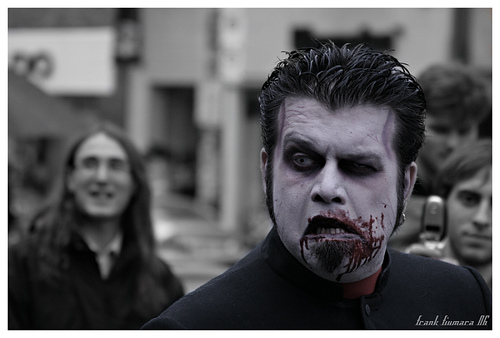
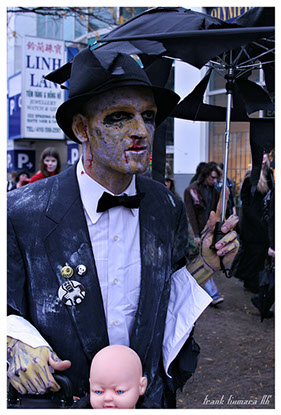
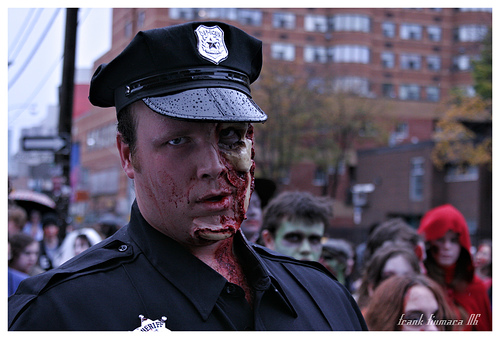
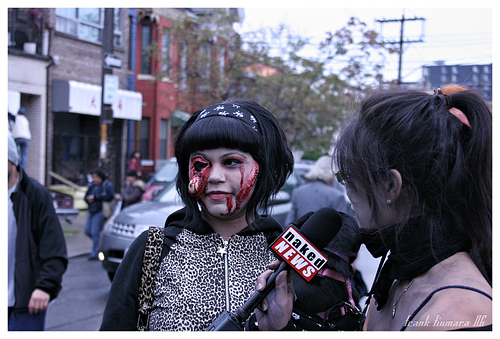
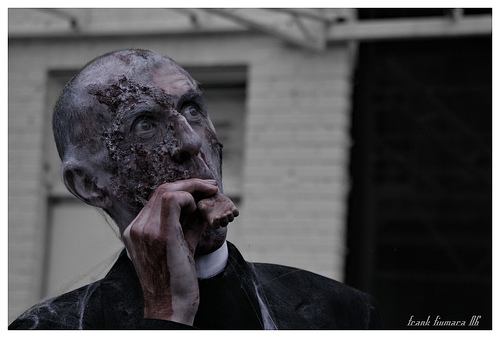
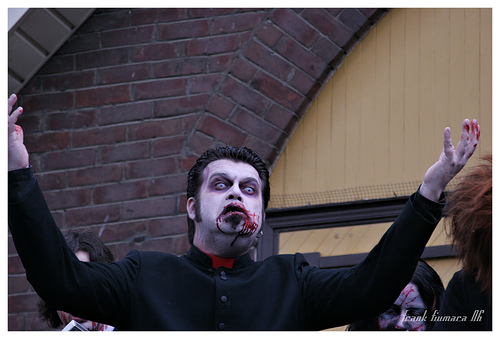
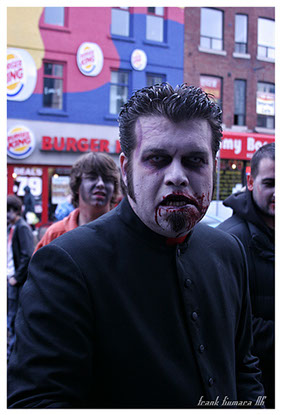
Photos by: Frank Fiumara #1
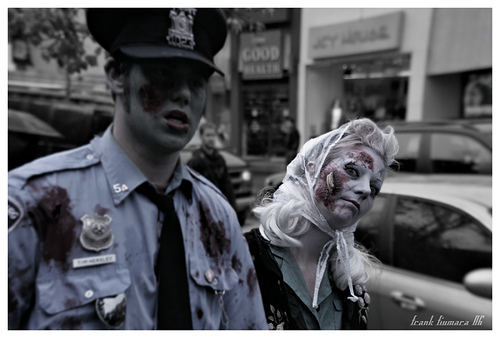
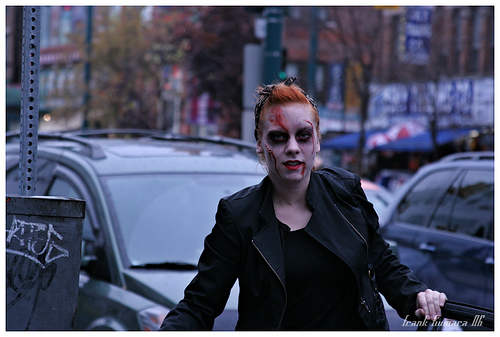
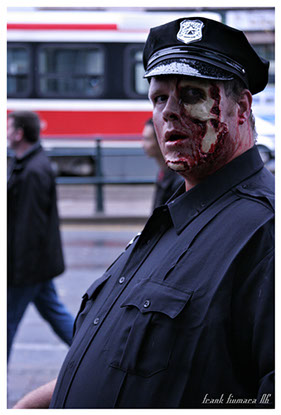
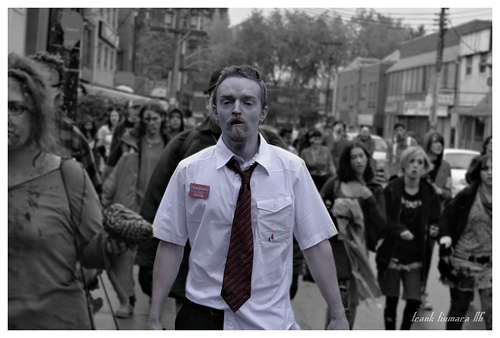
Photos by: Frank Fiumara #2
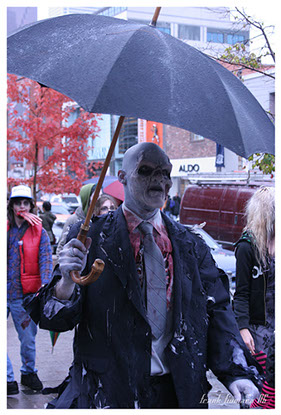
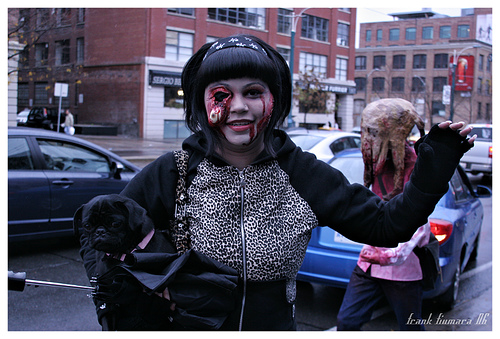
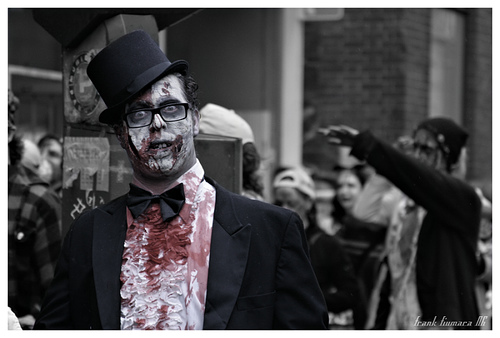
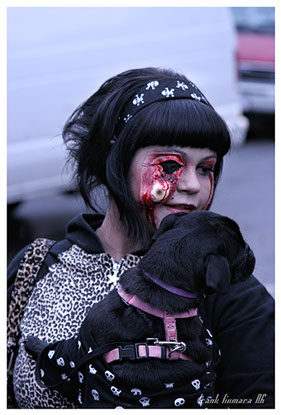
Photos by: Frank Fiumara #3
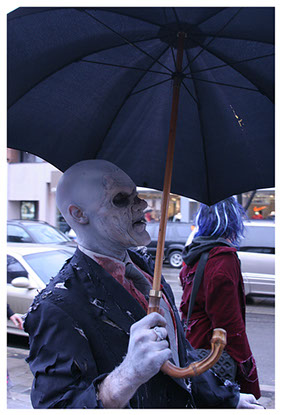
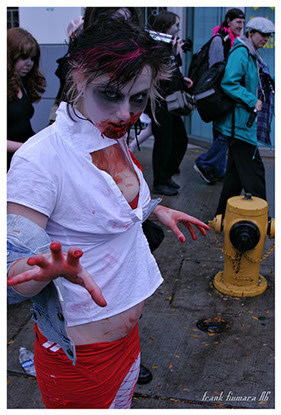
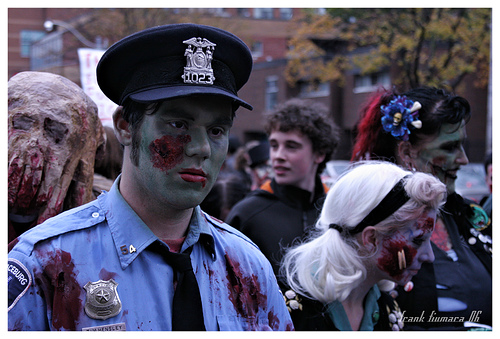
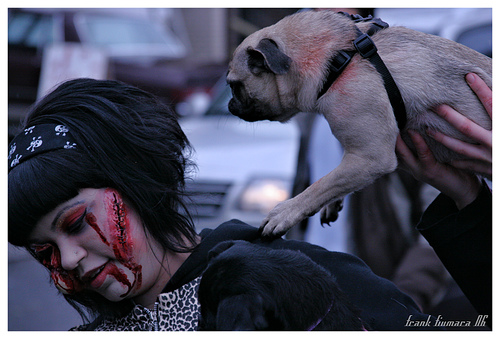
Photos by: Frank Fiumara #4
Photos by: Frank Fiumara #5
Photos by: Frank Fiumara #6
Photos by: Frank Fiumara #7
Photos by: Frank Fiumara #8
Photos by: Frank Fiumara #9
Photos by: Frank Fiumara #10
Photos by: Frank Fiumara #11
Photos by: Frank Fiumara #12
Photos by: Frank Fiumara #13
Photos by: Frank Fiumara #14
Photos by: Frank Fiumara #15
Photos by: Frank Fiumara #16
Photos by: Frank Fiumara #17
Photos by: Frank Fiumara #18
Photos by: Frank Fiumara #19
Photos by: Frank Fiumara #20
Photos by: Frank Fiumara #21
Photos by: Frank Fiumara #22
Photos by: Frank Fiumara #23
Photos by: Frank Fiumara #24
Photos by: Frank Fiumara #25
1 - 25
<
>


Photos by: Joel Friesen #1
Photos by: Joel Friesen #2
Photos by: Joel Friesen #3
Photos by: Joel Friesen #4
Photos by: Joel Friesen #5
Photos by: Joel Friesen #6
Photos by: Joel Friesen #7
1 - 7
<
>


Photos by: John May #1
Photos by: John May #2
Photos by: John May #3
Photos by: John May #4
Photos by: John May #5
Photos by: John May #6
Photos by: John May #7
Photos by: John May #8
Photos by: John May #9
Photos by: John May #10
Photos by: John May #11
Photos by: John May #12
Photos by: John May #13
Photos by: John May #14
Photos by: John May #15
Photos by: John May #16
Photos by: John May #17
Photos by: John May #18
Photos by: John May #19
Photos by: John May #20
1 - 20
<
>

Photos by: Kevin D. Clarke #1
Photos by: Kevin D. Clarke #2
Photos by: Kevin D. Clarke #3
Photos by: Kevin D. Clarke #4
Photos by: Kevin D. Clarke #5
Photos by: Kevin D. Clarke #6
Photos by: Kevin D. Clarke #7
Photos by: Kevin D. Clarke #8
Photos by: Kevin D. Clarke #9
Photos by: Kevin D. Clarke #10
Photos by: Kevin D. Clarke #11
1 - 11
<
>


Photos by: Rannie Turingan #1
Photos by: Rannie Turingan #2
Photos by: Rannie Turingan #3
Photos by: Rannie Turingan #4
Photos by: Rannie Turingan #5
Photos by: Rannie Turingan #6
Photos by: Rannie Turingan #7
Photos by: Rannie Turingan #8
Photos by: Rannie Turingan #9
Photos by: Rannie Turingan #10
Photos by: Rannie Turingan #11
Photos by: Rannie Turingan #12
Photos by: Rannie Turingan #13
Photos by: Rannie Turingan #14
Photos by: Rannie Turingan #15
1 - 15
<
>


Photos by: Shannon Rae #1
Photos by: Shannon Rae #2
Photos by: Shannon Rae #3
Photos by: Shannon Rae #4
Photos by: Shannon Rae #5
Photos by: Shannon Rae #6
Photos by: Shannon Rae #7
1 - 7
<
>

Photos by: Shreyans Bhansali #1
Photos by: Shreyans Bhansali #2
Photos by: Shreyans Bhansali #3
Photos by: Shreyans Bhansali #4
Photos by: Shreyans Bhansali #5
Photos by: Shreyans Bhansali #6
Photos by: Shreyans Bhansali #7
Photos by: Shreyans Bhansali #8
Photos by: Shreyans Bhansali #9
Photos by: Shreyans Bhansali #10
Photos by: Shreyans Bhansali #11
Photos by: Shreyans Bhansali #12
Photos by: Shreyans Bhansali #13
Photos by: Shreyans Bhansali #14
Photos by: Shreyans Bhansali #15
Photos by: Shreyans Bhansali #16
Photos by: Shreyans Bhansali #17
Photos by: Shreyans Bhansali #18
Photos by: Shreyans Bhansali #19
Photos by: Shreyans Bhansali #20
Photos by: Shreyans Bhansali #21
Photos by: Shreyans Bhansali #22
Photos by: Shreyans Bhansali #23
Photos by: Shreyans Bhansali #24
Photos by: Shreyans Bhansali #25
Photos by: Shreyans Bhansali #26
Photos by: Shreyans Bhansali #27
Photos by: Shreyans Bhansali #28
Photos by: Shreyans Bhansali #29
1 - 29
<
>
TORONTO ZOMBIE WALK © 2017


