
PHOTO GALLERIES
Taste of the Danforth 2012
Nuit Blanche 2012


Photos by: Taste of the Danforth 2012 #1
Photos by: Taste of the Danforth #2
Photos by: Taste of the Danforth #3
Photos by: Taste of the Danforth #4
Photos by: Taste of the Danforth #5
Photos by: Taste of the Danforth #6
Photos by: Taste of the Danforth #7
Photos by: Taste of the Danforth #8
Photos by: Taste of the Danforth #9
Photos by: Taste of the Danforth #10
Photos by: Taste of the Danforth #11
Photos by: Taste of the Danforth #12
Photos by: Taste of the Danforth #13
Photos by: Taste of the Danforth #14
Photos by: Taste of the Danforth #15
Photos by: Taste of the Danforth #16
Photos by: Taste of the Danforth #17
Photos by: Taste of the Danforth #18
Photos by: Taste of the Danforth #19
Photos by: Taste of the Danforth #20
Photos by: Taste of the Danforth #21
Photos by: Taste of the Danforth #22
Photos by: Taste of the Danforth #23
Photos by: Taste of the Danforth #24
Photos by: Taste of the Danforth #25
Photos by: Taste of the Danforth #26
Photos by: Taste of the Danforth #27
Photos by: Taste of the Danforth #28
Photos by: Taste of the Danforth #29
Photos by: Taste of the Danforth #30
Photos by: Taste of the Danforth #31
Photos by: Taste of the Danforth #32
Photos by: Taste of the Danforth #33
Photos by: Taste of the Danforth #34
Photos by: Taste of the Danforth #35
Photos by: Taste of the Danforth #36
Photos by: Taste of the Danforth #37
Photos by: Taste of the Danforth #38
Photos by: Taste of the Danforth #39
Photos by: Taste of the Danforth #40
Photos by: Taste of the Danforth #41
Photos by: Taste of the Danforth #42
Photos by: Taste of the Danforth #43
Photos by: Taste of the Danforth #44
Photos by: Taste of the Danforth #45
Photos by: Taste of the Danforth #46
Photos by: Taste of the Danforth #47
Photos by: Taste of the Danforth #48
Photos by: Taste of the Danforth #49
Photos by: Taste of the Danforth #50
Photos by: Taste of the Danforth #51
Photos by: Taste of the Danforth #52
Photos by: Taste of the Danforth #53
Photos by: Taste of the Danforth #54
Photos by: Taste of the Danforth #55
Photos by: Taste of the Danforth #56
Photos by: Taste of the Danforth #57
Photos by: Taste of the Danforth #58
Photos by: Taste of the Danforth #59
Photos by: Taste of the Danforth #60
Photos by: Taste of the Danforth #61
Photos by: Taste of the Danforth #62
Photos by: Taste of the Danforth #63
Photos by: Taste of the Danforth #64
Photos by: Taste of the Danforth #65
Photos by: Taste of the Danforth #66
Photos by: Taste of the Danforth #67
Photos by: Taste of the Danforth #68
Photos by: Taste of the Danforth #69
Photos by: Taste of the Danforth #70
Photos by: Taste of the Danforth #71
Photos by: Taste of the Danforth #72
Photos by: Taste of the Danforth #73
Photos by: Taste of the Danforth #74
Photos by: Taste of the Danforth #75
Photos by: Taste of the Danforth #76
1 - 76
<
>


Photos by: Nuit Blanche 2012 #1
Photos by: Nuit Blanche 2012 #2
Photos by: Nuit Blanche 2012 #3
Photos by: Nuit Blanche 2012 #4
Photos by: Nuit Blanche 2012 #5
Photos by: Nuit Blanche 2012 #6
Photos by: Nuit Blanche 2012 #7
1 - 7
<
>
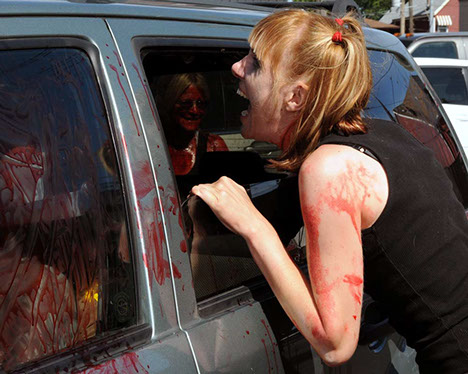
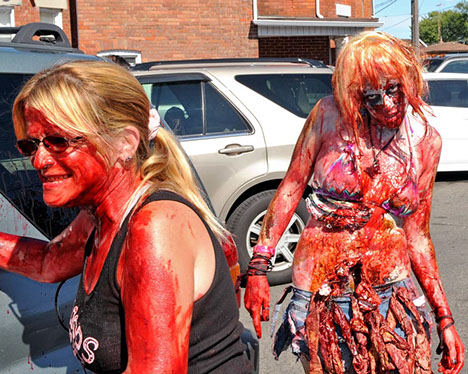
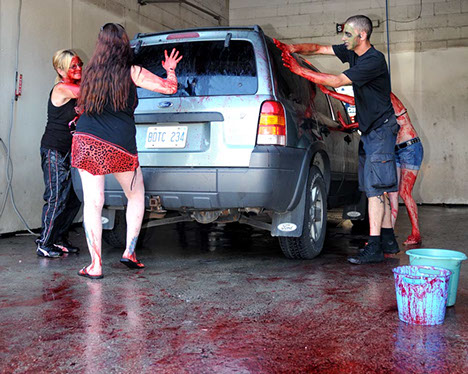
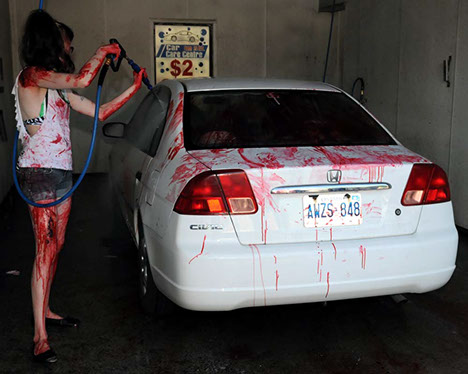
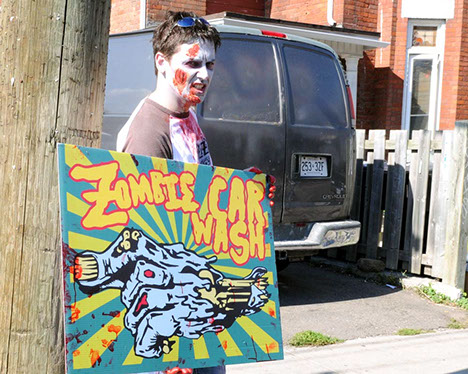
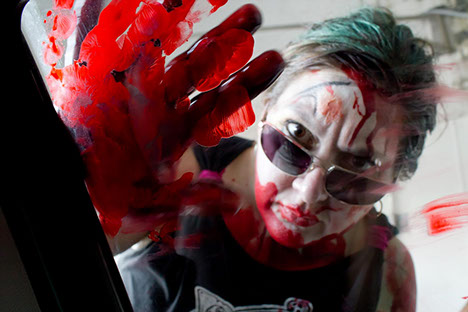
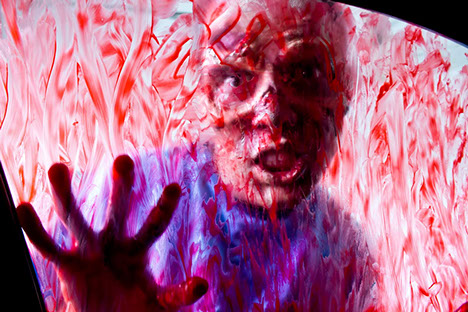
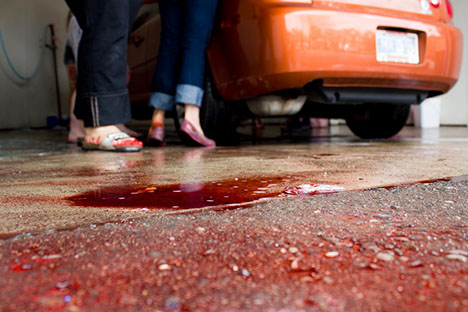
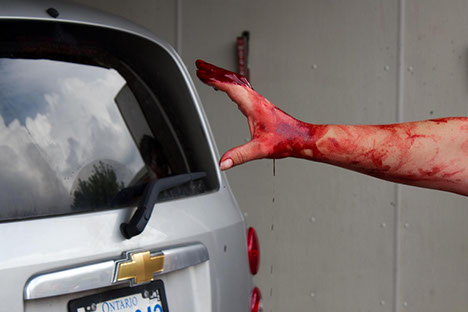
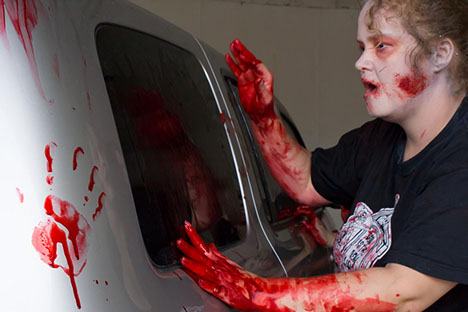
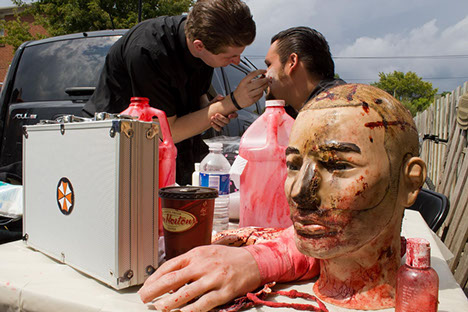
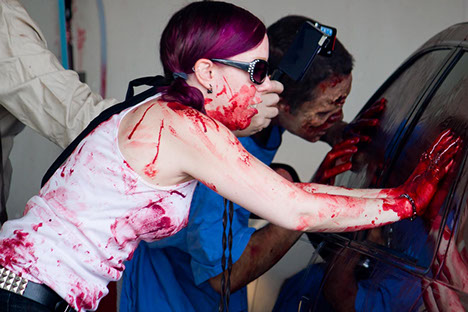
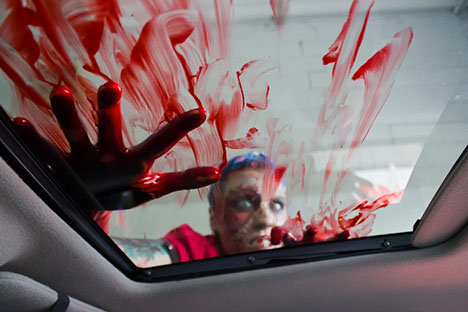
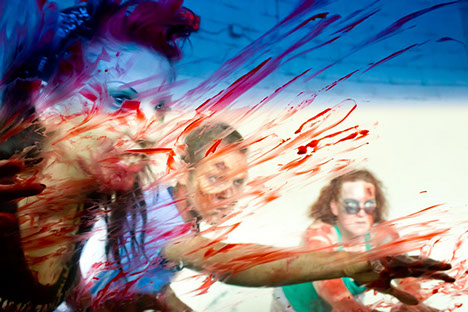
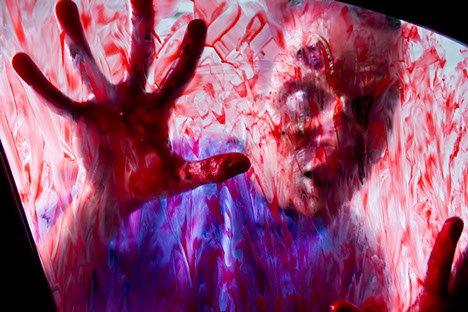
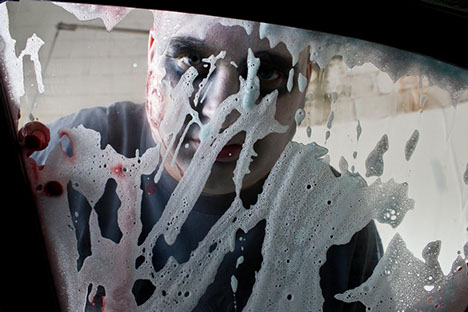
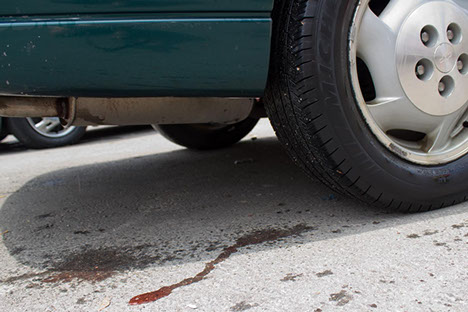
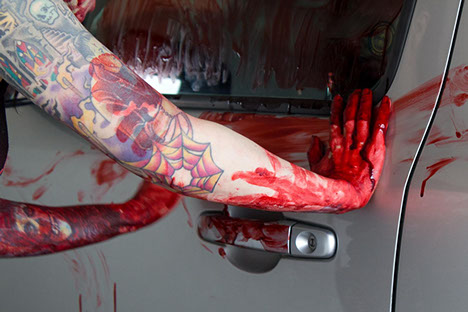
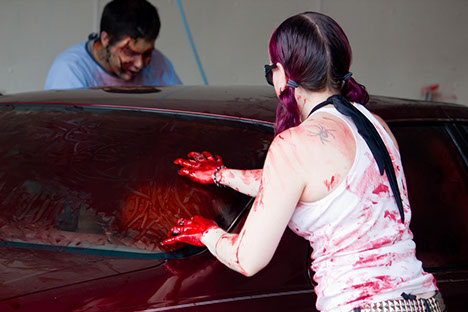
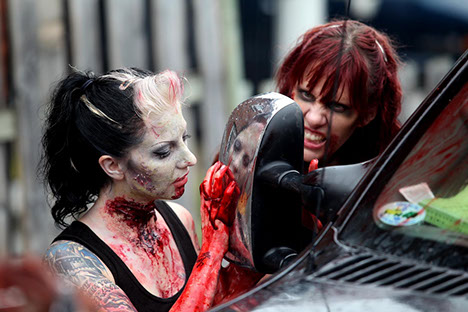
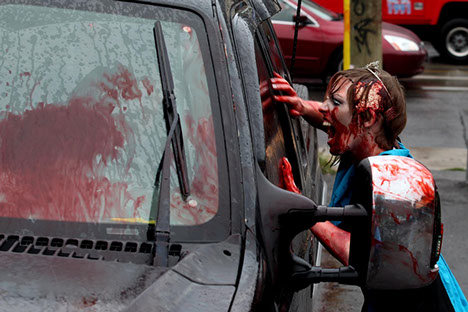
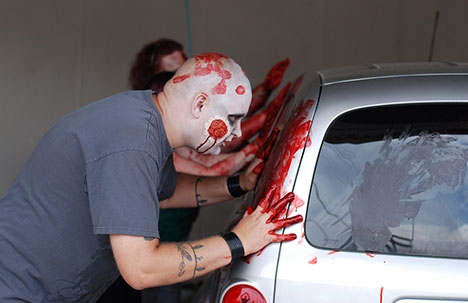
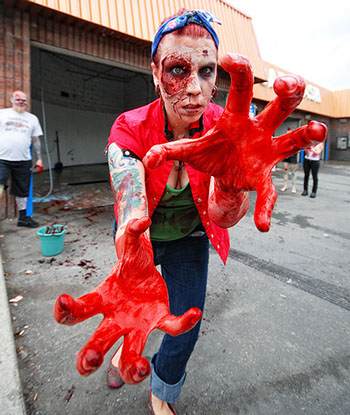
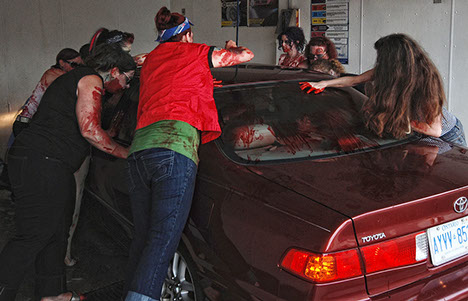
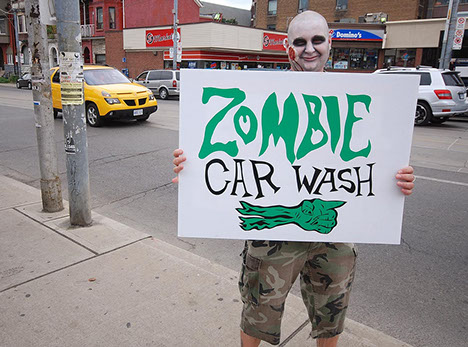
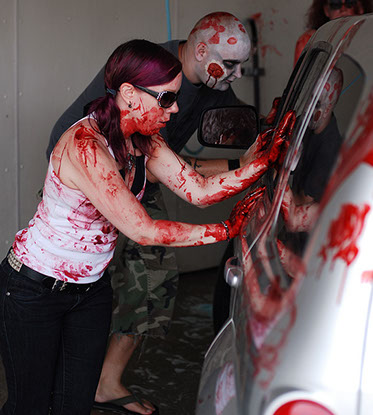
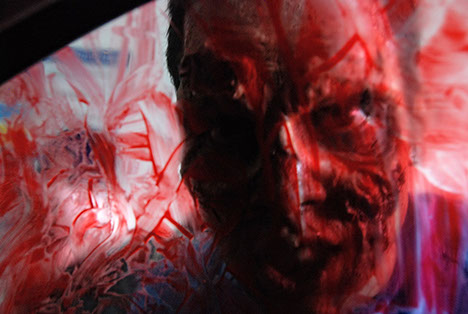
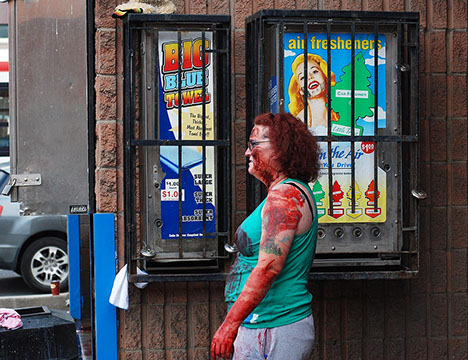
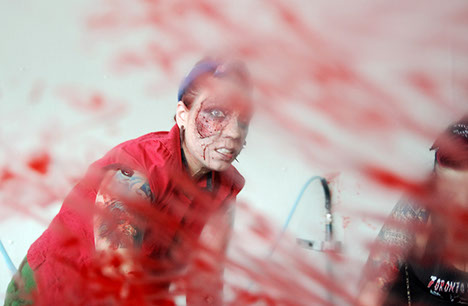
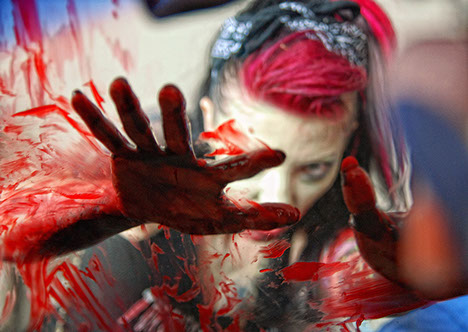
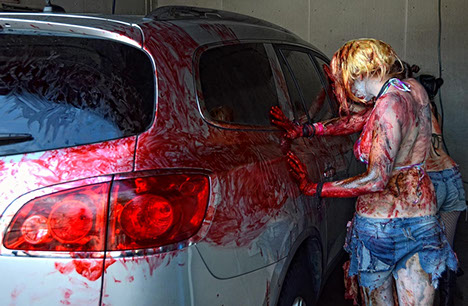
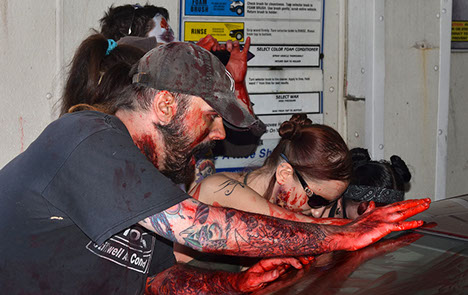
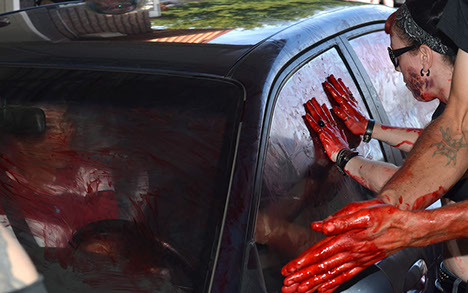
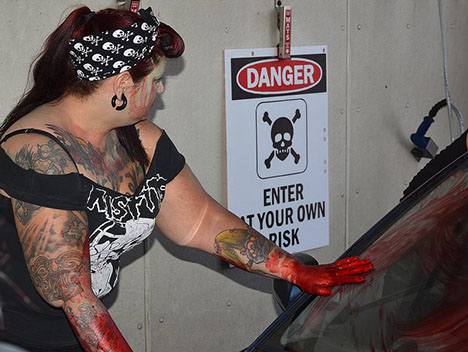
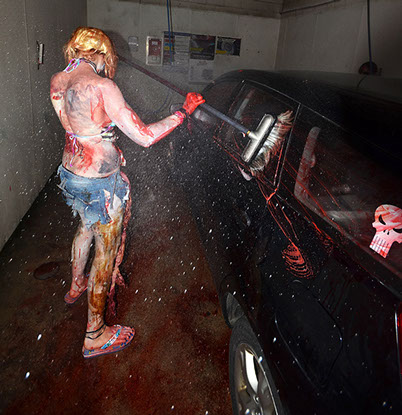
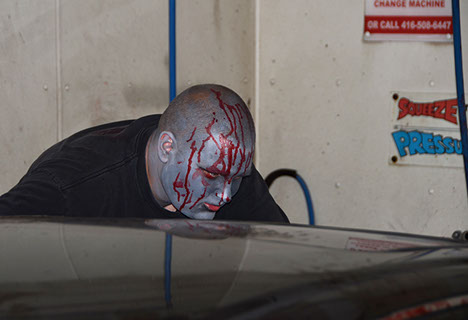
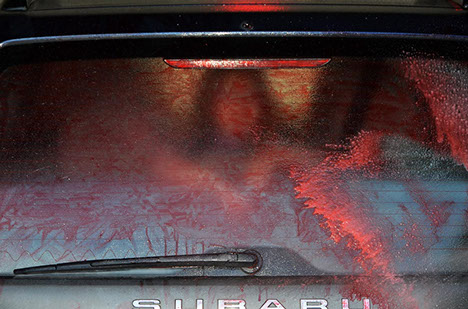
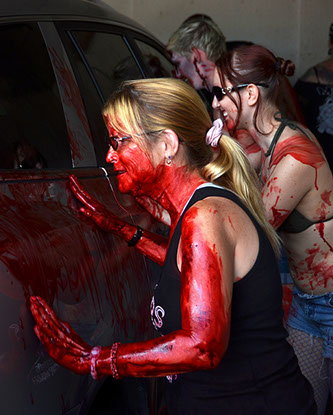
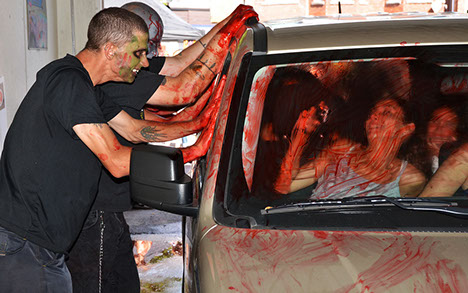
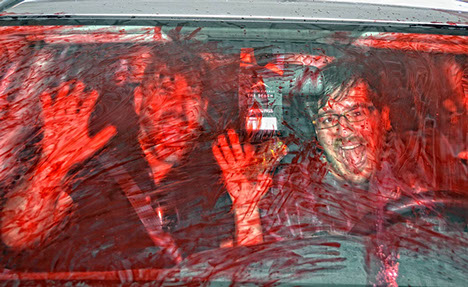
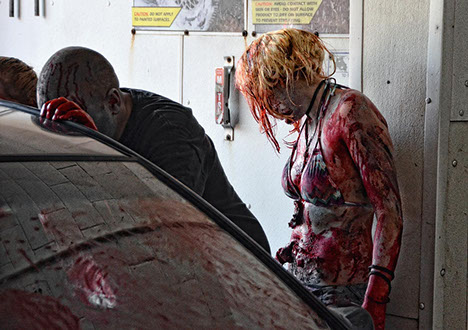
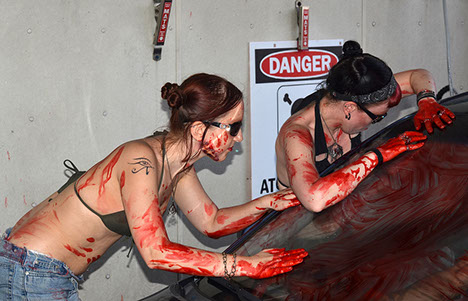
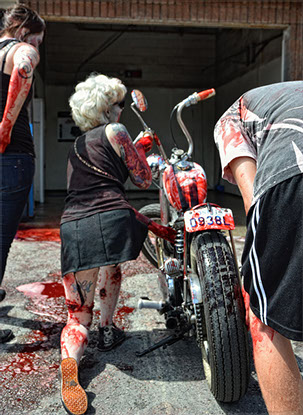
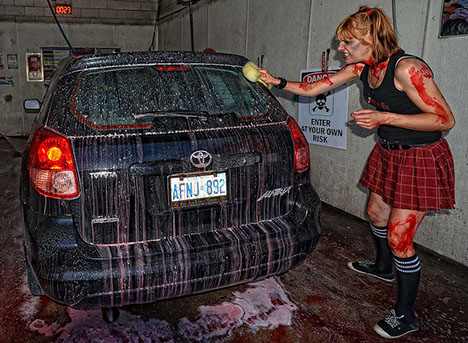
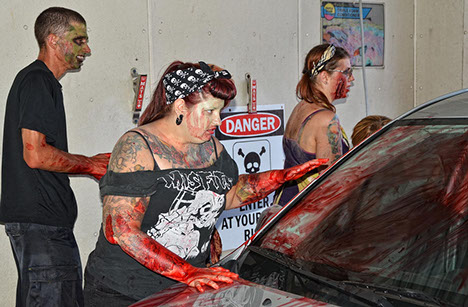
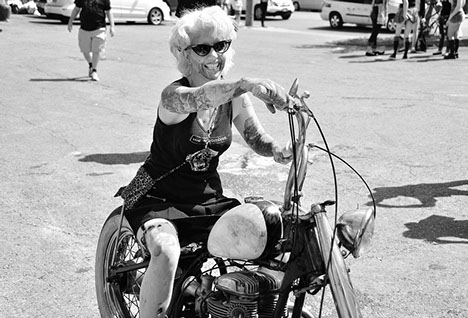
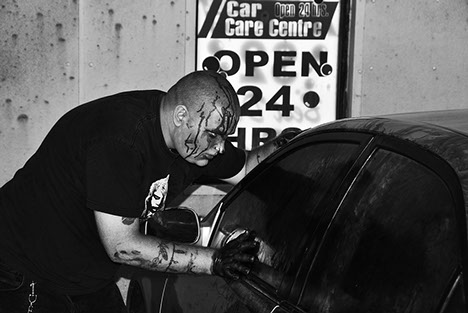
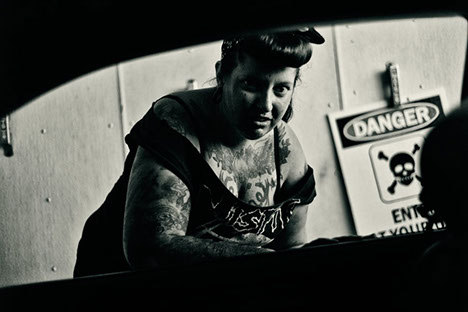
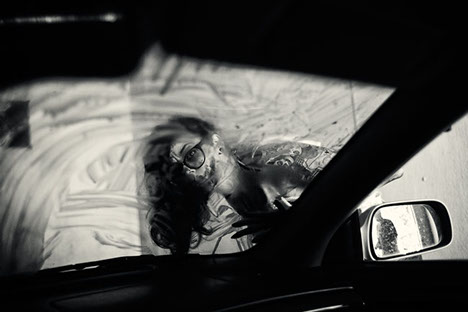
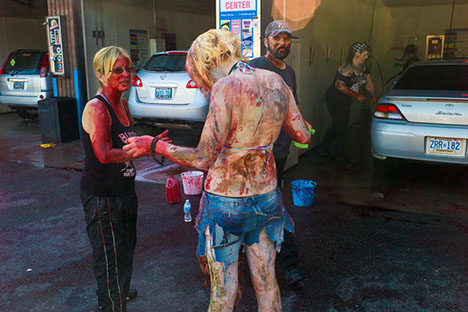
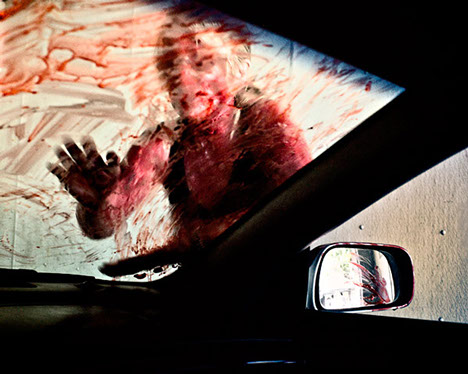
Bloods N' Suds Car Wash 2012

Photos by: Joe Hamilton #1
Photos by: Joe Hamilton #2
Photos by: Joe Hamilton #3
Photos by: Joe Hamilton #4
Photos by: Joe Hamilton #5
Photos by: Joe Hamilton #6
Photos by: Joe Hamilton #7
Photos by: Joe Hamilton #8
1 - 8
<
>


Photos by: Lauren Souch #1
Photos by: Lauren Souch #2
Photos by: Lauren Souch #3
Photos by: Lauren Souch #4
Photos by: Lauren Souch #5
Photos by: Lauren Souch #6
Photos by: Lauren Souch #7
Photos by: Lauren Souch #8
Photos by: Lauren Souch #9
Photos by: Lauren Souch #10
Photos by: Lauren Souch #11
Photos by: Lauren Souch #12
Photos by: Lauren Souch #13
Photos by: Lauren Souch #14
Photos by: Lauren Souch #15
Photos by: Lauren Souch #16
Photos by: Lauren Souch #17
Photos by: Lauren Souch #18
1 - 18
<
>


Photos by: Noah Markus #1
Photos by: Noah Markus #2
Photos by: Noah Markus #3
Photos by: Noah Markus #4
Photos by: Noah Markus #5
1 - 5
<
>


Photos by: Scott Snider #1
Photos by: Scott Snider #2
Photos by: Scott Snider #3
Photos by: Scott Snider #4
Photos by: Scott Snider #5
Photos by: Scott Snider #6
Photos by: Scott Snider #7
Photos by: Scott Snider #8
Photos by: Scott Snider #9
Photos by: Scott Snider #10
Photos by: Scott Snider #11
Photos by: Scott Snider #12
Photos by: Scott Snider #13
Photos by: Scott Snider #14
Photos by: Scott Snider #15
Photos by: Scott Snider #16
Photos by: Scott Snider #17
Photos by: Scott Snider #18
Photos by: Scott Snider #19
Photos by: Scott Snider #20
Photos by: Scott Snider #21
Photos by: Scott Snider #22
Photos by: Scott Snider #23
Photos by: Scott Snider #24
Photos by: Scott Snider #25
Photos by: Scott Snider #26
Photos by: Scott Snider #27
Photos by: Scott Snider #28
Photos by: Scott Snider #29
Photos by: Scott Snider #30
Photos by: Scott Snider #31
Photos by: Scott Snider #32
Photos by: Scott Snider #33
Photos by: Scott Snider #34
Photos by: Scott Snider #35
Photos by: Scott Snider #36
Photos by: Scott Snider #37
Photos by: Scott Snider #38
Photos by: Scott Snider #39
Photos by: Scott Snider #40
Photos by: Scott Snider #41
Photos by: Scott Snider #42
Photos by: Scott Snider #43
Photos by: Scott Snider #44
1 - 44
<
>
Photos by: Sevres Babylone #1
Photos by: Sevres Babylone #2
Photos by: Sevres Babylone #3
Photos by: Sevres Babylone #4
1 - 4
<
>
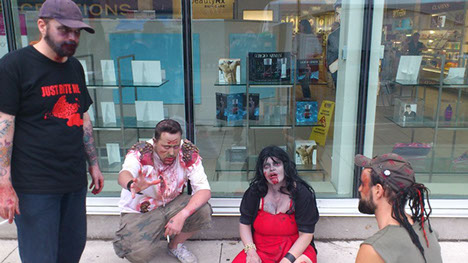
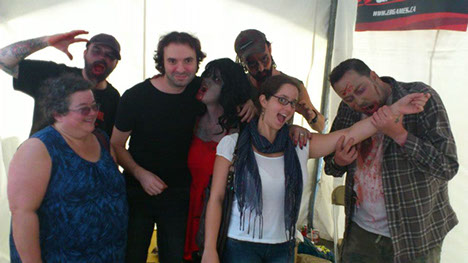
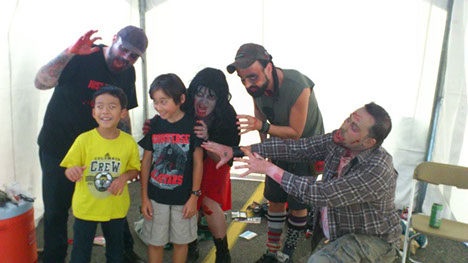
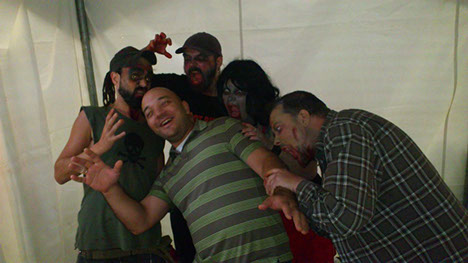
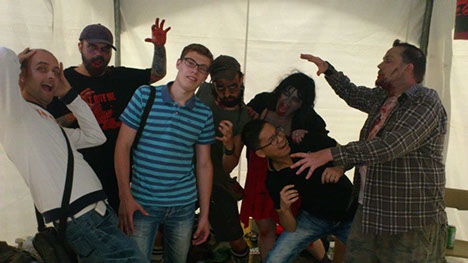
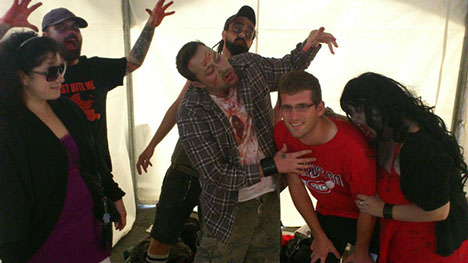
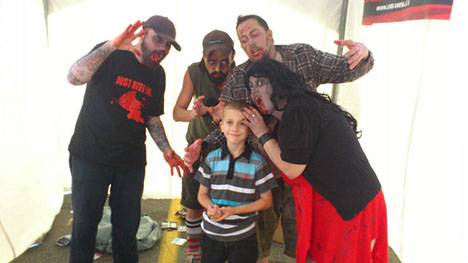
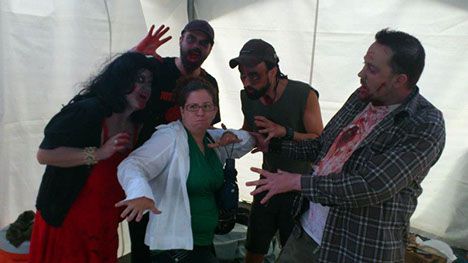
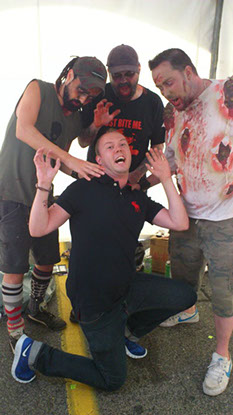
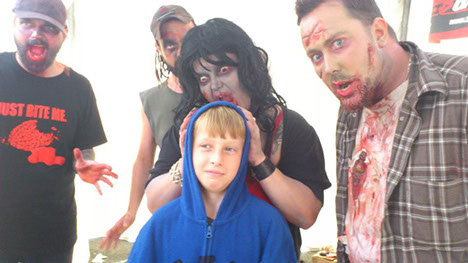
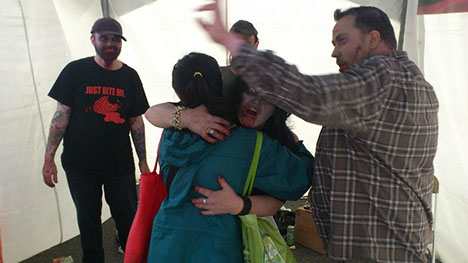
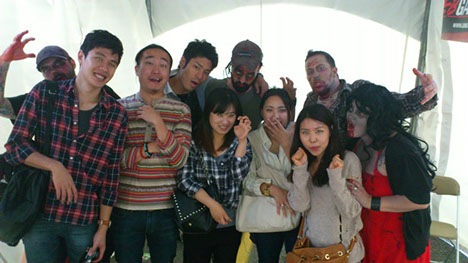
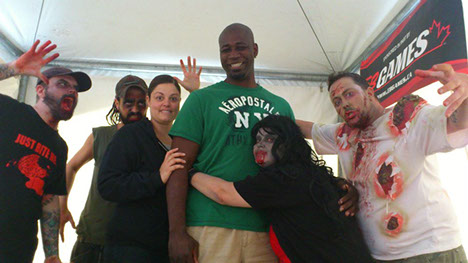
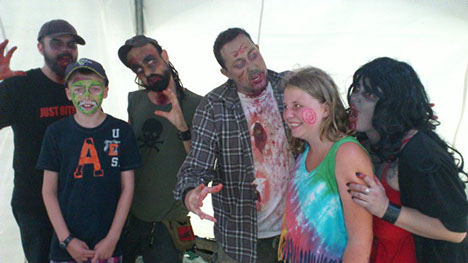
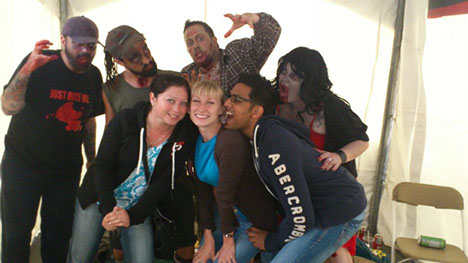
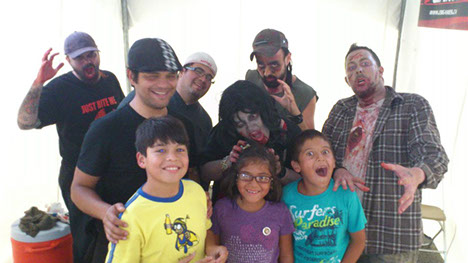
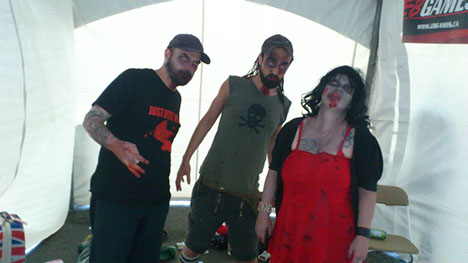
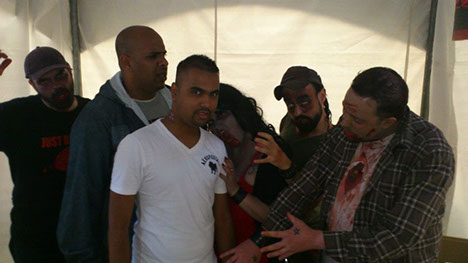
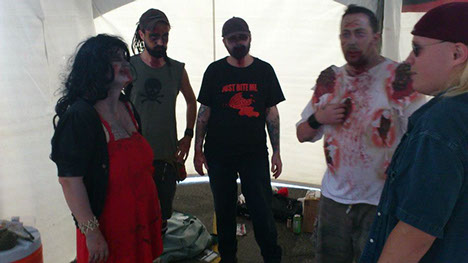
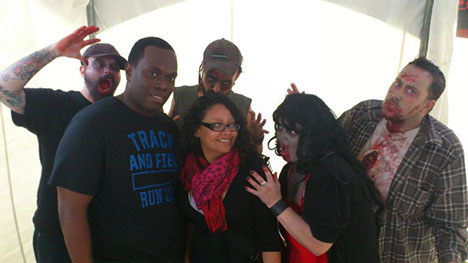
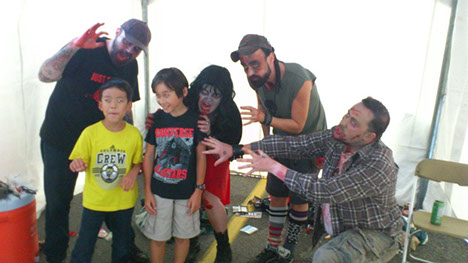
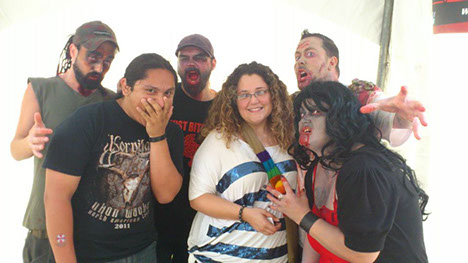
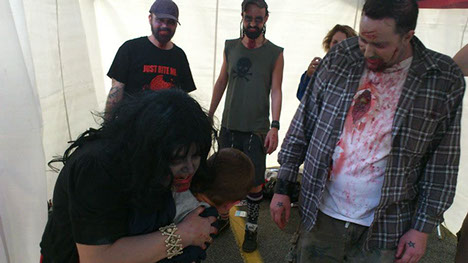
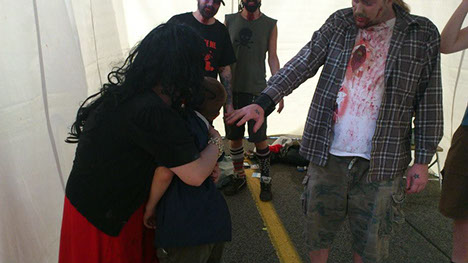
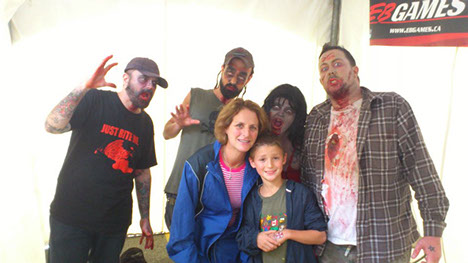
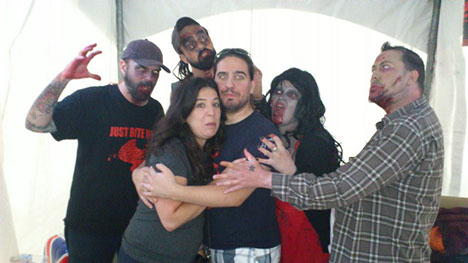
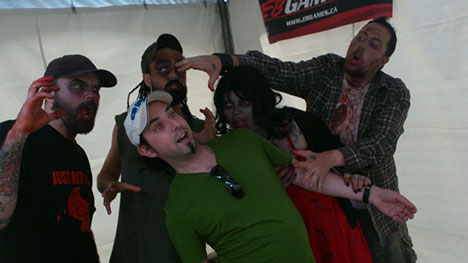
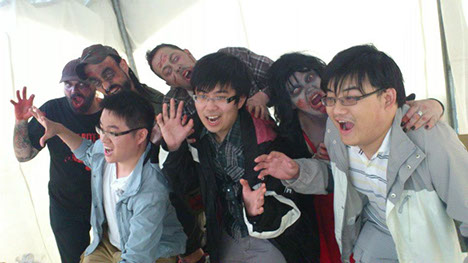
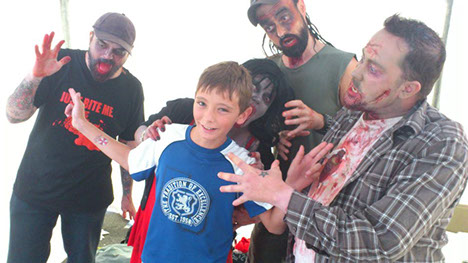
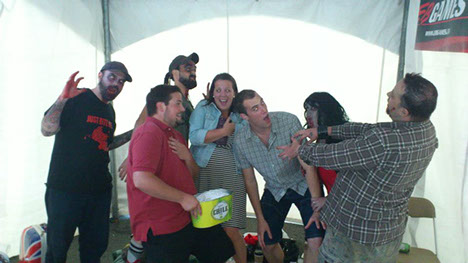
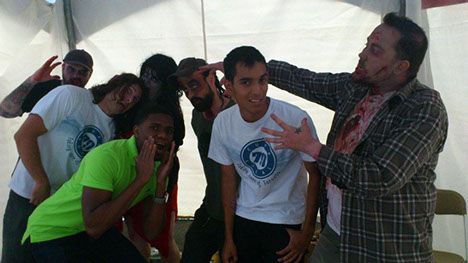
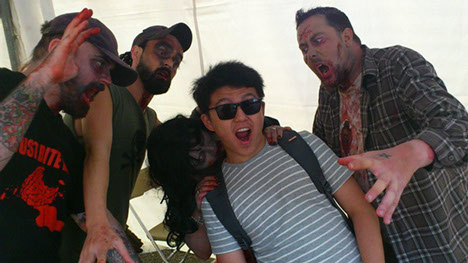
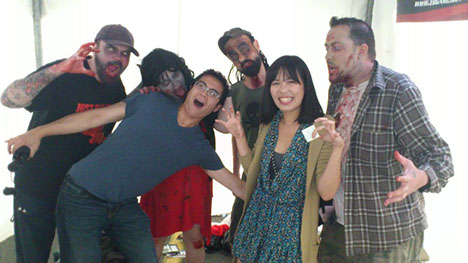
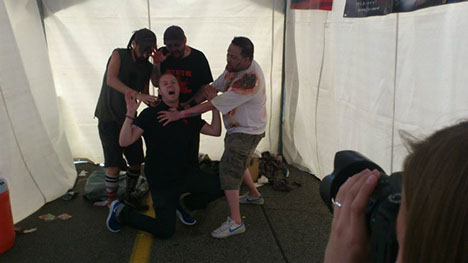
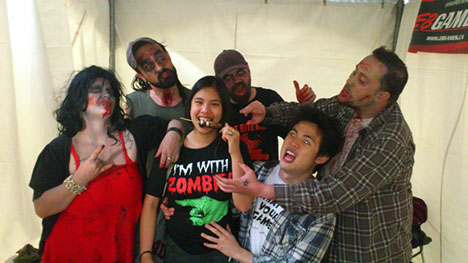
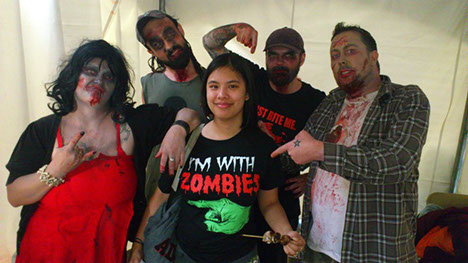
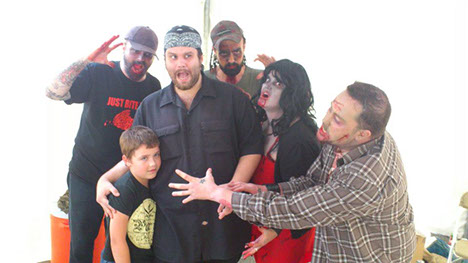
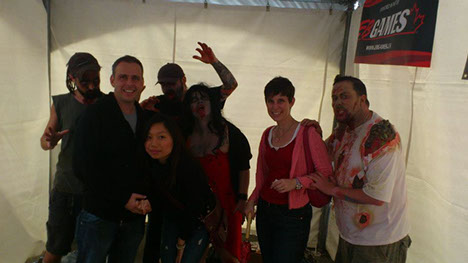
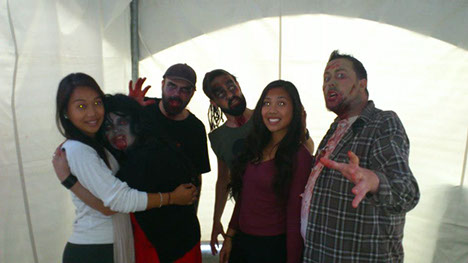
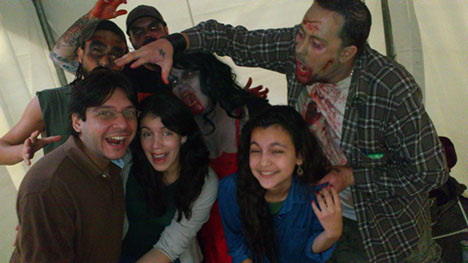
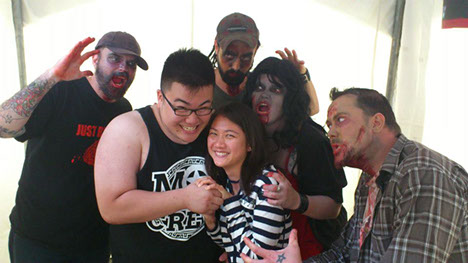
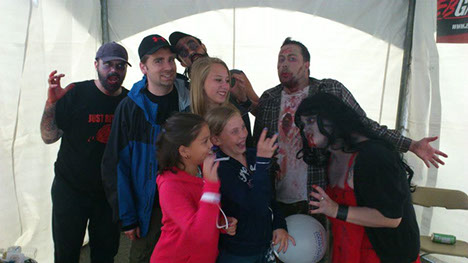
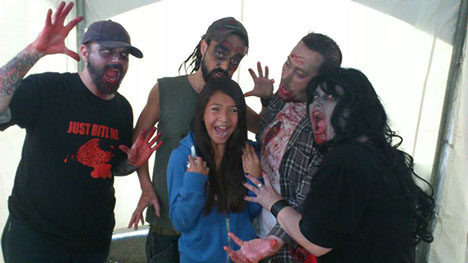
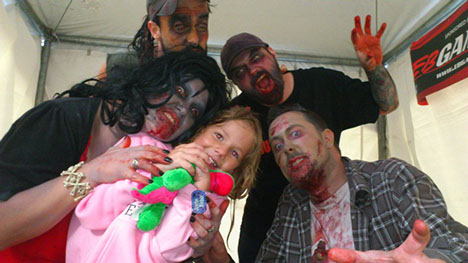
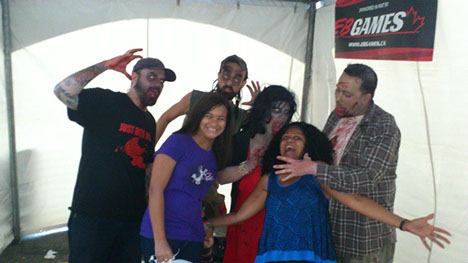
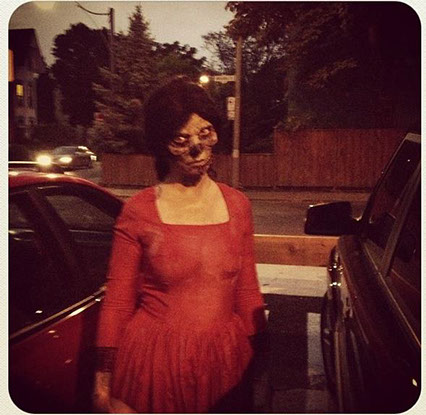
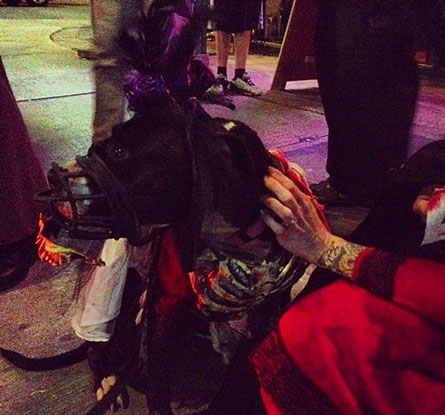
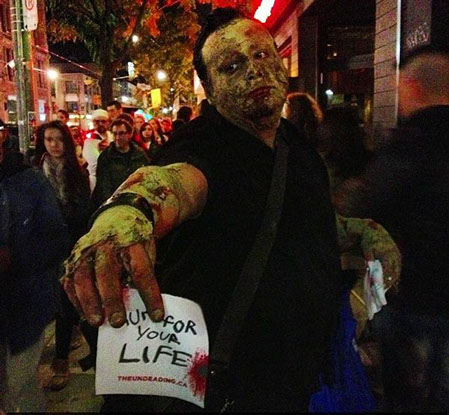
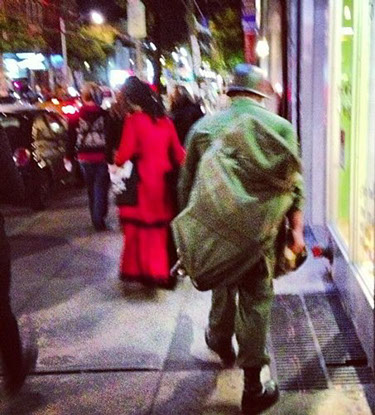
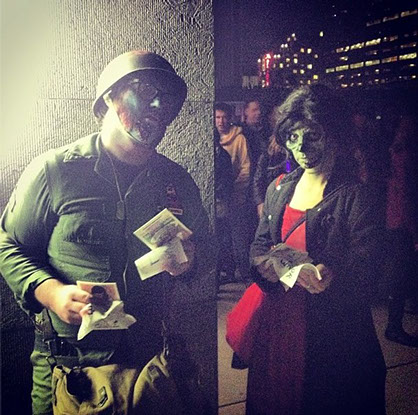
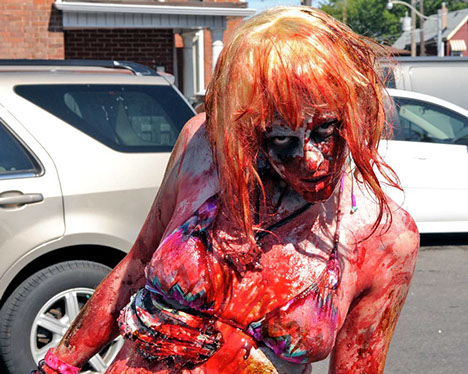
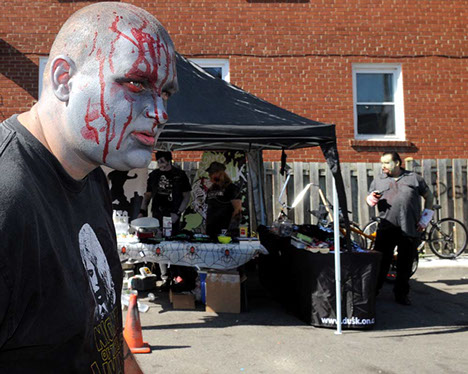
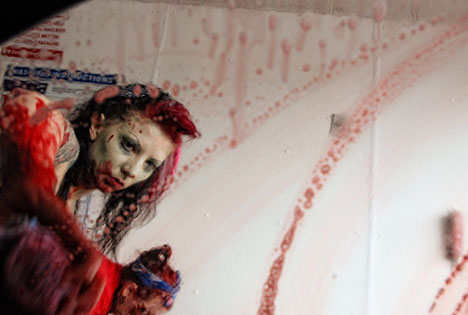
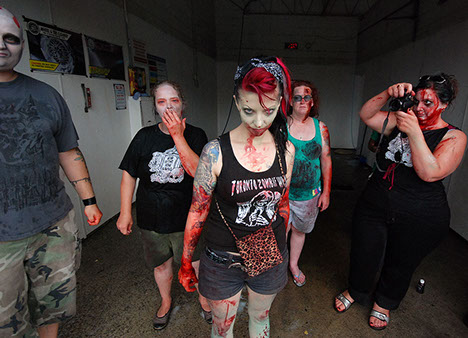
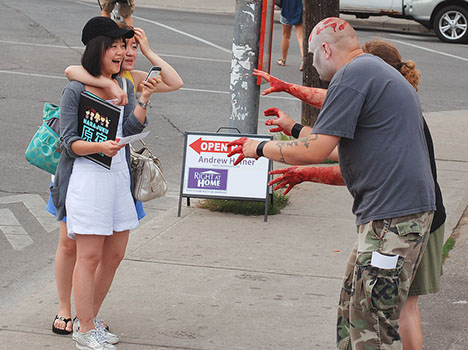
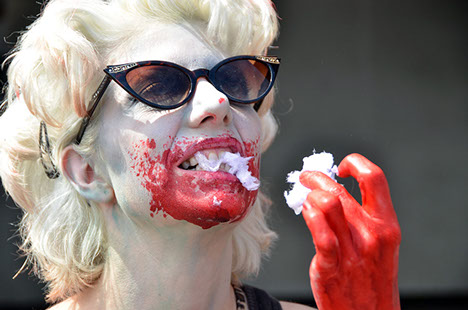
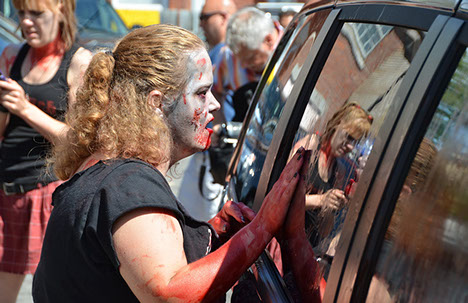
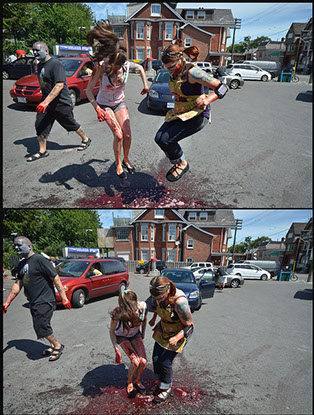
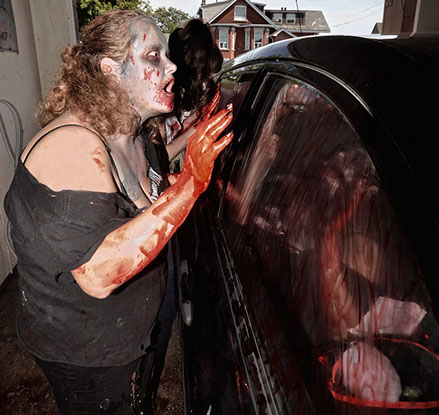
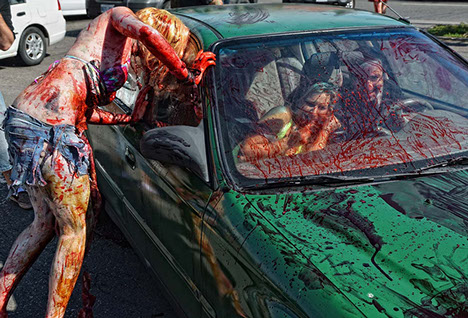
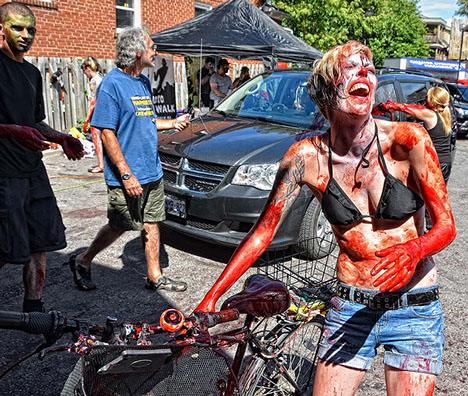
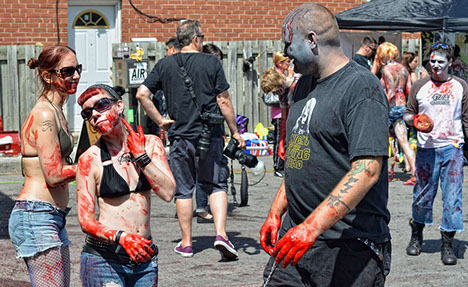
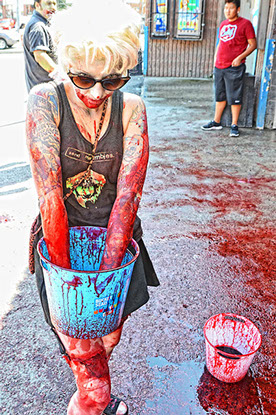
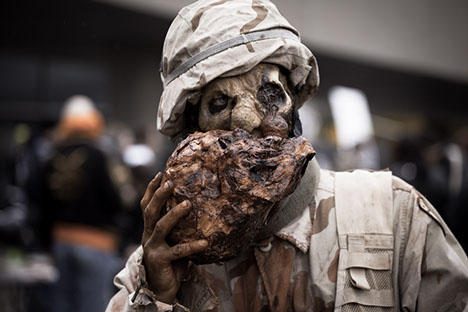
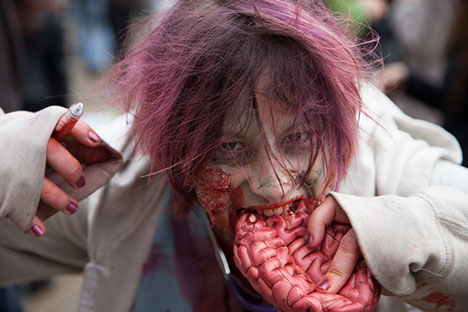
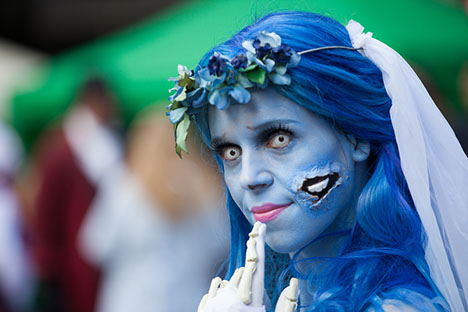
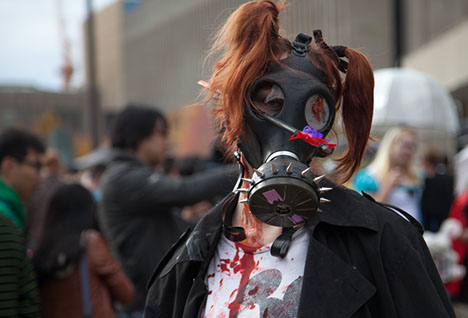
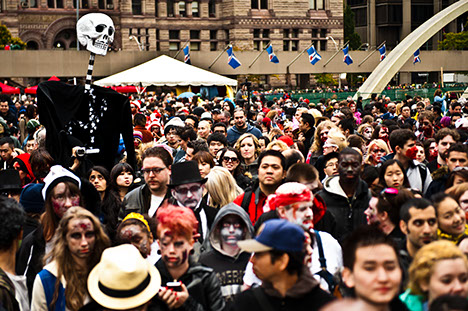
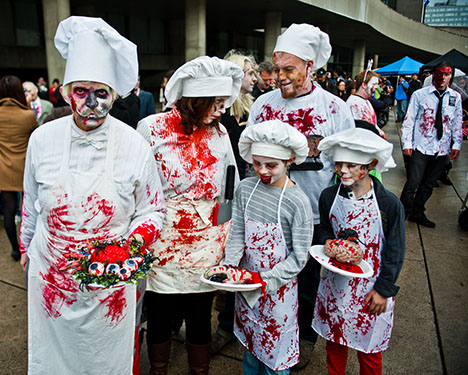
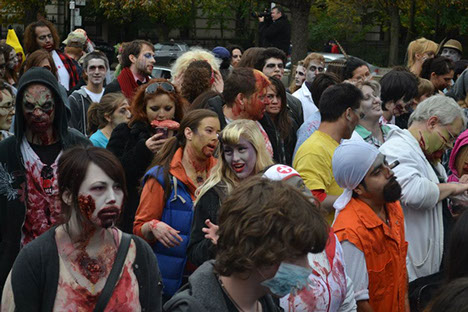
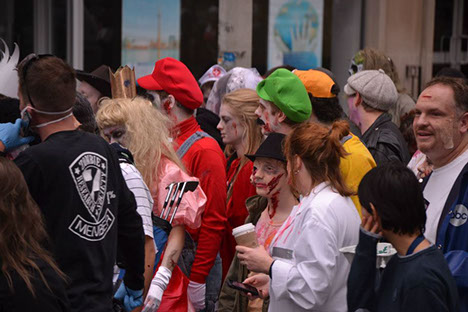
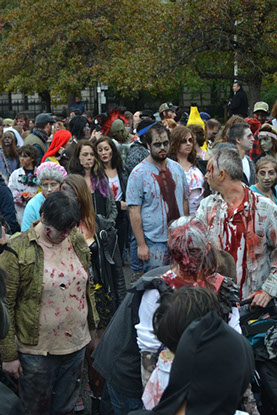
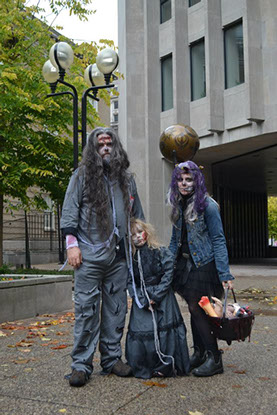
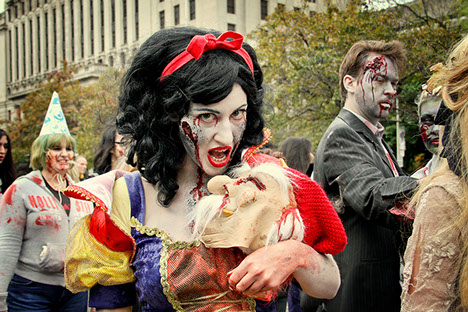
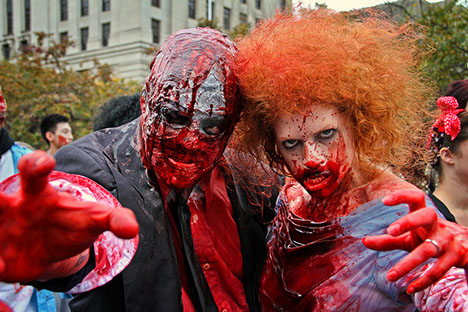
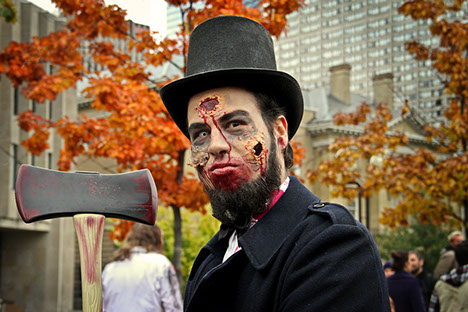
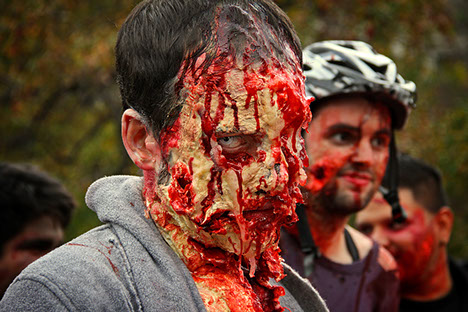
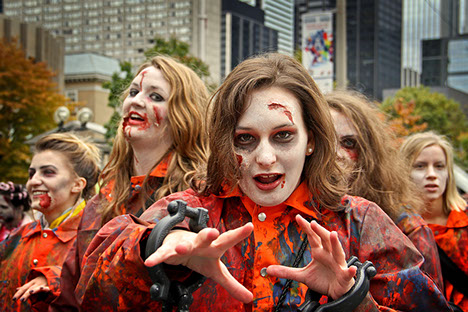
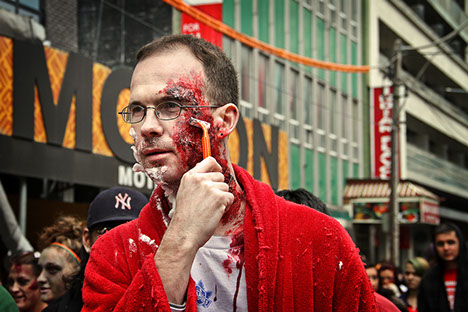
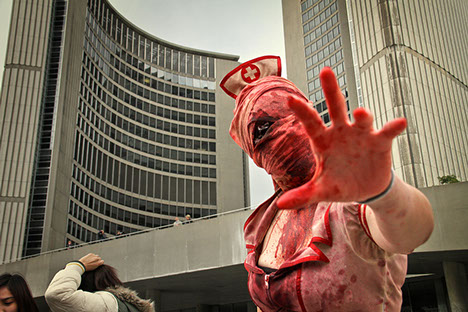
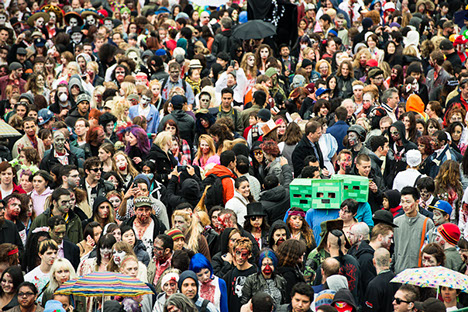
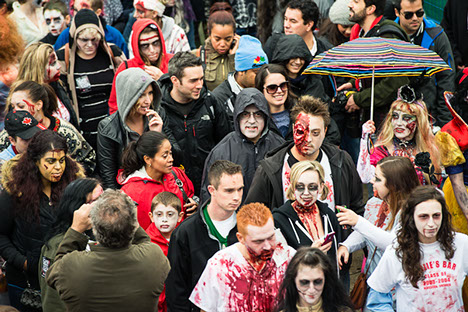
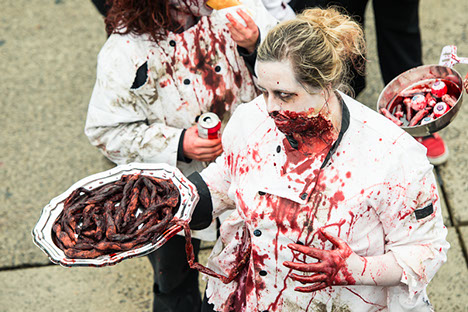
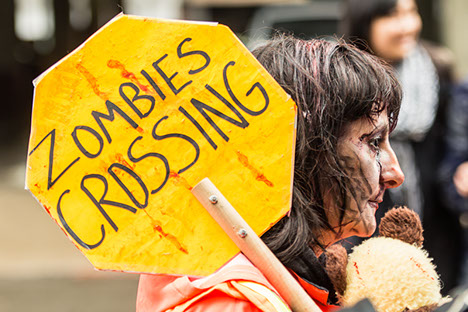
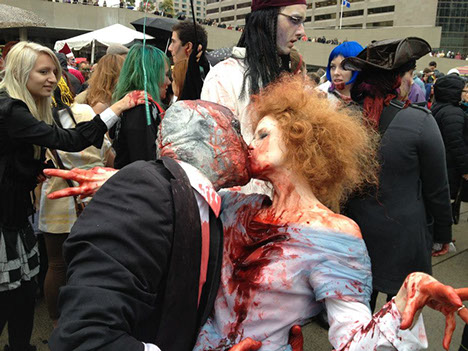
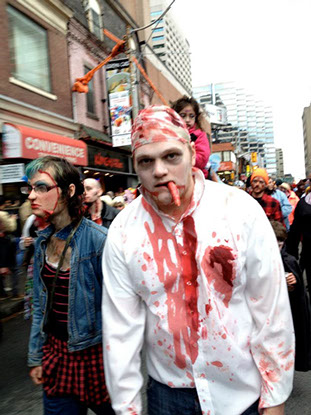
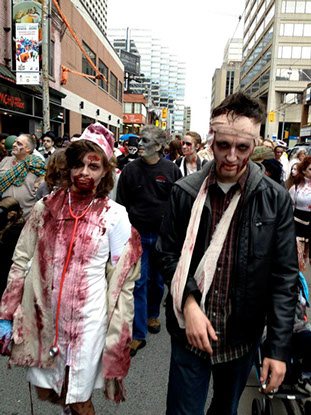
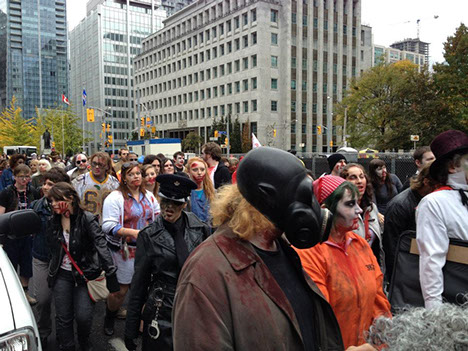
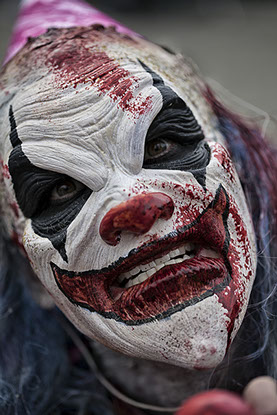
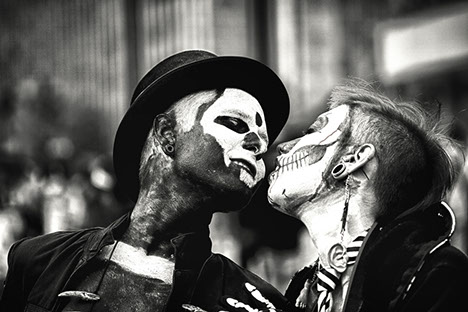
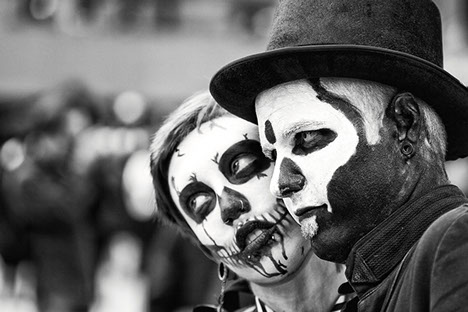
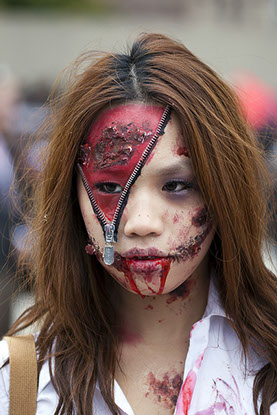
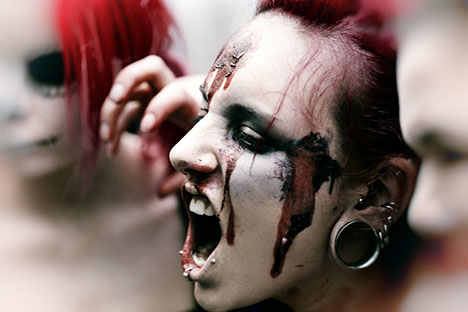
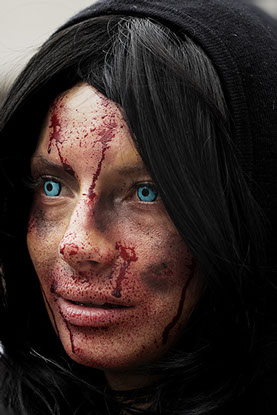
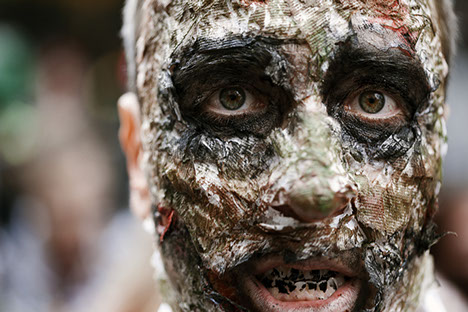
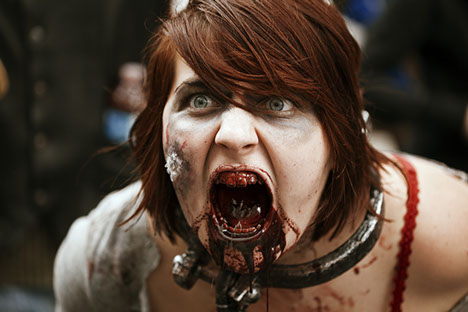
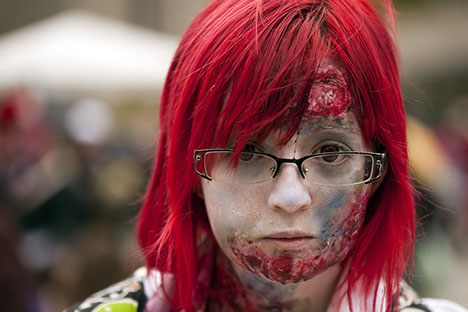
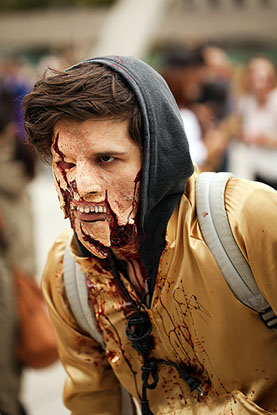
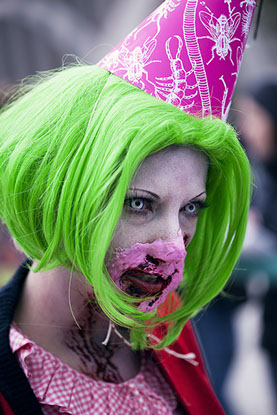
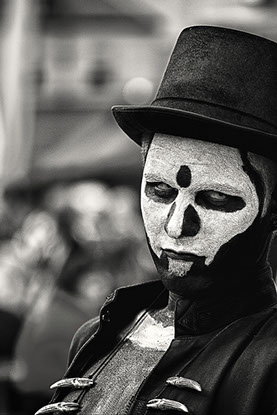
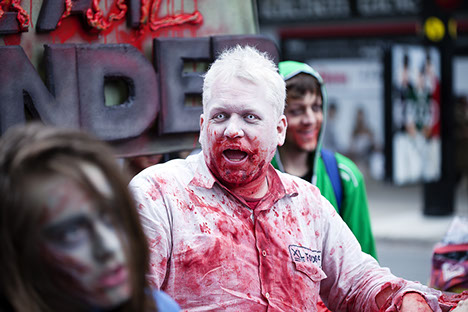
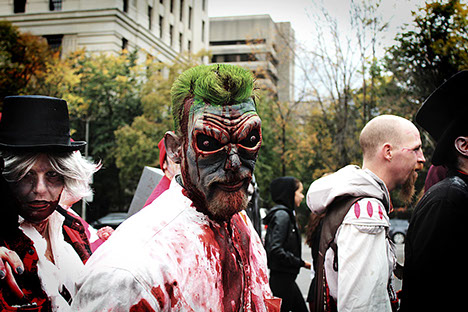
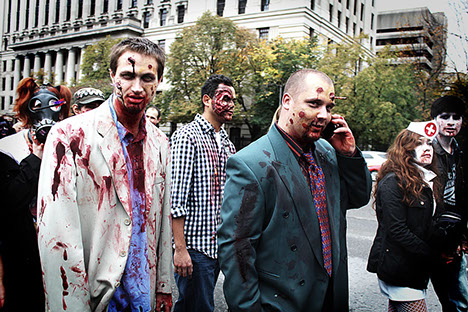
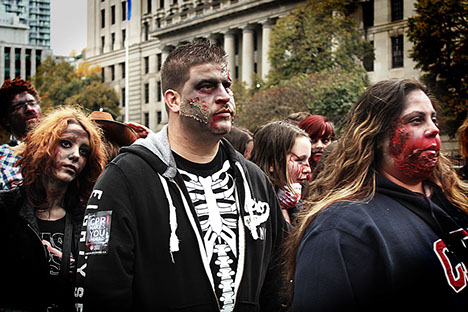
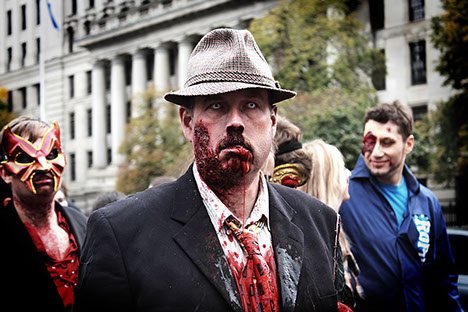
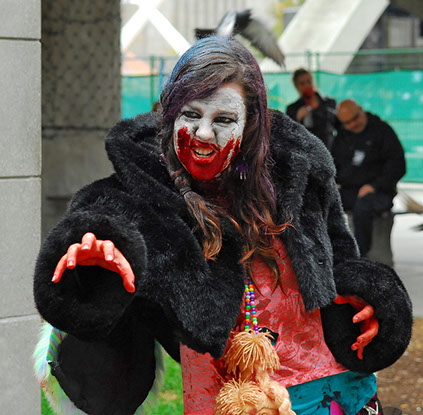
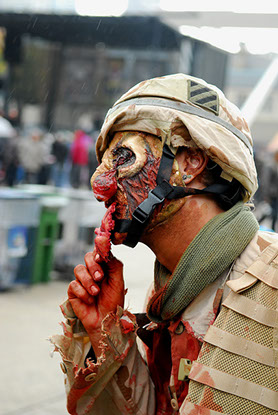
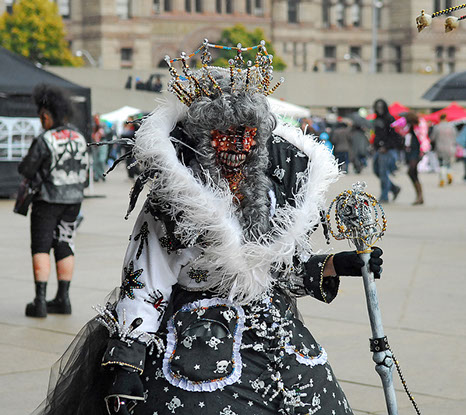
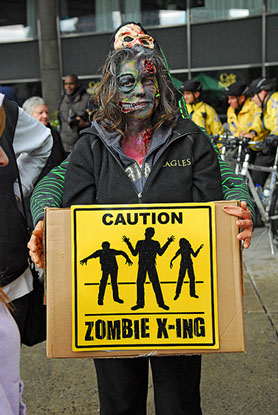
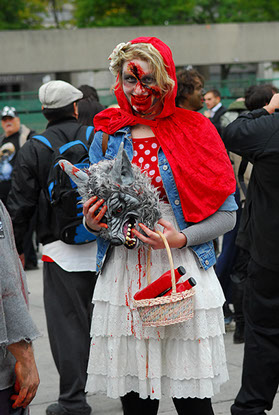
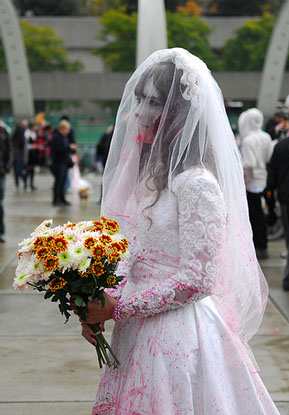
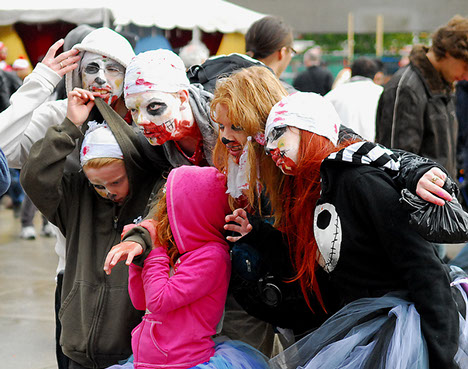
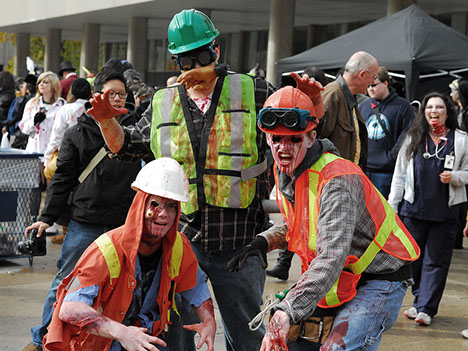
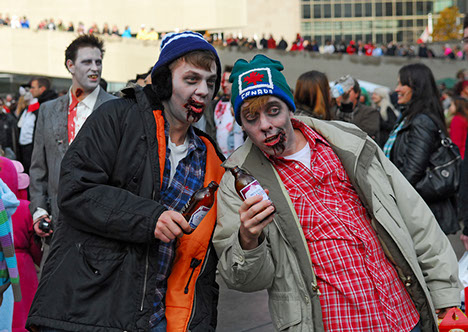
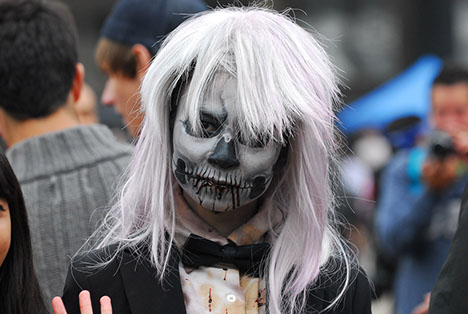
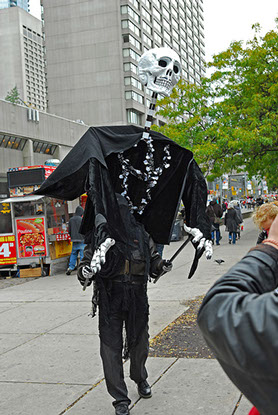
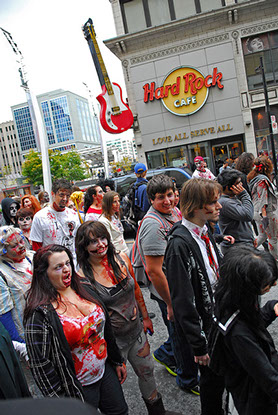
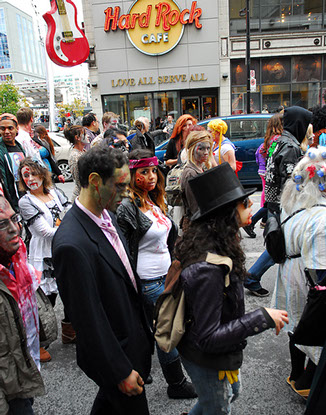
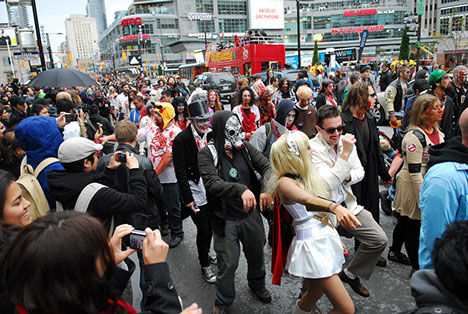
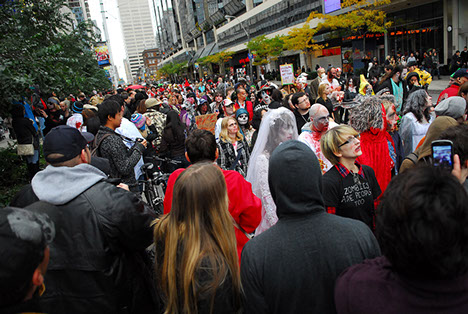
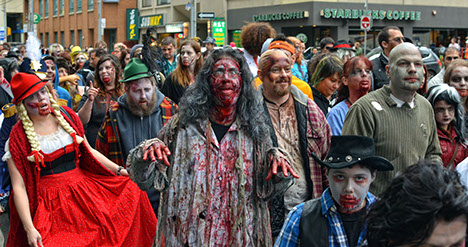
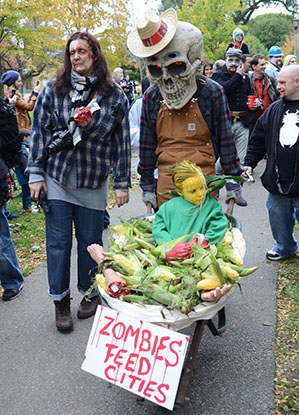
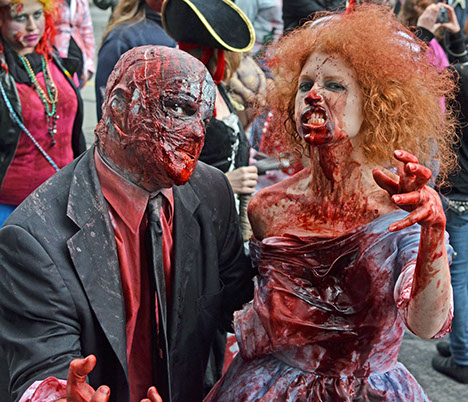
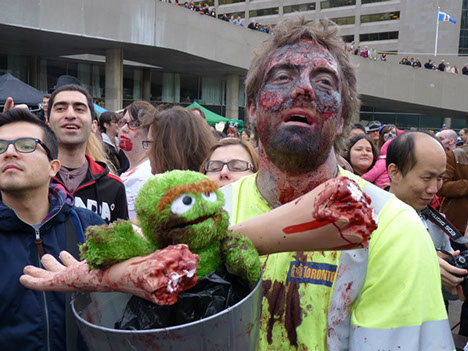
Toronto Zombie Walk 2012

Photos by: Dan Cronin #1
Photos by: Dan Cronin #2
Photos by: Dan Cronin #3
Photos by: Dan Cronin #4
Photos by: Dan Cronin #5
1 - 5
<
>
Photos by: David Goodfellow #1
Photos by: David Goodfellow #2
1 - 2
<
>

Photos by: Faithe De M. #1
Photos by: Faithe De M. #2
Photos by: Faithe De M. #3
Photos by: Faithe De M. #4
Photos by: Faithe De M. #5
1 - 5
<
>


Photos by: Jackman Chiu #1
Photos by: Jackman Chiu #2
Photos by: Jackman Chiu #3
Photos by: Jackman Chiu #4
Photos by: Jackman Chiu #5
Photos by: Jackman Chiu #6
Photos by: Jackman Chiu #7
Photos by: Jackman Chiu #8
Photos by: Jackman Chiu #9
Photos by: Jackman Chiu #10
Photos by: Jackman Chiu #11
1 - 11
<
>


Photos by: Jen Grantham #1
Photos by: Jen Grantham #2
Photos by: Jen Grantham #3
Photos by: Jen Grantham #4
Photos by: Jen Grantham #5
Photos by: Jen Grantham #6
Photos by: Jen Grantham #7
Photos by: Jen Grantham #8
1 - 8
<
>
Photos by: Justin Blayney #1
Photos by: Justin Blayney #2
Photos by: Justin Blayney #3
Photos by: Justin Blayney #4
1 - 4
<
>


Photos by: Matt Mattei #1
Photos by: Matt Mattei #2
Photos by: Matt Mattei #3
Photos by: Matt Mattei #4
Photos by: Matt Mattei #5
Photos by: Matt Mattei #6
Photos by: Matt Mattei #7
Photos by: Matt Mattei #8
Photos by: Matt Mattei #9
Photos by: Matt Mattei #10
Photos by: Matt Mattei #11
Photos by: Matt Mattei #12
Photos by: Matt Mattei #13
Photos by: Matt Mattei #14
Photos by: Matt Mattei #15
Photos by: Matt Mattei #16
Photos by: Matt Mattei #17
Photos by: Matt Mattei #18
Photos by: Matt Mattei #19
Photos by: Matt Mattei #20
Photos by: Matt Mattei #21
Photos by: Matt Mattei #22
Photos by: Matt Mattei #23
Photos by: Matt Mattei #24
Photos by: Matt Mattei #25
Photos by: Matt Mattei #26
Photos by: Matt Mattei #27
Photos by: Matt Mattei #28
1 - 28
<
>
.jpg?crc=54837073)
.jpg?crc=230426937)
.jpg?crc=32324447)
.jpg?crc=217187325)
.jpg?crc=3814755226)
.jpg?crc=525358243)
.jpg?crc=4134162954)
.jpg?crc=3879845065)
.jpg?crc=449615167)
.jpg?crc=310730258)
.jpg?crc=3970652352)
.jpg?crc=246098433)
Photos by: Mike Campbell #1
Photos by: Mike Campbell #2
Photos by: Mike Campbell #3
Photos by: Mike Campbell #4
Photos by: Mike Campbell #5
Photos by: Mike Campbell #6
Photos by: Mike Campbell #7
Photos by: Mike Campbell #8
Photos by: Mike Campbell #9
Photos by: Mike Campbell #10
Photos by: Mike Campbell #11
Photos by: Mike Campbell #12
1 - 12
<
>


Photos by: Ryan Logan #1
Photos by: Ryan Logan #2
Photos by: Ryan Logan #3
Photos by: Ryan Logan #4
Photos by: Ryan Logan #5
Photos by: Ryan Logan #6
Photos by: Ryan Logan #7
1 - 7
<
>
.jpg?crc=3824247483)
.jpg?crc=4063840312)
.jpg?crc=4150315393)
.jpg?crc=351988175)
.jpg?crc=4205777728)
.jpg?crc=3788491518)
.jpg?crc=3986855891)
.jpg?crc=4085100945)
Photos by: Rykius #1
Photos by: Rykius #2
Photos by: Rykius #3
Photos by: Rykius #4
Photos by: Rykius #5
Photos by: Rykius #6
Photos by: Rykius #7
Photos by: Rykius #8
1 - 8
<
>

Photos by: Scott Rogers #1
Photos by: Scott Rogers #2
Photos by: Scott Rogers #3
Photos by: Scott Rogers #4
Photos by: Scott Rogers #5
Photos by: Scott Rogers #6
Photos by: Scott Rogers #7
Photos by: Scott Rogers #8
Photos by: Scott Rogers #9
Photos by: Scott Rogers #10
Photos by: Scott Rogers #11
Photos by: Scott Rogers #12
Photos by: Scott Rogers #13
Photos by: Scott Rogers #14
Photos by: Scott Rogers #15
Photos by: Scott Rogers #16
1 - 16
<
>
.jpg?crc=404325854)
.jpg?crc=3803084920)
.jpg?crc=4094131474)
.jpg?crc=536838427)
.jpg?crc=3939775908)
.jpg?crc=352633295)
.jpg?crc=3977744638)
.jpg?crc=424654019)
.jpg?crc=328917324)
.jpg?crc=3886732748)
.jpg?crc=491496515)
.jpg?crc=494174811)
.jpg?crc=4211714262)
.jpg?crc=72679578)
.jpg?crc=108484979)
.jpg?crc=4178834905)
.jpg?crc=4088801236)
.jpg?crc=4095215907)
.jpg?crc=328207286)
.jpg?crc=165149977)
.jpg?crc=4160066553)
.jpg?crc=4219827697)
.jpg?crc=4170502008)
.jpg?crc=91729015)
.jpg?crc=31814176)
.jpg?crc=310677136)
.jpg?crc=3843670843)
.jpg?crc=158678550)


Photos by: Scott Snider #1
Photos by: Scott Snider #2
Photos by: Scott Snider #3
Photos by: Scott Snider #4
Photos by: Scott Snider #5
Photos by: Scott Snider #6
Photos by: Scott Snider #7
Photos by: Scott Snider #8
Photos by: Scott Snider #9
Photos by: Scott Snider #10
Photos by: Scott Snider #11
Photos by: Scott Snider #12
Photos by: Scott Snider #13
Photos by: Scott Snider #14
Photos by: Scott Snider #15
Photos by: Scott Snider #16
Photos by: Scott Snider #17
Photos by: Scott Snider #18
Photos by: Scott Snider #19
Photos by: Scott Snider #20
Photos by: Scott Snider #21
Photos by: Scott Snider #22
Photos by: Scott Snider #23
Photos by: Scott Snider #24
Photos by: Scott Snider #25
Photos by: Scott Snider #26
Photos by: Scott Snider #27
Photos by: Scott Snider #28
Photos by: Scott Snider #29
Photos by: Scott Snider #30
Photos by: Scott Snider #31
Photos by: Scott Snider #32
Photos by: Scott Snider #33
1 - 33
<
>


Photos by: Steven Hellmann #1
Photos by: Steven Hellmann #2
Photos by: Steven Hellmann #3
Photos by: Steven Hellmann #4
Photos by: Steven Hellmann #5
1 - 5
<
>
.jpg?crc=3931993282)
.jpg?crc=24103773)
.jpg?crc=205598510)
.jpg?crc=3766185497)
.jpg?crc=3966005810)
.jpg?crc=3924788215)
.jpg?crc=3779113602)
.jpg?crc=4072058993)
.jpg?crc=4051476791)
.jpg?crc=515488177)
.jpg?crc=4176519136)
.jpg?crc=4159745337)
.jpg?crc=134980576)
.jpg?crc=344346554)
.jpg?crc=3766536342)
.jpg?crc=3891698238)
.jpg?crc=283118285)
Photos by: Sue Reed #1
Photos by: Sue Reed #2
Photos by: Sue Reed #3
Photos by: Sue Reed #4
Photos by: Sue Reed #5
Photos by: Sue Reed #6
Photos by: Sue Reed #7
Photos by: Sue Reed #8
Photos by: Sue Reed #9
Photos by: Sue Reed #10
Photos by: Sue Reed #11
Photos by: Sue Reed #12
Photos by: Sue Reed #13
Photos by: Sue Reed #14
Photos by: Sue Reed #15
Photos by: Sue Reed #16
Photos by: Sue Reed #17
1 - 17
<
>
.jpg?crc=4031064775)
.jpg?crc=3941346941)
.jpg?crc=4190037809)
.jpg?crc=4163627842)
.jpg?crc=89376142)
.jpg?crc=3812157301)
.jpg?crc=3933857450)
.jpg?crc=320029939)
.jpg?crc=310316124)
.jpg?crc=4112436437)
.jpg?crc=346290731)
.jpg?crc=350510376)
.jpg?crc=194600867)
Photos by: Susanna Ng #1
Photos by: Susanna Ng #2
Photos by: Susanna Ng #3
Photos by: Susanna Ng #4
Photos by: Susanna Ng #5
Photos by: Susanna Ng #6
Photos by: Susanna Ng #7
Photos by: Susanna Ng #8
Photos by: Susanna Ng #9
Photos by: Susanna Ng #10
Photos by: Susanna Ng #11
Photos by: Susanna Ng #12
Photos by: Susanna Ng #13
1 - 13
<
>
TORONTO ZOMBIE WALK © 2017


