
PHOTO GALLERIES
THEY LIVE Screening 2013
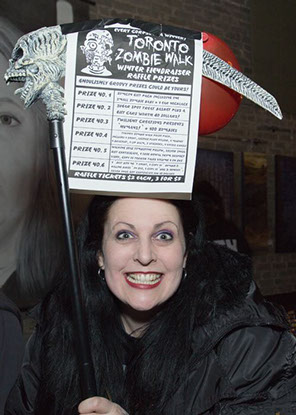
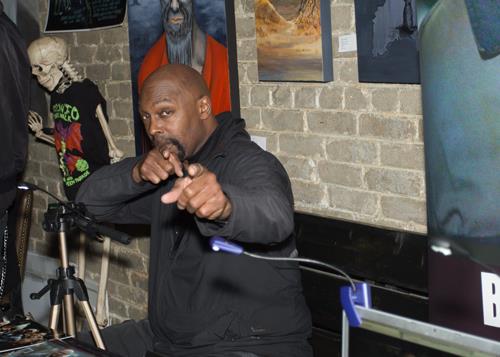
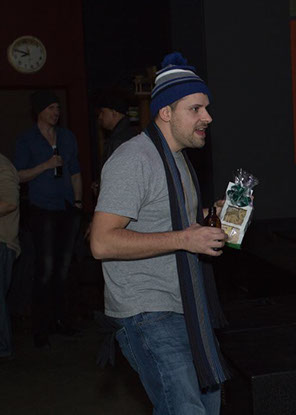
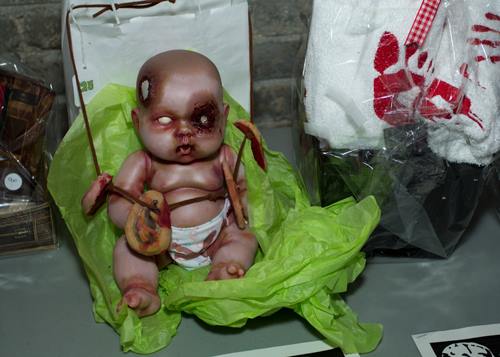
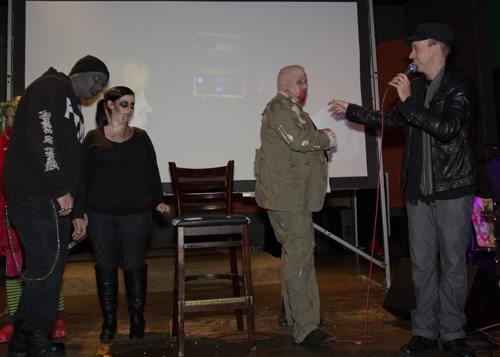
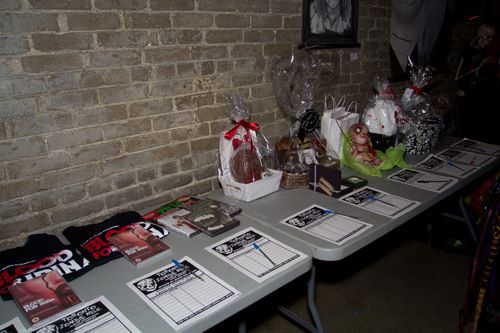
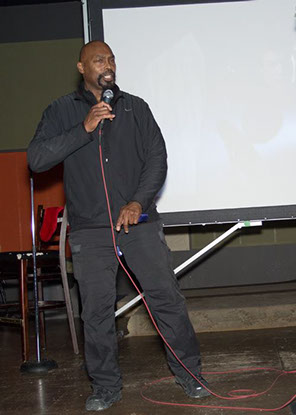
December FIENDraiser 2013


Photos by: Scott Snider #1
Photos by: Scott Snider #2
Photos by: Scott Snider #3
Photos by: Scott Snider #4
Photos by: Scott Snider #5
Photos by: Scott Snider #6
Photos by: Scott Snider #7
1 - 7
<
>


Photos by: Joe MK #1
Photos by: Joe MK #2
Photos by: Joe MK #3
Photos by: Joe MK #4
Photos by: Joe MK #5
Photos by: Joe MK #6
Photos by: Joe MK #7
Photos by: Joe MK #8
Photos by: Joe MK #9
Photos by: Joe MK #10
Photos by: Joe MK #11
Photos by: Joe MK #12
Photos by: Joe MK #13
Photos by: Joe MK #14
Photos by: Joe MK #15
Photos by: Joe MK #16
Photos by: Joe MK #17
Photos by: Joe MK #18
Photos by: Joe MK #19
Photos by: Joe MK #20
Photos by: Joe MK #21
Photos by: Joe MK #22
Photos by: Joe MK #23
Photos by: Joe MK #24
Photos by: Joe MK #25
Photos by: Joe MK #26
Photos by: Joe MK #27
Photos by: Joe MK #28
Photos by: Joe MK #29
Photos by: Joe MK #30
Photos by: Joe MK #31
Photos by: Joe MK #32
Photos by: Joe MK #33
Photos by: Joe MK #34
Photos by: Joe MK #35
Photos by: Joe MK #36
Photos by: Joe MK #37
Photos by: Joe MK #38
Photos by: Joe MK #39
Photos by: Joe MK #40
Photos by: Joe MK #41
Photos by: Joe MK #42
Photos by: Joe MK #43
Photos by: Joe MK #44
Photos by: Joe MK #45
Photos by: Joe MK #46
Photos by: Joe MK #47
Photos by: Joe MK #48
Photos by: Joe MK #49
Photos by: Joe MK #50
Photos by: Joe MK #51
Photos by: Joe MK #52
Photos by: Joe MK #53
Photos by: Joe MK #54
Photos by: Joe MK #55
Photos by: Joe MK #56
Photos by: Joe MK #57
Photos by: Joe MK #58
Photos by: Joe MK #59
Photos by: Joe MK #60
Photos by: Joe MK #61
Photos by: Joe MK #62
Photos by: Joe MK #63
Photos by: Joe MK #64
Photos by: Joe MK #65
Photos by: Joe MK #66
Photos by: Joe MK #67
Photos by: Joe MK #68
Photos by: Joe MK #69
Photos by: Joe MK #70
Photos by: Joe MK #71
Photos by: Joe MK #72
Photos by: Joe MK #73
Photos by: Joe MK #74
Photos by: Joe MK #75
Photos by: Joe MK #76
1 - 76
<
>
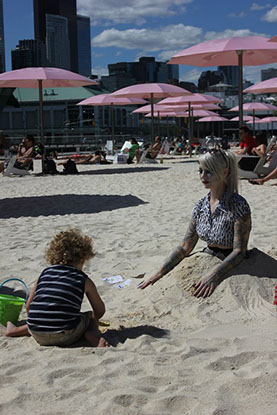
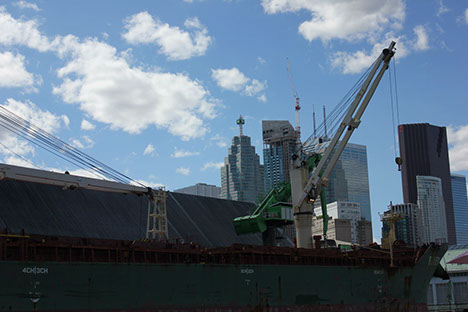
Sugar Beach 2013
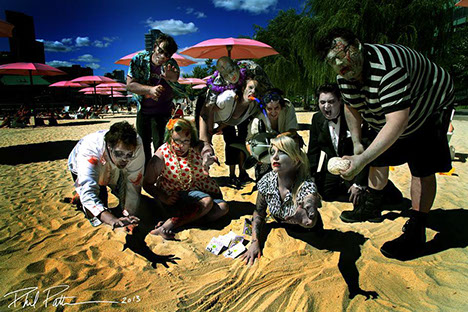
Photos by: Phil Pattison #1
1 - 1
<
>


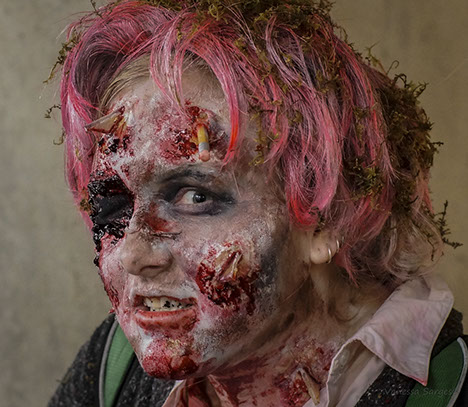
Photos by: Shannon Stafford #1
Photos by: Shannon Stafford #2
Photos by: Shannon Stafford #3
Photos by: Shannon Stafford #4
Photos by: Shannon Stafford #5
Photos by: Shannon Stafford #6
Photos by: Shannon Stafford #7
Photos by: Shannon Stafford #8
Photos by: Shannon Stafford #9
Photos by: Shannon Stafford #10
Photos by: Shannon Stafford #11
Photos by: Shannon Stafford #12
Photos by: Shannon Stafford #13
Photos by: Shannon Stafford #14
Photos by: Shannon Stafford #15
Photos by: Shannon Stafford #16
Photos by: Shannon Stafford #17
Photos by: Shannon Stafford #18
Photos by: Shannon Stafford #19
Photos by: Shannon Stafford #20
Photos by: Shannon Stafford #21
Photos by: Shannon Stafford #22
Photos by: Shannon Stafford #23
Photos by: Shannon Stafford #24
Photos by: Shannon Stafford #25
Photos by: Shannon Stafford #26
Photos by: Shannon Stafford #27
Photos by: Shannon Stafford #28
Photos by: Shannon Stafford #29
Photos by: Shannon Stafford #30
Photos by: Shannon Stafford #31
Photos by: Shannon Stafford #32
Photos by: Shannon Stafford #33
Photos by: Shannon Stafford #34
Photos by: Shannon Stafford #35
Photos by: Shannon Stafford #36
Photos by: Shannon Stafford #37
Photos by: Shannon Stafford #38
Photos by: Shannon Stafford #39
Photos by: Shannon Stafford #40
Photos by: Shannon Stafford #41
Photos by: Shannon Stafford #42
Photos by: Shannon Stafford #43
Photos by: Shannon Stafford #44
Photos by: Shannon Stafford #45
Photos by: Shannon Stafford #46
Photos by: Shannon Stafford #47
Photos by: Shannon Stafford #48
Photos by: Shannon Stafford #49
Photos by: Shannon Stafford #50
Photos by: Shannon Stafford #51
Photos by: Shannon Stafford #52
Photos by: Shannon Stafford #53
Photos by: Shannon Stafford #54
Photos by: Shannon Stafford #55
Photos by: Shannon Stafford #56
Photos by: Shannon Stafford #57
Photos by: Shannon Stafford #58
Photos by: Shannon Stafford #59
Photos by: Shannon Stafford #60
Photos by: Shannon Stafford #61
1 - 61
<
>
Photos by: Toronto Zombie Walk #1
Photos by: Toronto Zombie Walk #2
Photos by: Toronto Zombie Walk #3
1 - 3
<
>


Photos by: Tiffany Mark #1
Photos by: Tiffany Mark #2
Photos by: Tiffany Mark #3
Photos by: Tiffany Mark #4
Photos by: Tiffany Mark #5
Photos by: Tiffany Mark #6
Photos by: Tiffany Mark #7
Photos by: Tiffany Mark #8
Photos by: Tiffany Mark #9
Photos by: Tiffany Mark #10
Photos by: Tiffany Mark #11
Photos by: Tiffany Mark #12
Photos by: Tiffany Mark #13
Photos by: Tiffany Mark #14
Photos by: Tiffany Mark #15
1 - 15
<
>
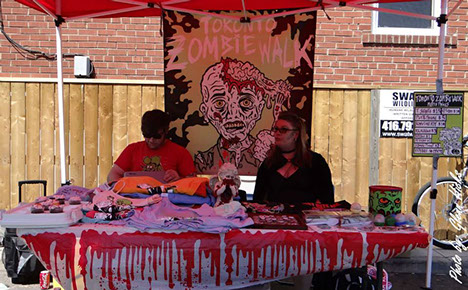
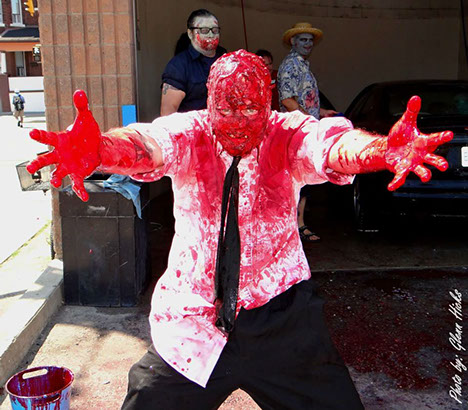
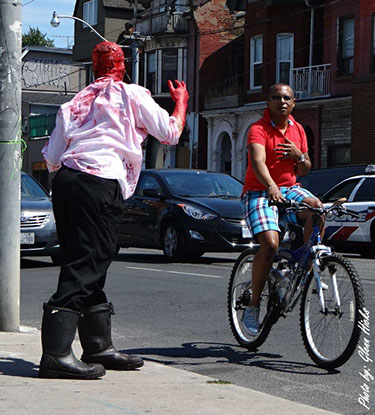
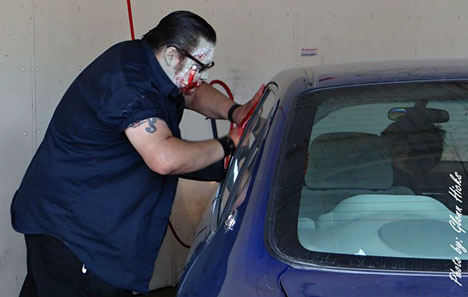
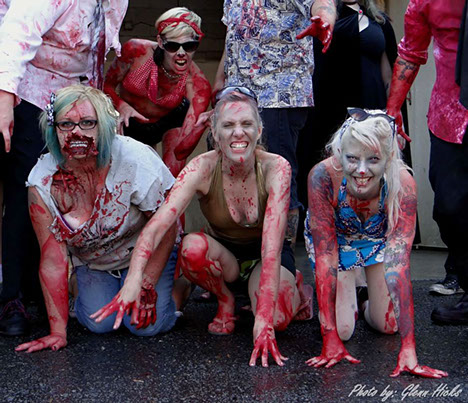
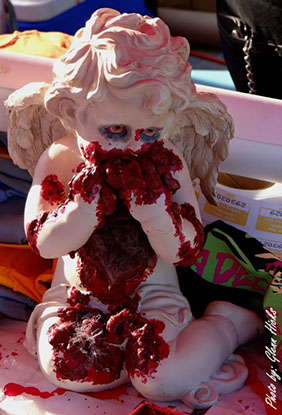
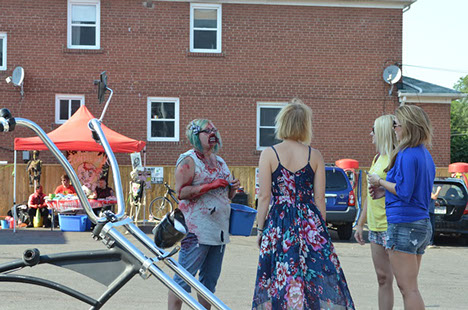
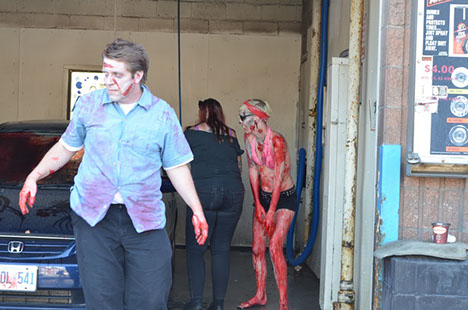
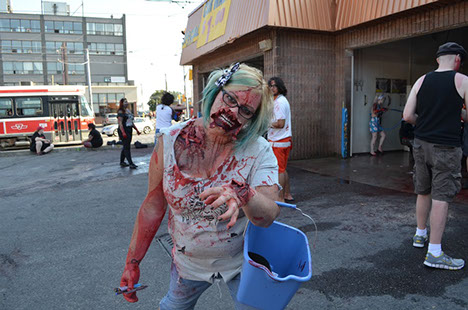
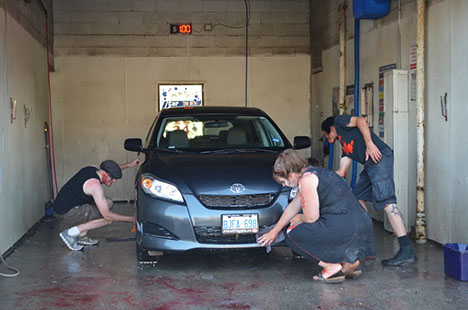
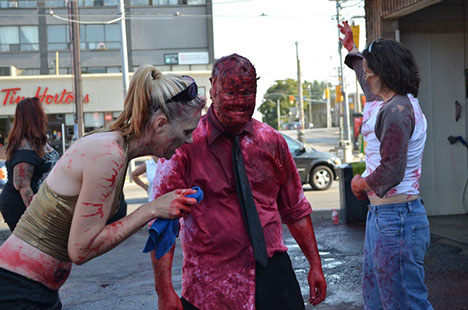
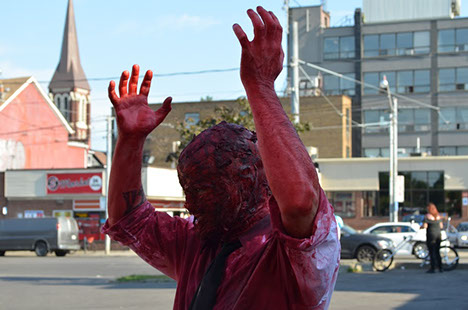
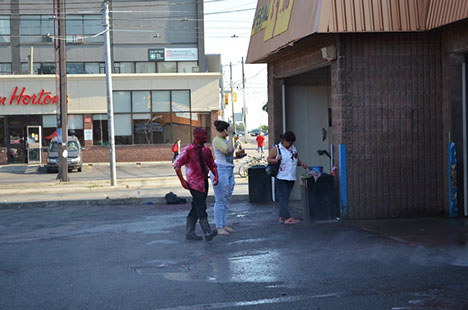
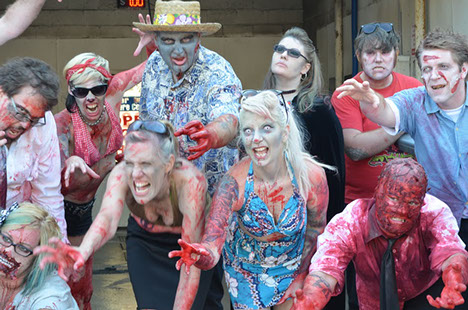
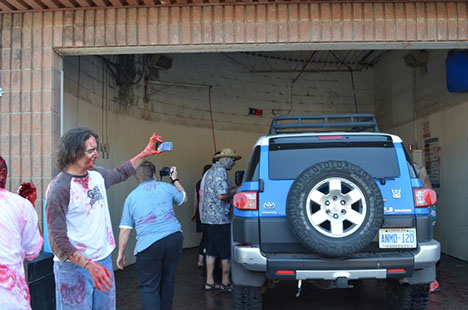
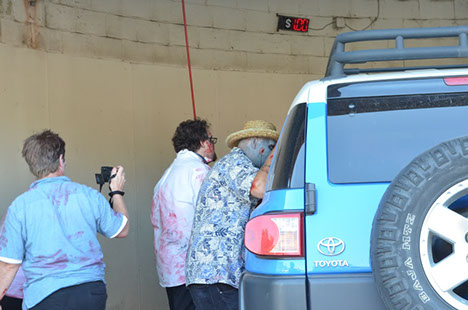
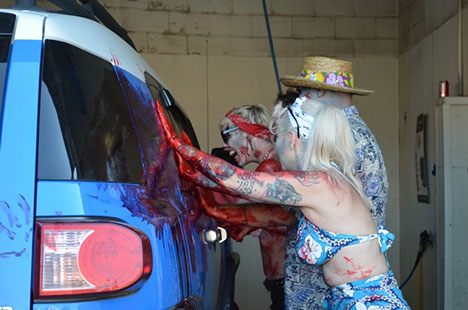
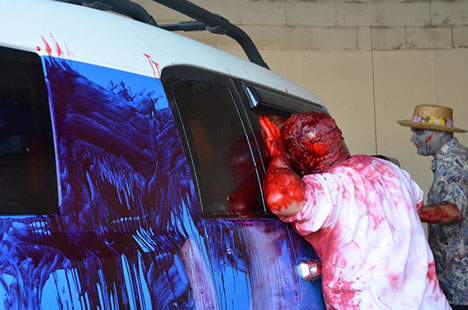
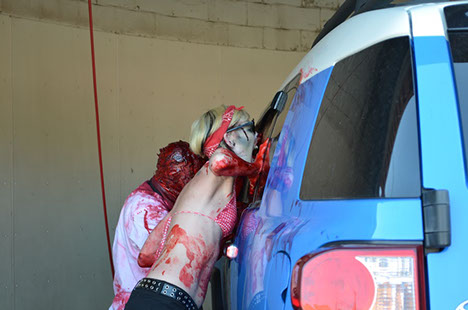
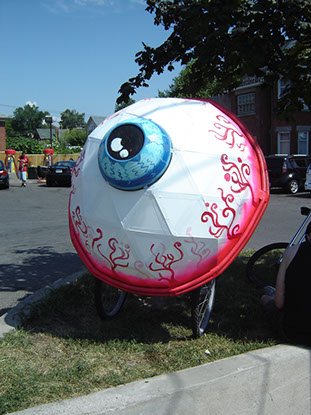
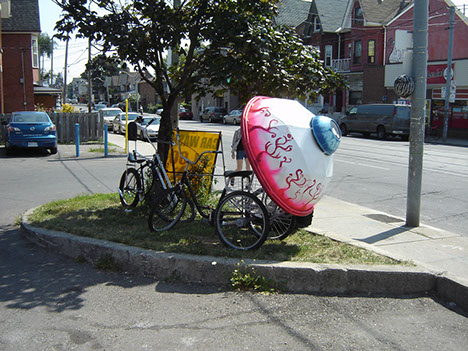
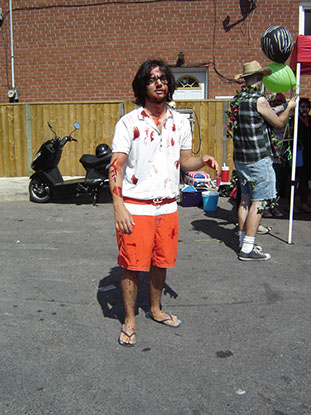
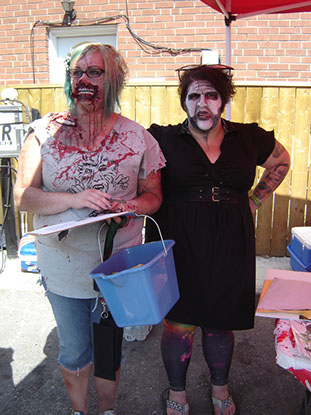
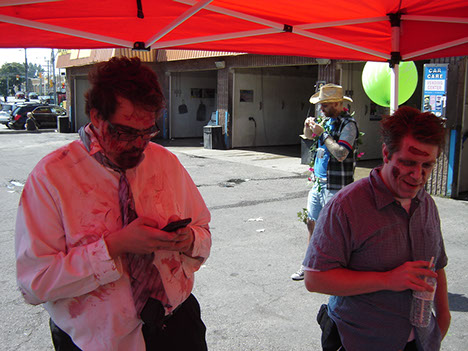
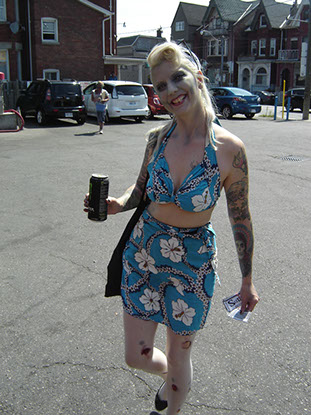
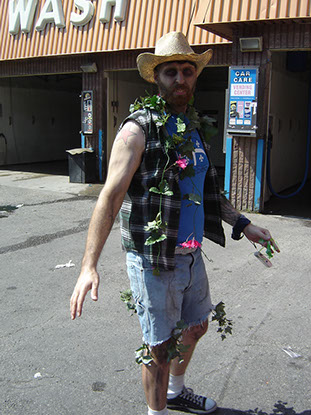
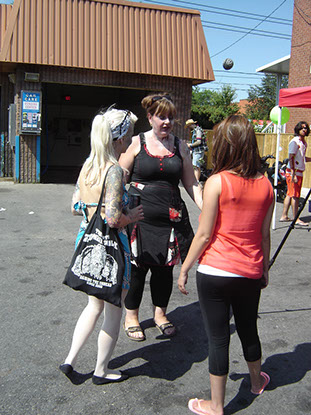
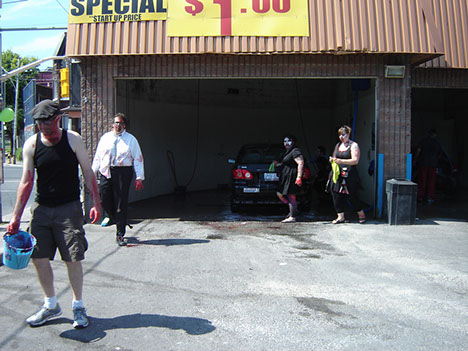
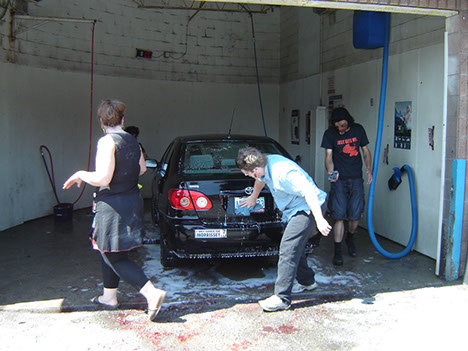
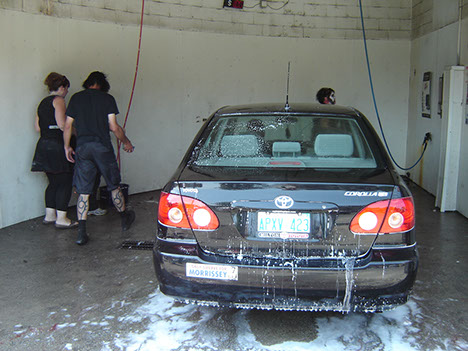
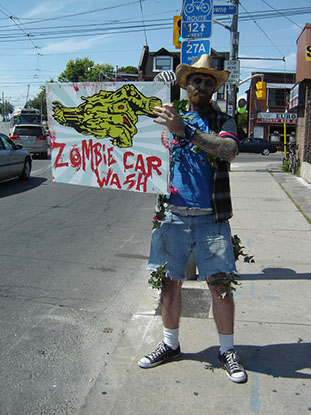
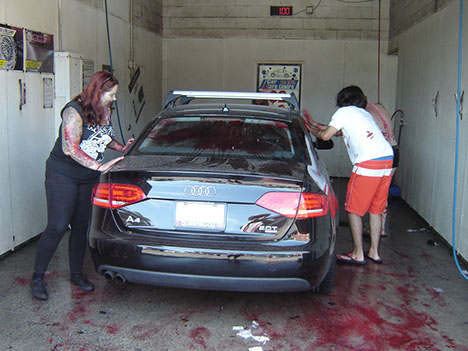
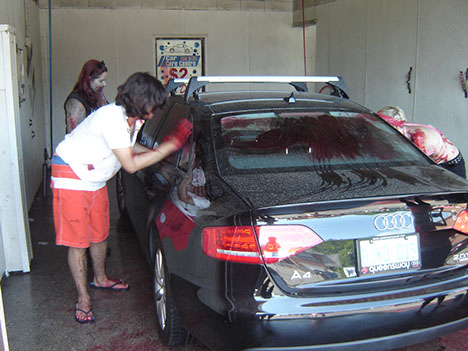
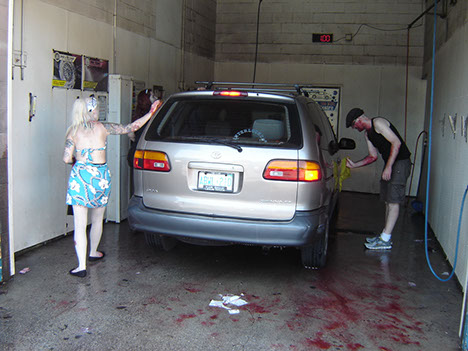
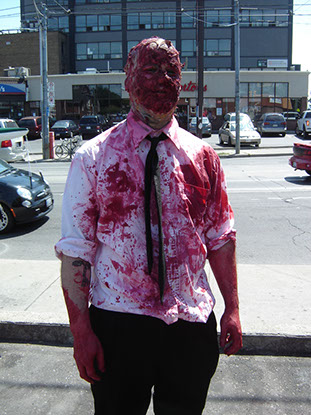
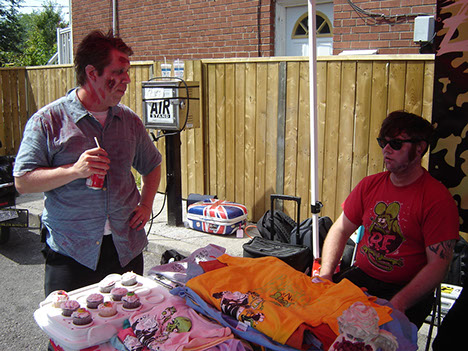
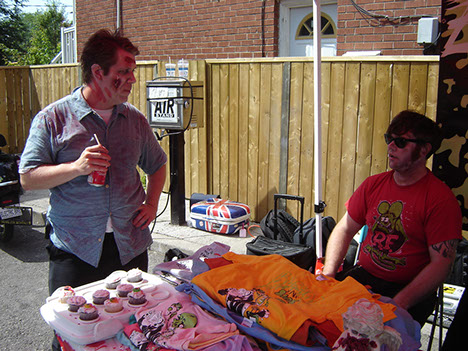
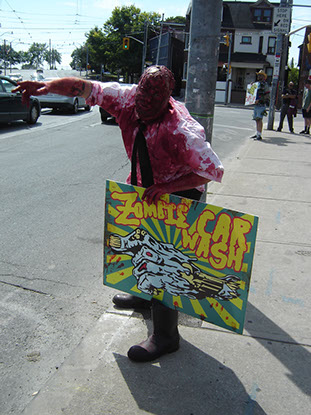
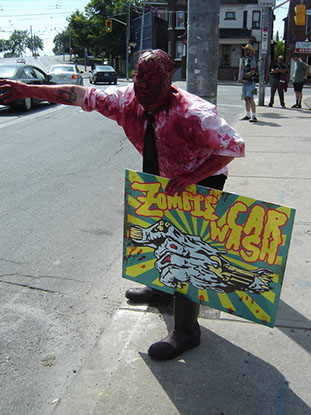
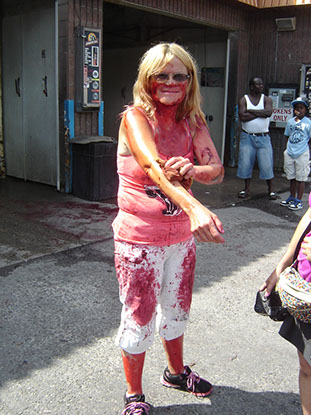
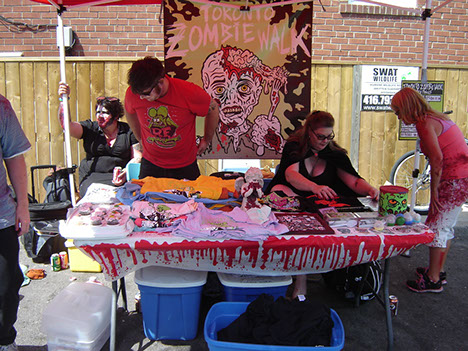
Bloods N' Suds 2013
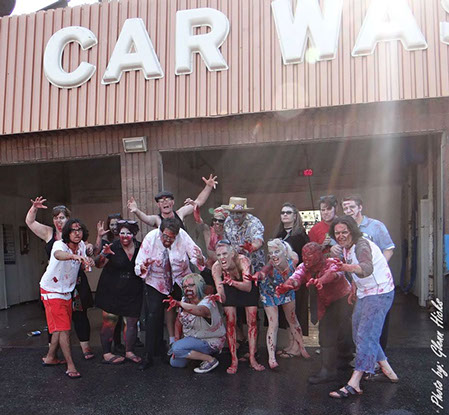
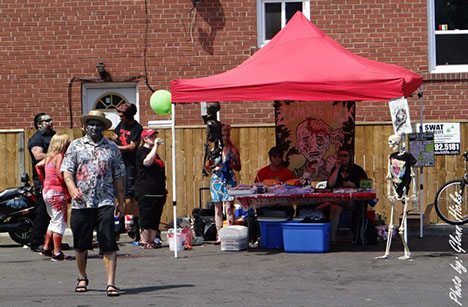
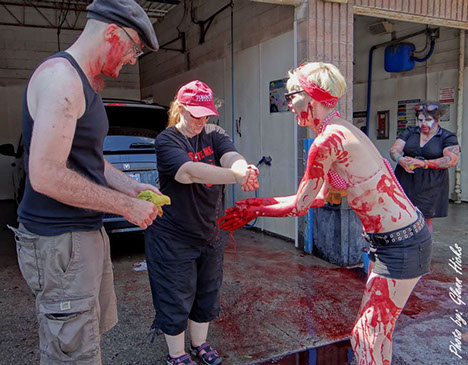
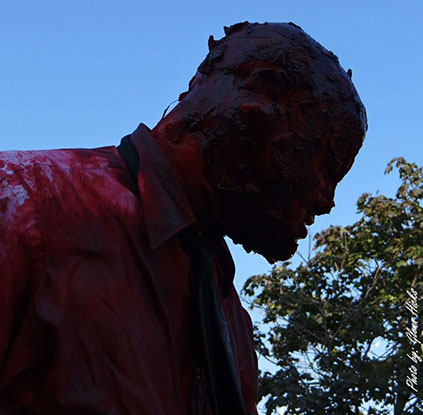
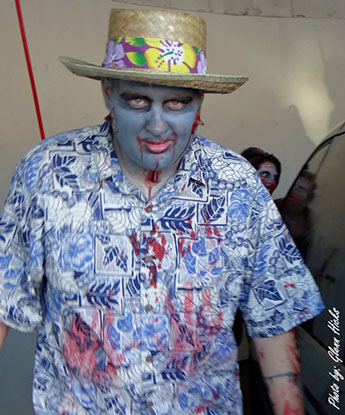
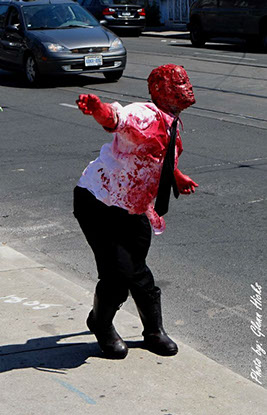
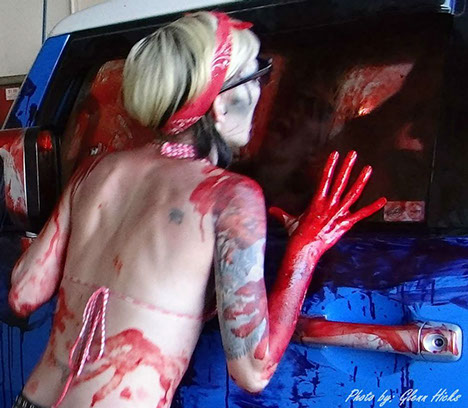
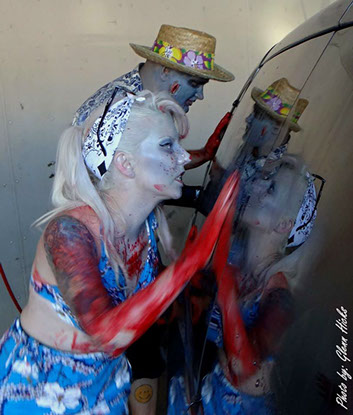


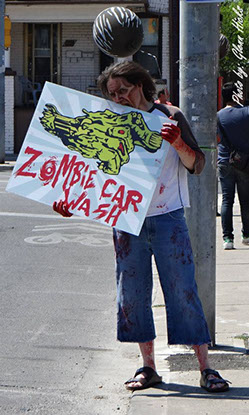
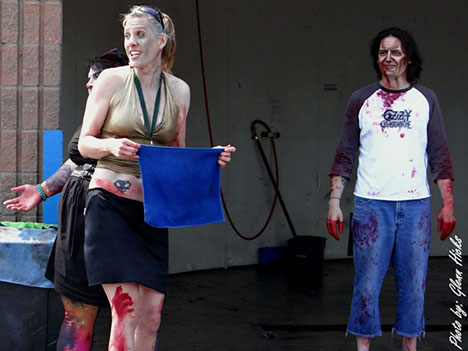
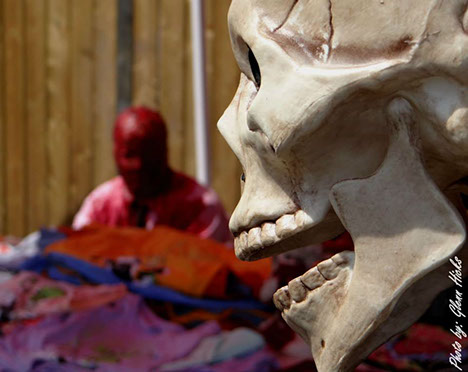
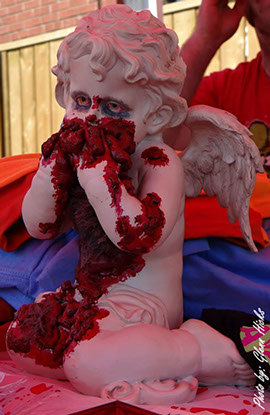
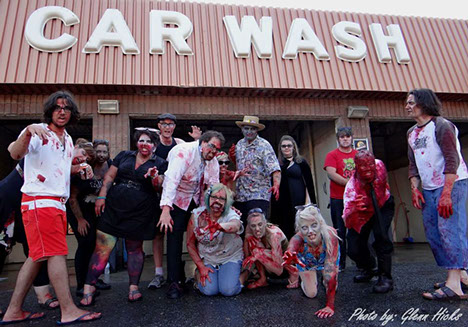
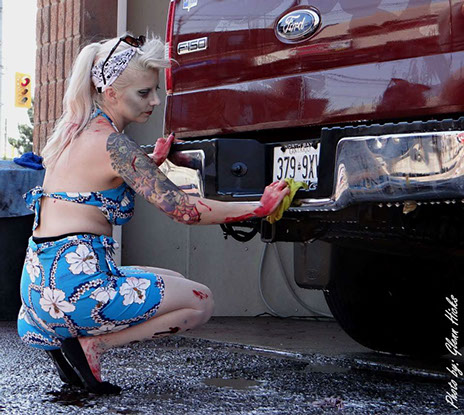
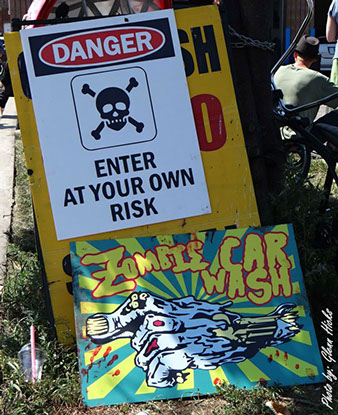


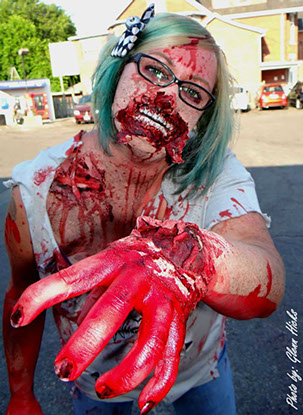
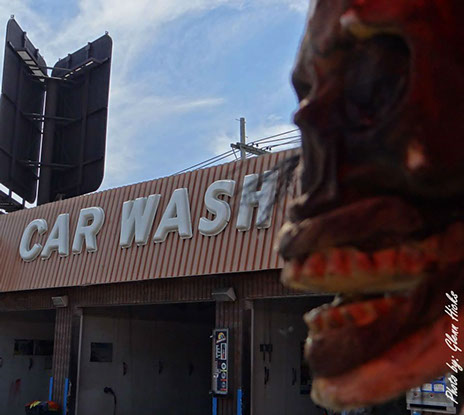

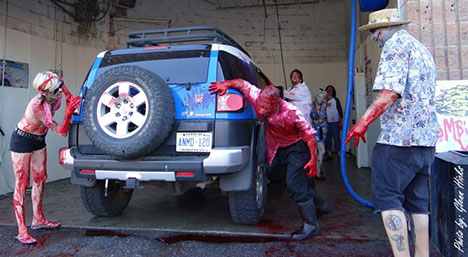
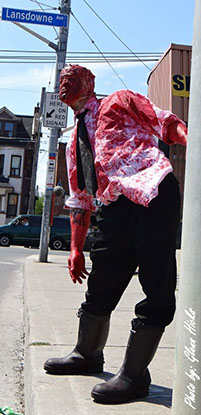
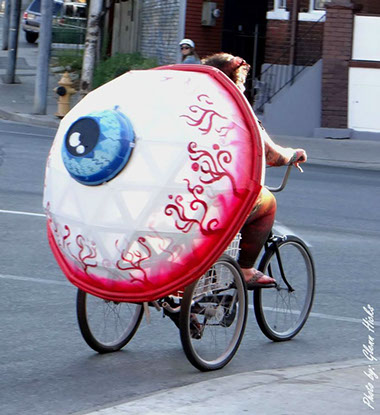
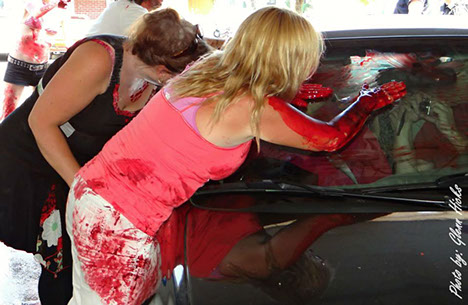
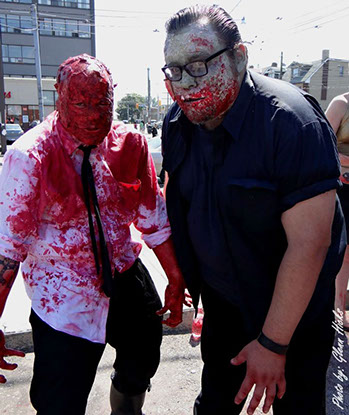
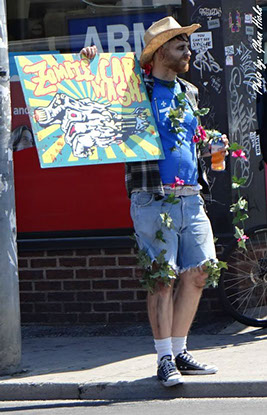
Photos by: Glen Hicks #1
Photos by: Glen Hicks #2
Photos by: Glen Hicks #3
Photos by: Glen Hicks #4
Photos by: Glen Hicks #5
Photos by: Glen Hicks #6
Photos by: Glen Hicks #7
Photos by: Glen Hicks #8
Photos by: Glen Hicks #9
Photos by: Glen Hicks #10
Photos by: Glen Hicks #11
Photos by: Glen Hicks #12
Photos by: Glen Hicks #13
Photos by: Glen Hicks #14
Photos by: Glen Hicks #15
Photos by: Glen Hicks #16
Photos by: Glen Hicks #17
Photos by: Glen Hicks #18
Photos by: Glen Hicks #19
Photos by: Glen Hicks #20
Photos by: Glen Hicks #21
Photos by: Glen Hicks #22
Photos by: Glen Hicks #23
Photos by: Glen Hicks #24
Photos by: Glen Hicks #25
Photos by: Glen Hicks #26
Photos by: Glen Hicks #27
Photos by: Glen Hicks #28
Photos by: Glen Hicks #29
Photos by: Glen Hicks #30
Photos by: Glen Hicks #31
Photos by: Glen Hicks #32
Photos by: Glen Hicks #33
Photos by: Glen Hicks #34
Photos by: Glen Hicks #35
Photos by: Glen Hicks #36
Photos by: Glen Hicks #37
Photos by: Glen Hicks #38
Photos by: Glen Hicks #39
Photos by: Glen Hicks #40
Photos by: Glen Hicks #41
Photos by: Glen Hicks #42
Photos by: Glen Hicks #43
1 - 43
<
>

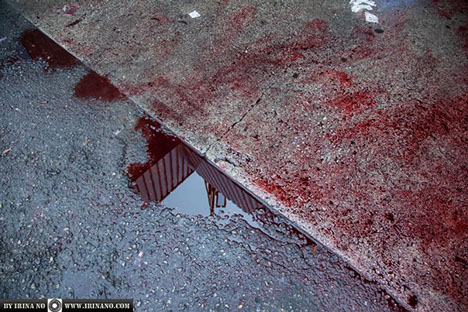
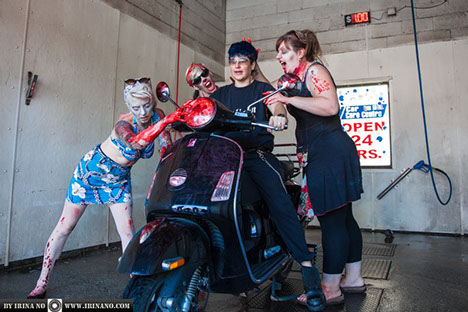
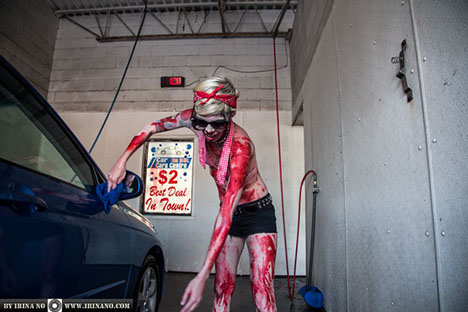
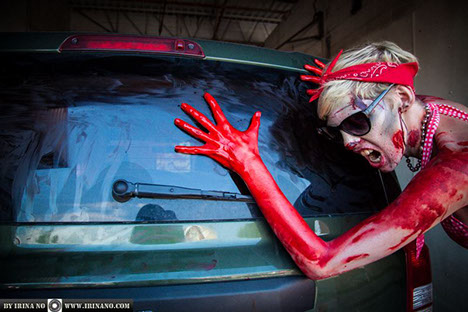
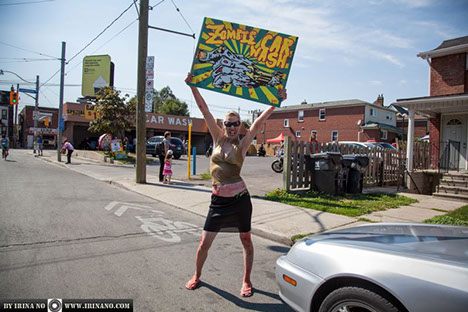
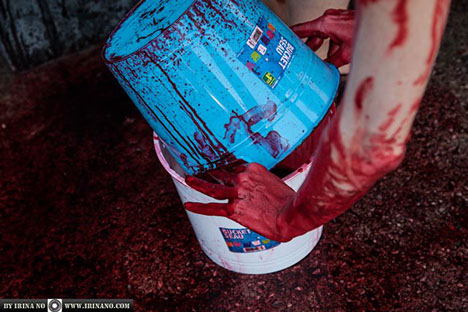
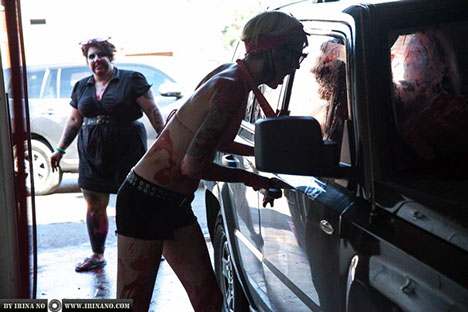
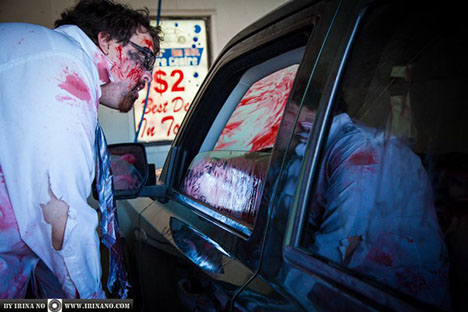

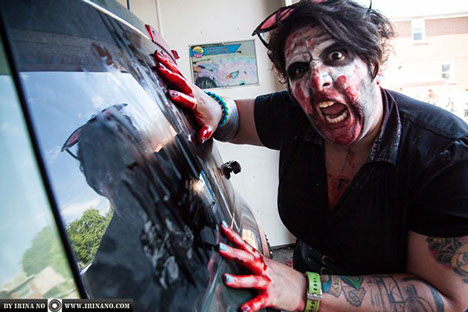
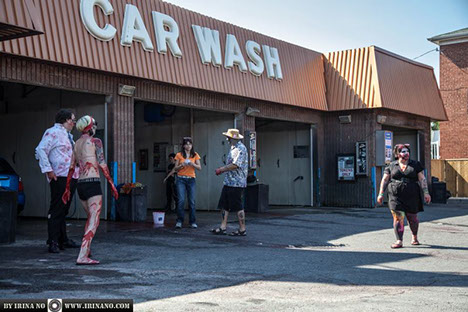
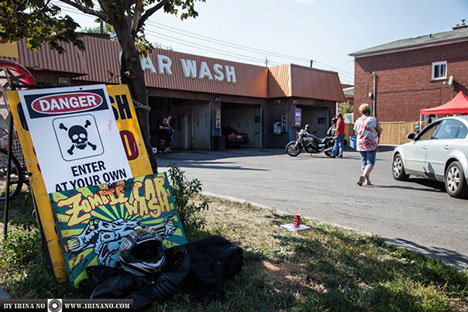
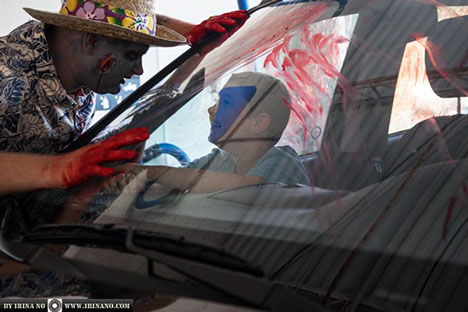
Photos by: Irina No #1
Photos by: Irina No #2
Photos by: Irina No #3
Photos by: Irina No #4
Photos by: Irina No #5
Photos by: Irina No #6
Photos by: Irina No #7
Photos by: Irina No #8
Photos by: Irina No #9
Photos by: Irina No #10
Photos by: Irina No #11
Photos by: Irina No #12
Photos by: Irina No #13
Photos by: Irina No #14
1 - 14
<
>


Photos by: Jonathan Tan #1
Photos by: Jonathan Tan #2
Photos by: Jonathan Tan #3
Photos by: Jonathan Tan #4
Photos by: Jonathan Tan #5
Photos by: Jonathan Tan #6
Photos by: Jonathan Tan #7
Photos by: Jonathan Tan #8
Photos by: Jonathan Tan #9
Photos by: Jonathan Tan #10
Photos by: Jonathan Tan #11
Photos by: Jonathan Tan #12
Photos by: Jonathan Tan #13
Photos by: Jonathan Tan #14
Photos by: Jonathan Tan #15
Photos by: Jonathan Tan #16
Photos by: Jonathan Tan #17
Photos by: Jonathan Tan #18
Photos by: Jonathan Tan #19
Photos by: Jonathan Tan #20
Photos by: Jonathan Tan #21
Photos by: Jonathan Tan #22
Photos by: Jonathan Tan #23
Photos by: Jonathan Tan #24
Photos by: Jonathan Tan #25
1 - 25
<
>


Photos by: Shannon Stafford #1
Photos by: Shannon Stafford #2
Photos by: Shannon Stafford #3
Photos by: Shannon Stafford #4
Photos by: Shannon Stafford #5
Photos by: Shannon Stafford #6
Photos by: Shannon Stafford #7
Photos by: Shannon Stafford #8
Photos by: Shannon Stafford #9
Photos by: Shannon Stafford #10
Photos by: Shannon Stafford #11
Photos by: Shannon Stafford #12
Photos by: Shannon Stafford #13
Photos by: Shannon Stafford #14
Photos by: Shannon Stafford #15
Photos by: Shannon Stafford #16
Photos by: Shannon Stafford #17
Photos by: Shannon Stafford #18
Photos by: Shannon Stafford #19
Photos by: Shannon Stafford #20
Photos by: Shannon Stafford #21
Photos by: Shannon Stafford #22
Photos by: Shannon Stafford #23
Photos by: Shannon Stafford #24
Photos by: Shannon Stafford #25
Photos by: Shannon Stafford #26
Photos by: Shannon Stafford #27
Photos by: Shannon Stafford #28
Photos by: Shannon Stafford #29
Photos by: Shannon Stafford #30
Photos by: Shannon Stafford #31
Photos by: Shannon Stafford #32
Photos by: Shannon Stafford #33
Photos by: Shannon Stafford #34
Photos by: Shannon Stafford #35
Photos by: Shannon Stafford #36
Photos by: Shannon Stafford #37
Photos by: Shannon Stafford #38
Photos by: Shannon Stafford #39
Photos by: Shannon Stafford #40
Photos by: Shannon Stafford #41
Photos by: Shannon Stafford #42
Photos by: Shannon Stafford #43
Photos by: Shannon Stafford #44
Photos by: Shannon Stafford #45
Photos by: Shannon Stafford #46
Photos by: Shannon Stafford #47
Photos by: Shannon Stafford #48
Photos by: Shannon Stafford #49
Photos by: Shannon Stafford #50
Photos by: Shannon Stafford #51
Photos by: Shannon Stafford #52
Photos by: Shannon Stafford #53
Photos by: Shannon Stafford #54
Photos by: Shannon Stafford #55
Photos by: Shannon Stafford #56
Photos by: Shannon Stafford #57
Photos by: Shannon Stafford #58
Photos by: Shannon Stafford #59
Photos by: Shannon Stafford #60
Photos by: Shannon Stafford #61
Photos by: Shannon Stafford #62
Photos by: Shannon Stafford #63
Photos by: Shannon Stafford #64
Photos by: Shannon Stafford #65
Photos by: Shannon Stafford #66
Photos by: Shannon Stafford #67
Photos by: Shannon Stafford #68
Photos by: Shannon Stafford #69
Photos by: Shannon Stafford #70
Photos by: Shannon Stafford #71
Photos by: Shannon Stafford #72
Photos by: Shannon Stafford #73
Photos by: Shannon Stafford #74
Photos by: Shannon Stafford #75
Photos by: Shannon Stafford #76
Photos by: Shannon Stafford #77
Photos by: Shannon Stafford #78
Photos by: Shannon Stafford #79
Photos by: Shannon Stafford #80
Photos by: Shannon Stafford #81
Photos by: Shannon Stafford #82
Photos by: Shannon Stafford #83
Photos by: Shannon Stafford #84
Photos by: Shannon Stafford #85
Photos by: Shannon Stafford #86
Photos by: Shannon Stafford #87
Photos by: Shannon Stafford #88
Photos by: Shannon Stafford #89
Photos by: Shannon Stafford #90
Photos by: Shannon Stafford #91
Photos by: Shannon Stafford #92
Photos by: Shannon Stafford #93
Photos by: Shannon Stafford #94
Photos by: Shannon Stafford #95
Photos by: Shannon Stafford #96
Photos by: Shannon Stafford #97
Photos by: Shannon Stafford #98
Photos by: Shannon Stafford #99
Photos by: Shannon Stafford #100
Photos by: Shannon Stafford #101
Photos by: Shannon Stafford #102
Photos by: Shannon Stafford #103
Photos by: Shannon Stafford #104
Photos by: Shannon Stafford #105
Photos by: Shannon Stafford #106
Photos by: Shannon Stafford #107
Photos by: Shannon Stafford #108
Photos by: Shannon Stafford #109
Photos by: Shannon Stafford #110
Photos by: Shannon Stafford #111
Photos by: Shannon Stafford #112
Photos by: Shannon Stafford #113
Photos by: Shannon Stafford #114
Photos by: Shannon Stafford #115
Photos by: Shannon Stafford #116
Photos by: Shannon Stafford #117
Photos by: Shannon Stafford #118
Photos by: Shannon Stafford #119
Photos by: Shannon Stafford #120
Photos by: Shannon Stafford #121
Photos by: Shannon Stafford #122
Photos by: Shannon Stafford #123
Photos by: Shannon Stafford #124
Photos by: Shannon Stafford #125
Photos by: Shannon Stafford #126
Photos by: Shannon Stafford #127
Photos by: Shannon Stafford #128
Photos by: Shannon Stafford #129
Photos by: Shannon Stafford #130
Photos by: Shannon Stafford #131
Photos by: Shannon Stafford #132
Photos by: Shannon Stafford #133
Photos by: Shannon Stafford #134
Photos by: Shannon Stafford #135
Photos by: Shannon Stafford #136
Photos by: Shannon Stafford #137
Photos by: Shannon Stafford #138
Photos by: Shannon Stafford #139
Photos by: Shannon Stafford #140
Photos by: Shannon Stafford #141
Photos by: Shannon Stafford #142
Photos by: Shannon Stafford #143
Photos by: Shannon Stafford #144
Photos by: Shannon Stafford #145
Photos by: Shannon Stafford #146
Photos by: Shannon Stafford #147
Photos by: Shannon Stafford #148
Photos by: Shannon Stafford #149
Photos by: Shannon Stafford #150
Photos by: Shannon Stafford #151
Photos by: Shannon Stafford #152
Photos by: Shannon Stafford #153
Photos by: Shannon Stafford #154
Photos by: Shannon Stafford #155
Photos by: Shannon Stafford #156
Photos by: Shannon Stafford #157
Photos by: Shannon Stafford #158
1 - 158
<
>
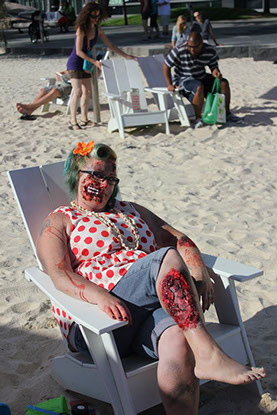
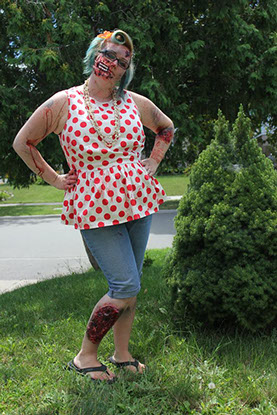
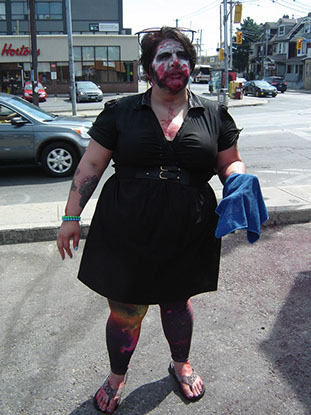
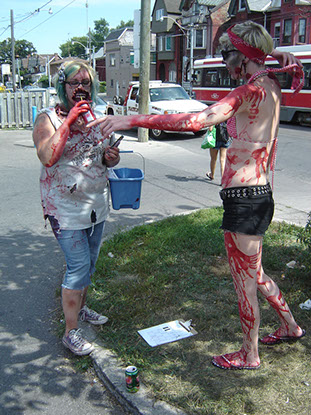
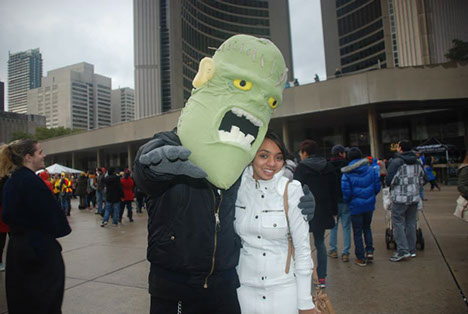
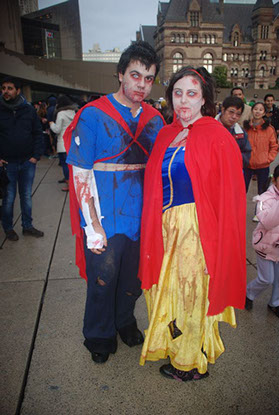
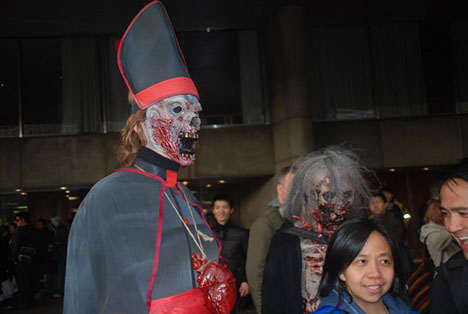
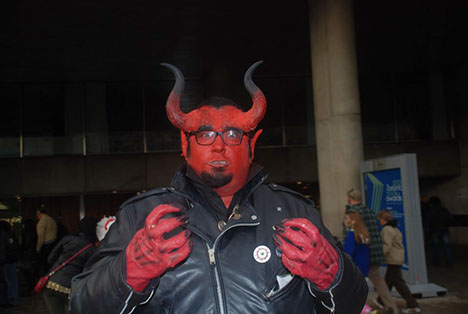
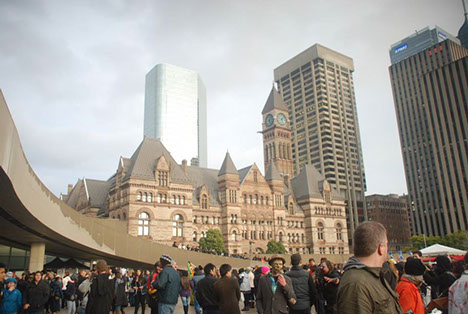
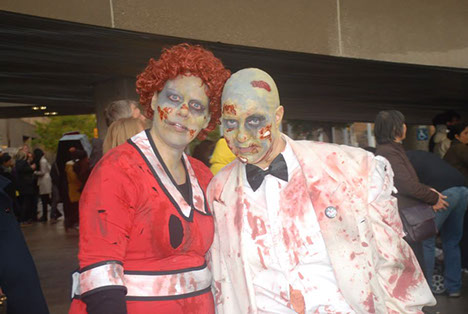
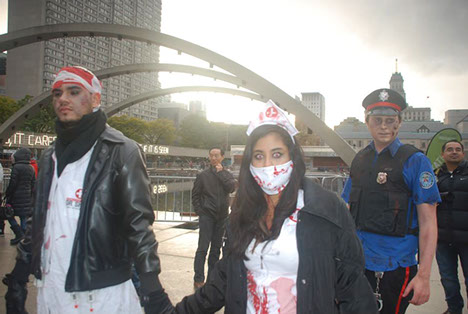
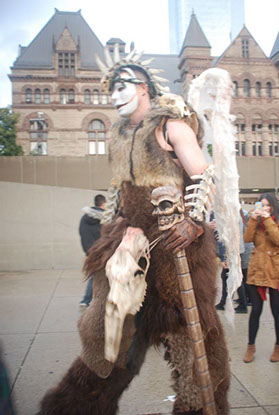
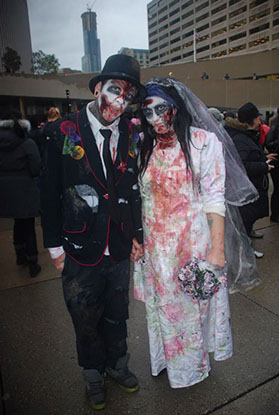
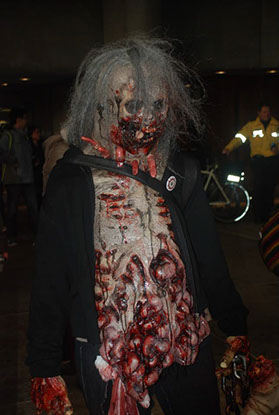
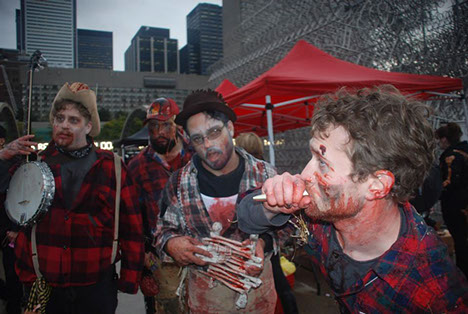
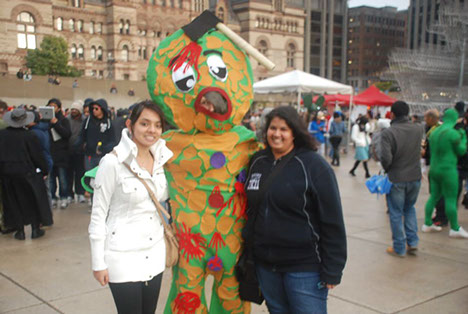
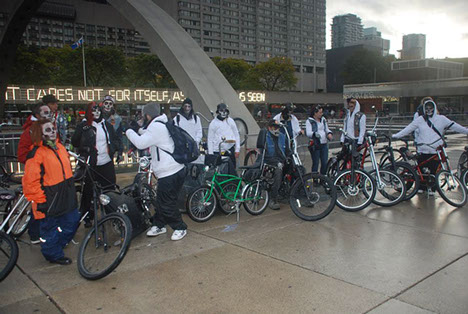
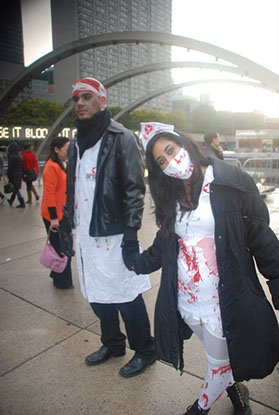
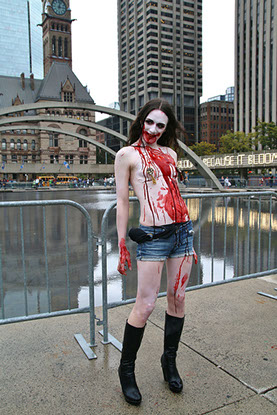
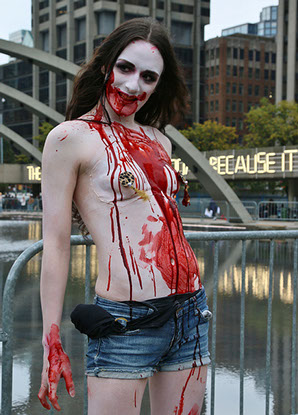
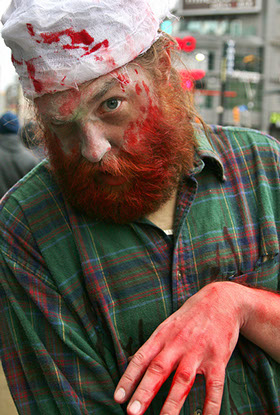
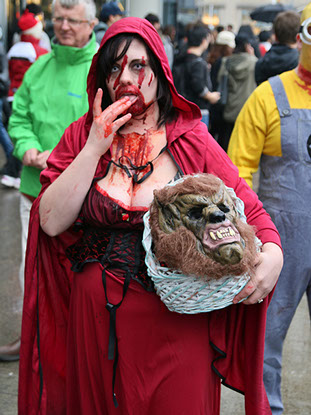
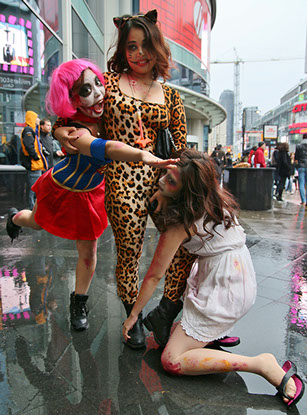
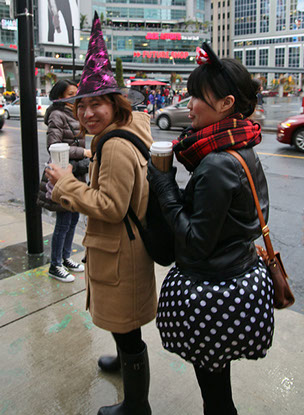
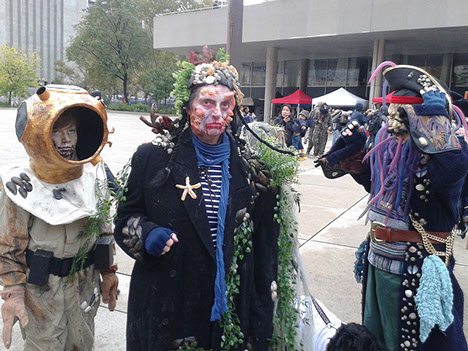
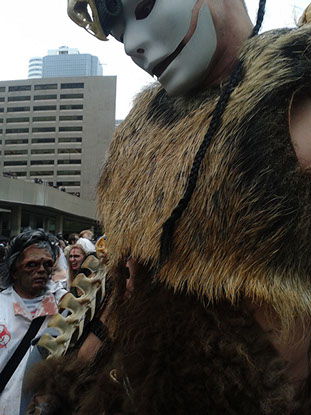
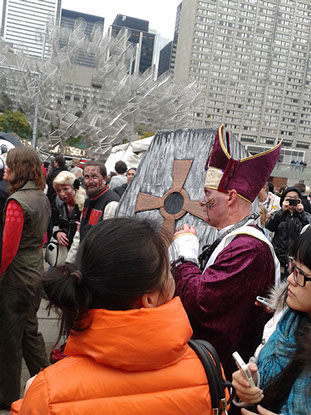
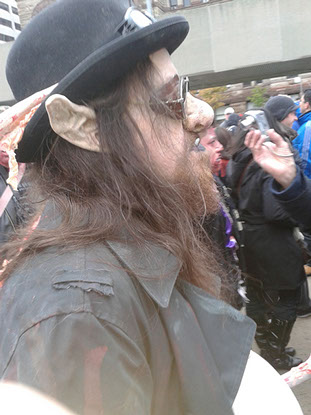
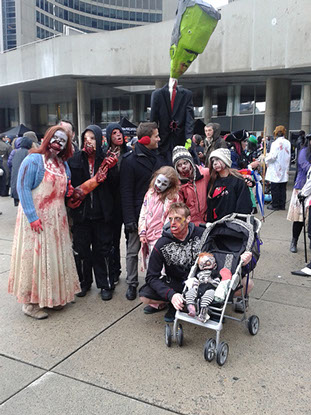
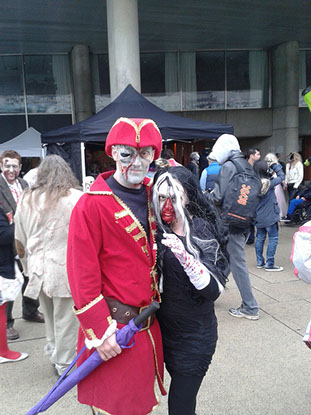
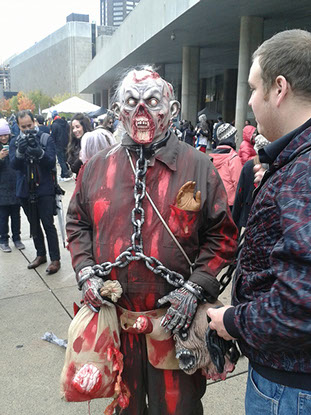
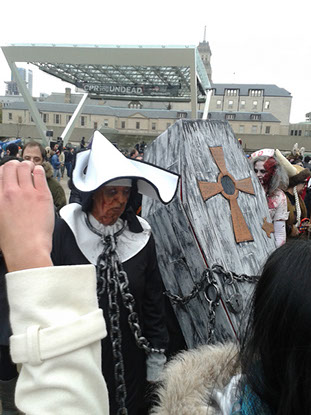
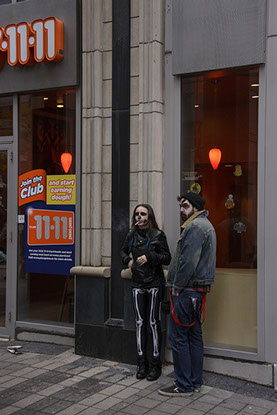
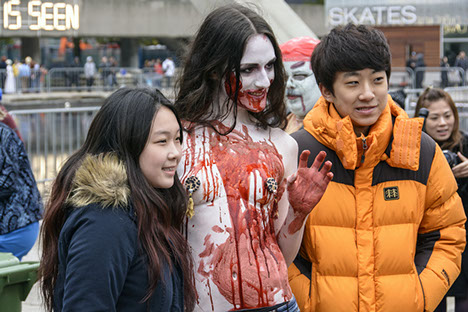
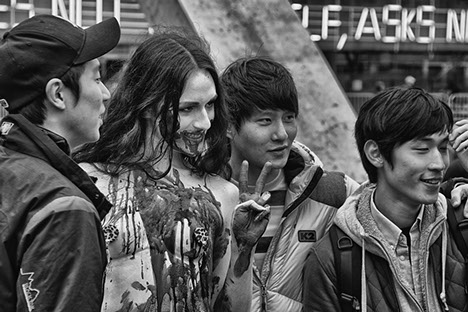
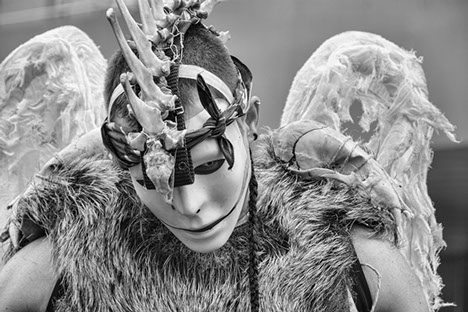
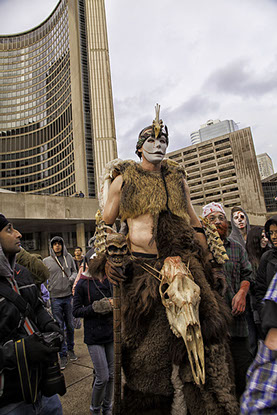
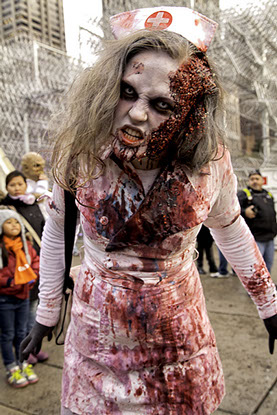
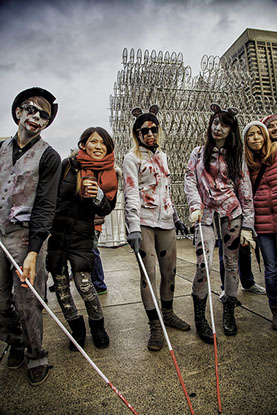
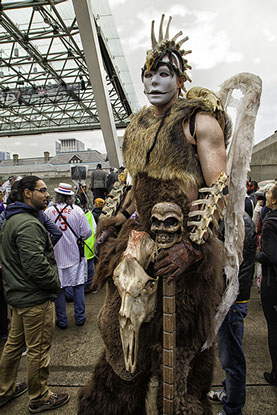
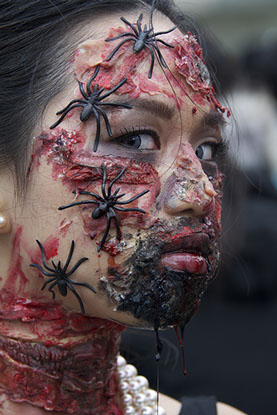
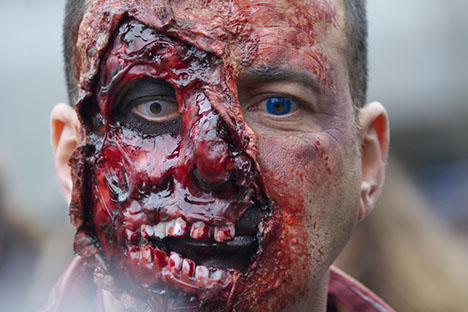
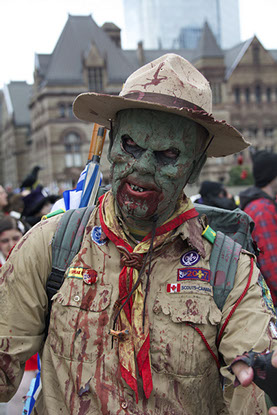
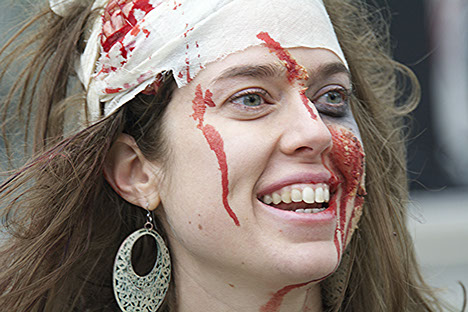
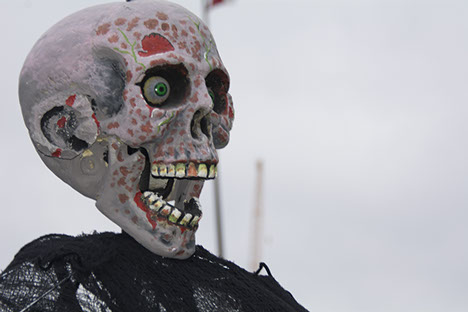
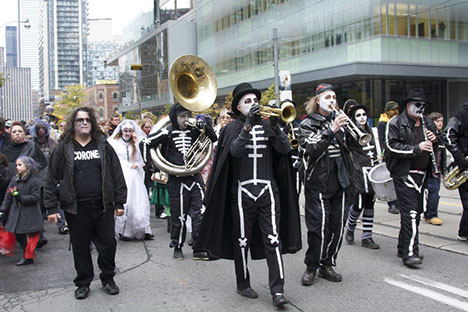
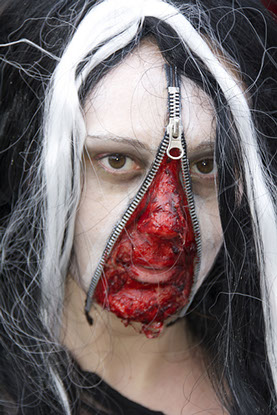
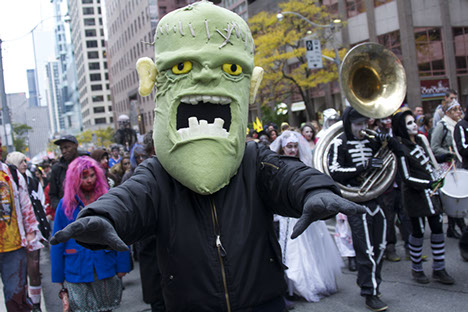
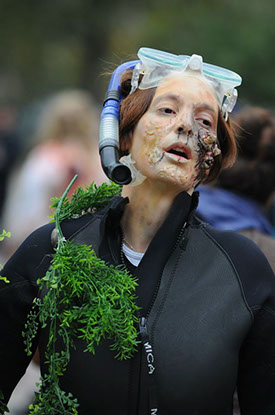
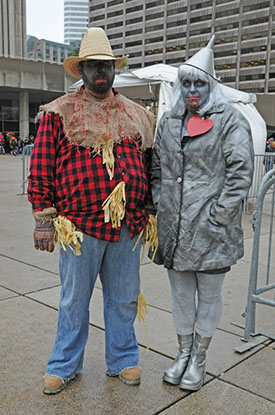
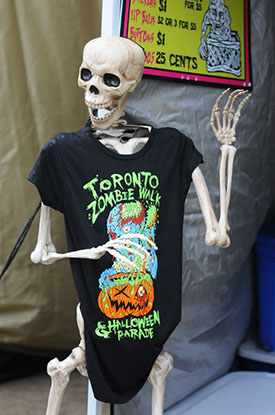
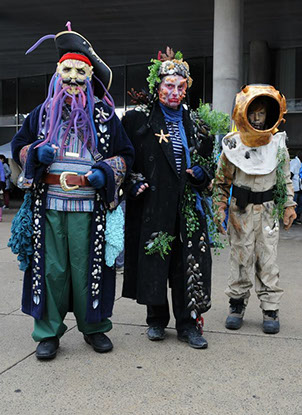
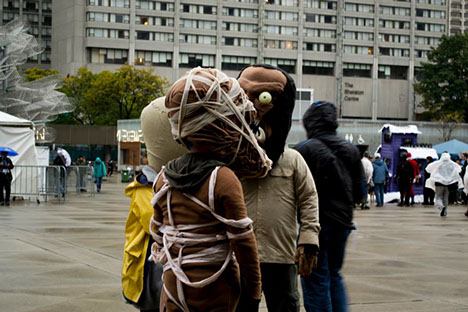
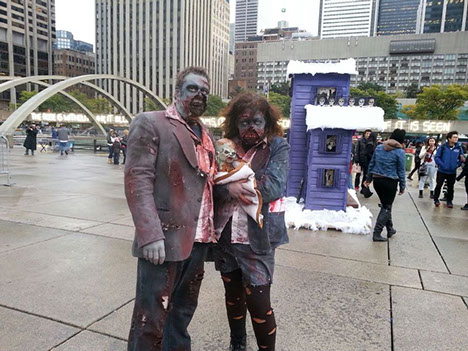
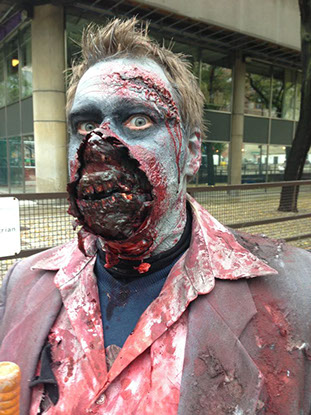
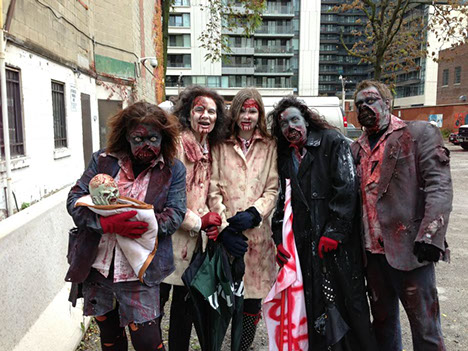
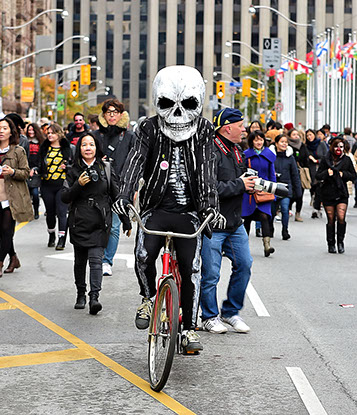
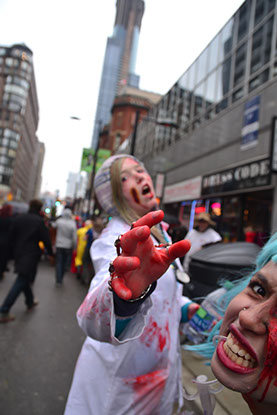
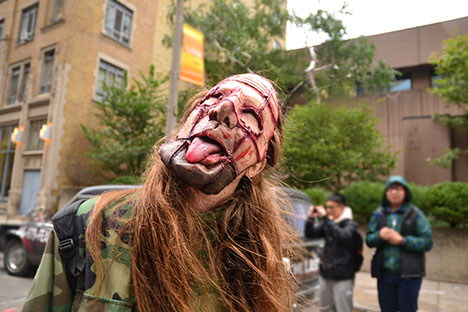
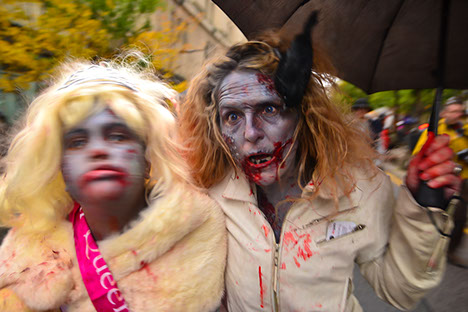
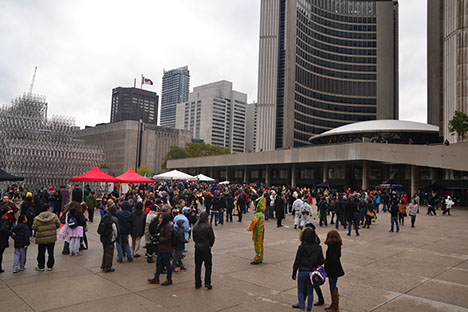
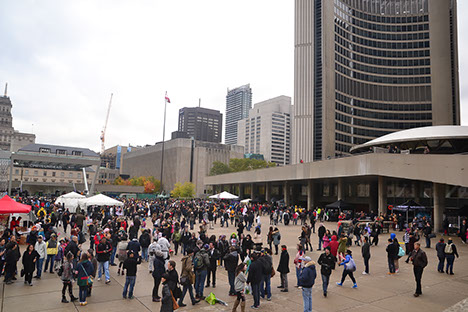
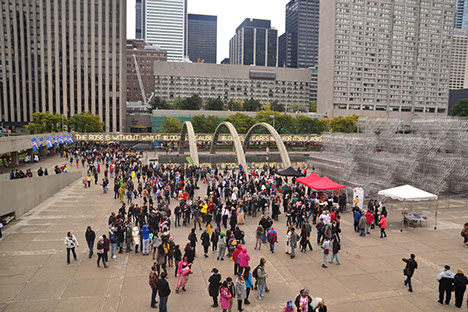
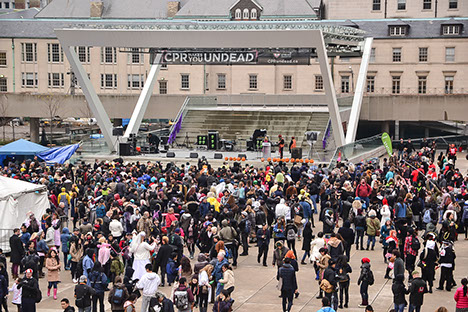
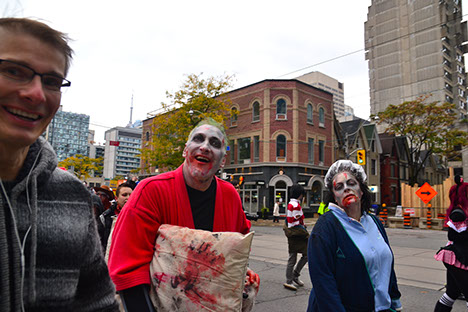
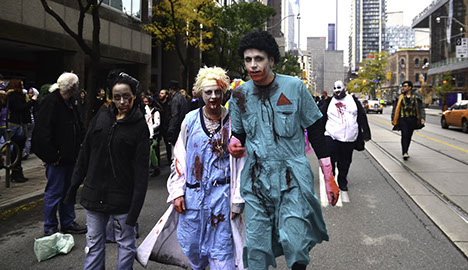
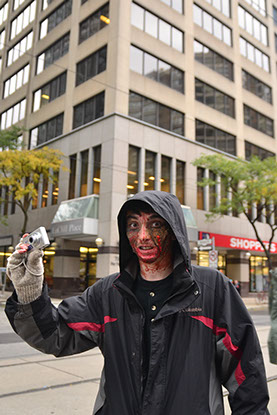
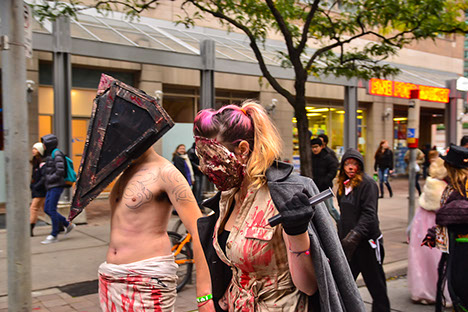
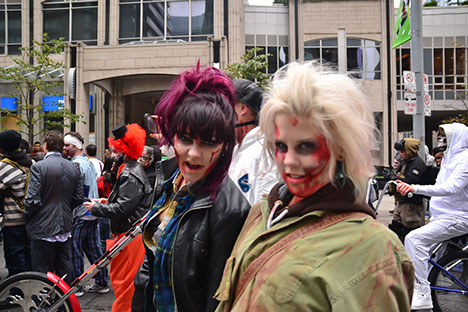
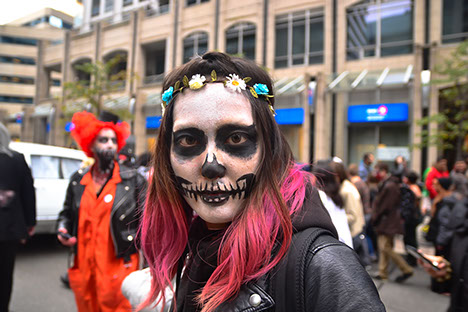
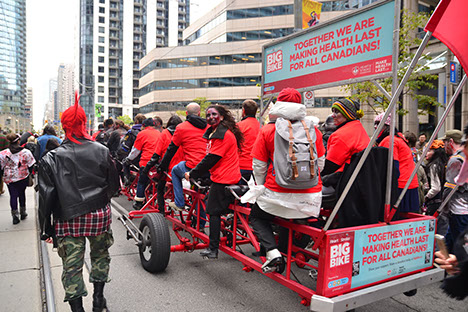
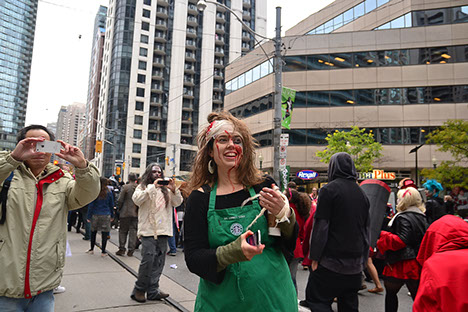
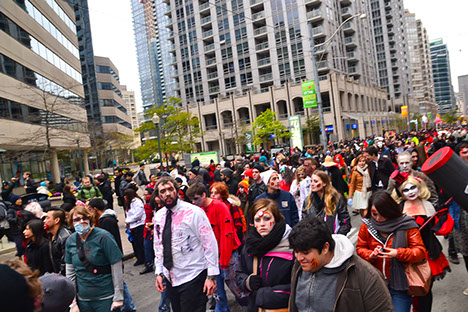
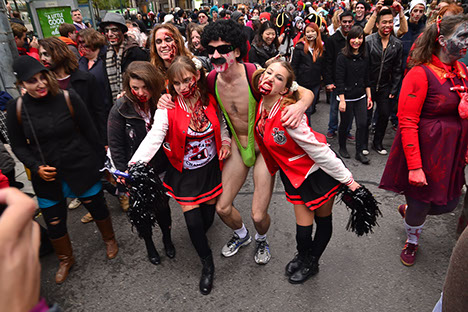
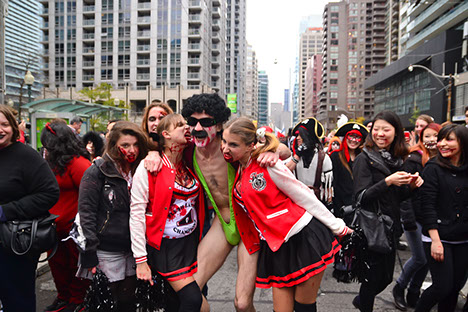
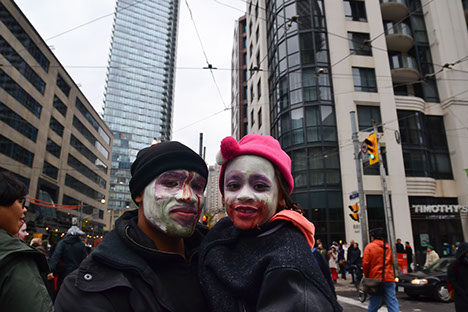
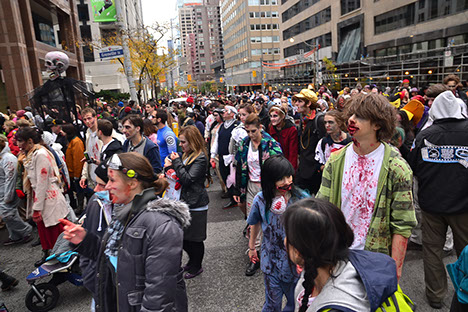
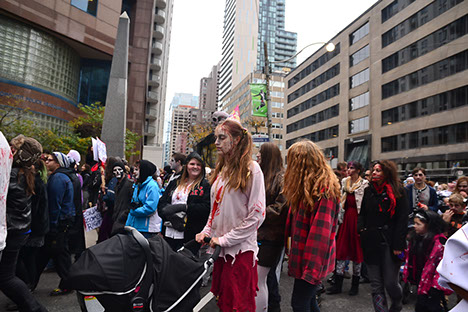
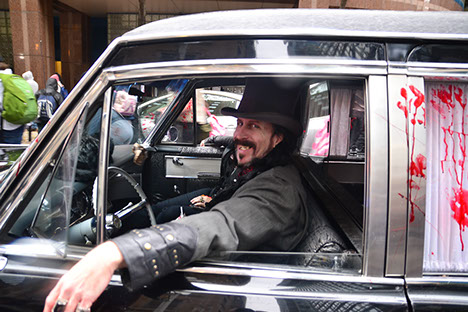
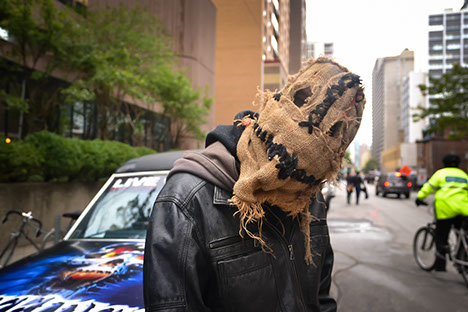
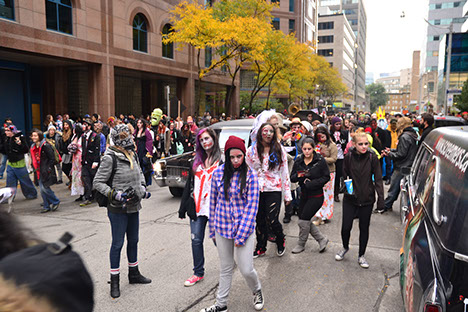
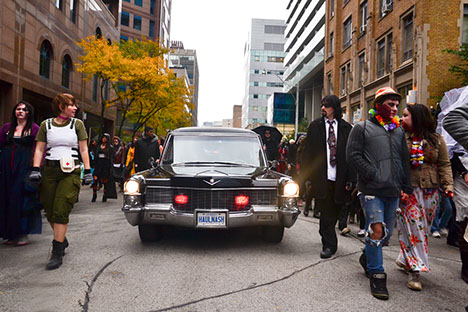
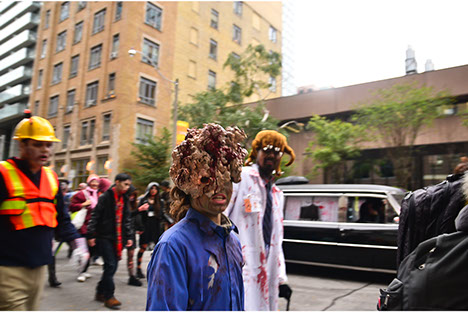
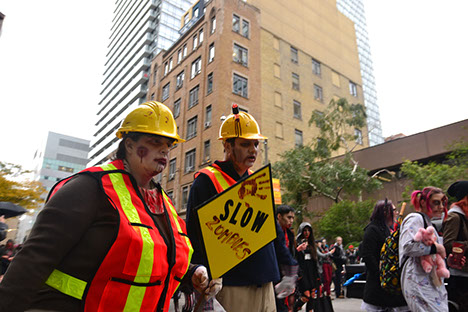
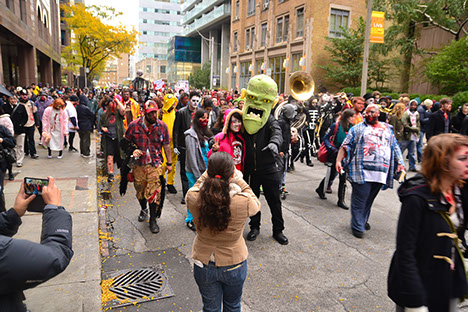
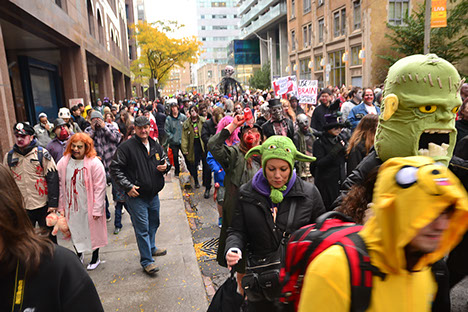
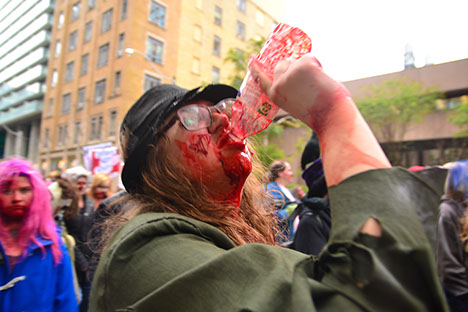
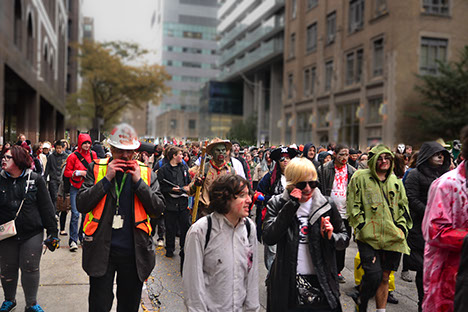
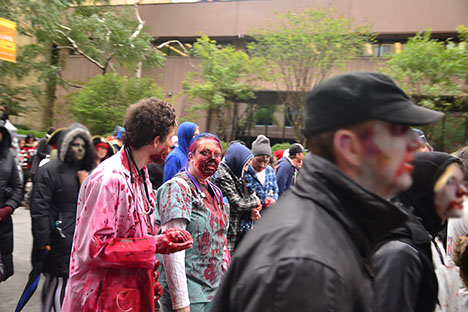
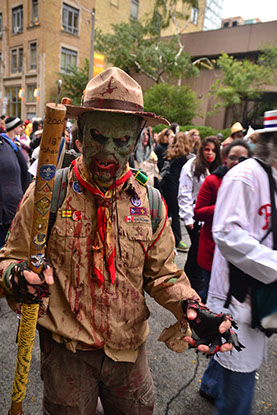
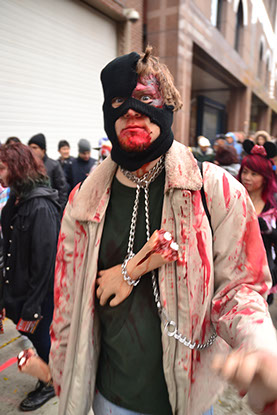
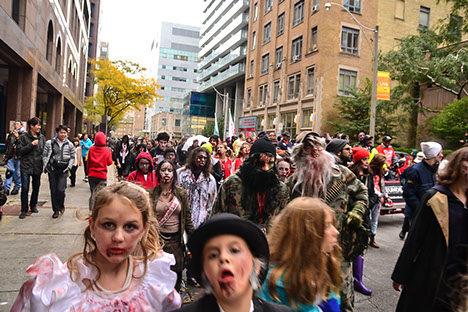
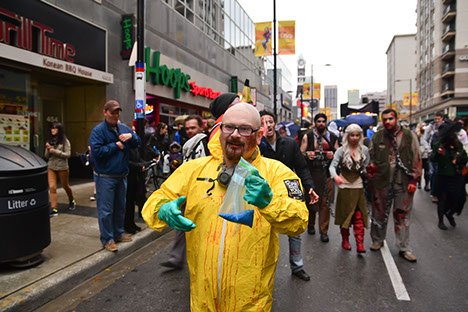
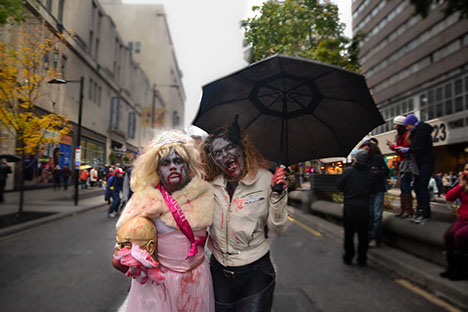
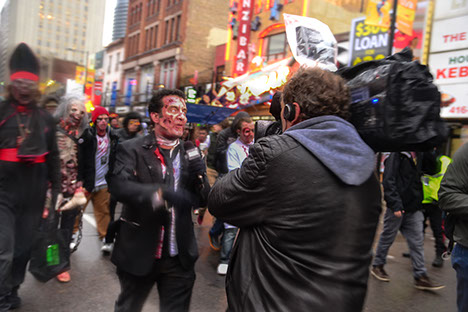
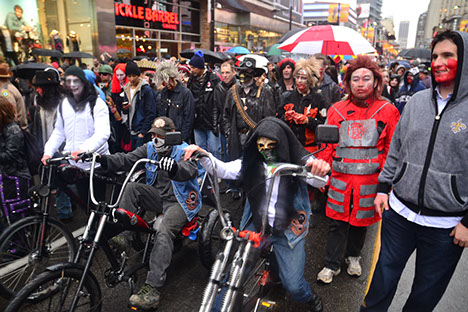
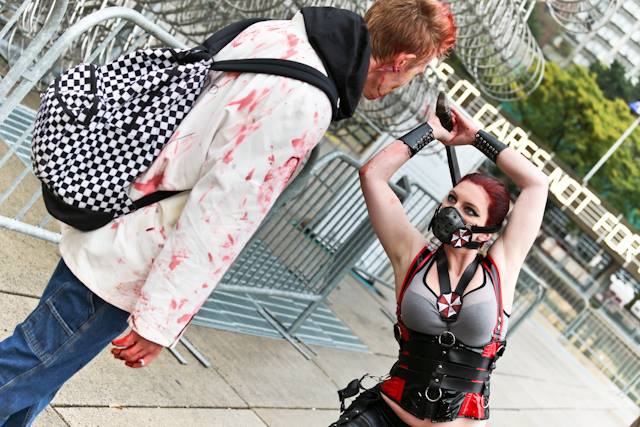
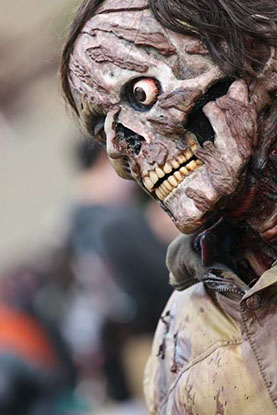
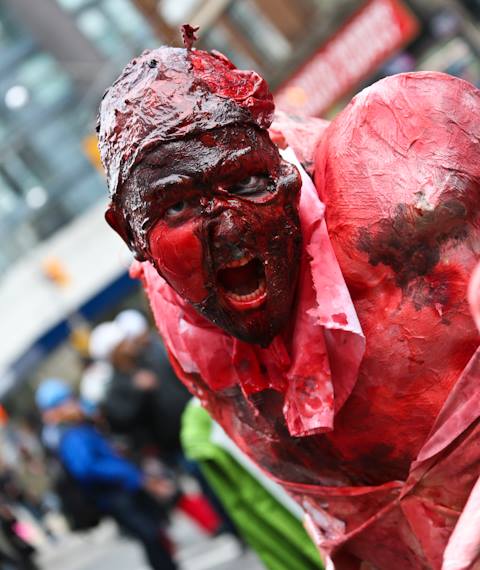
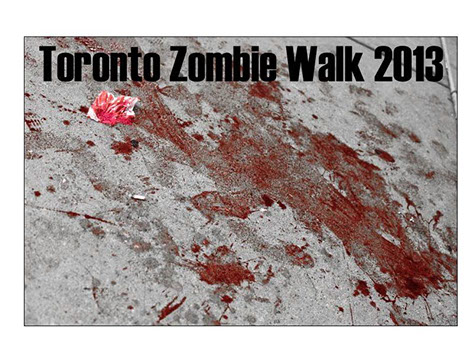
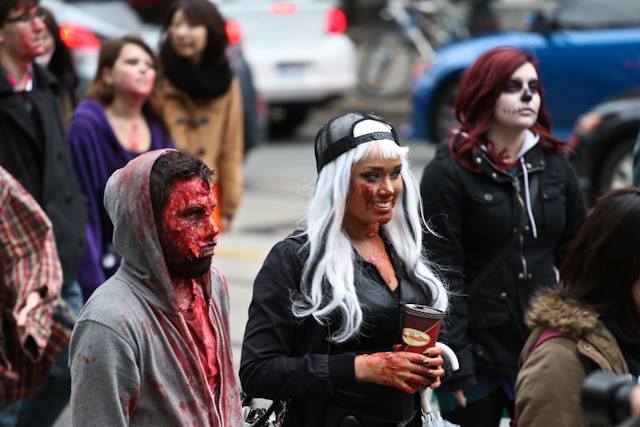
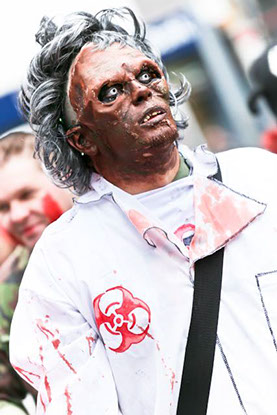
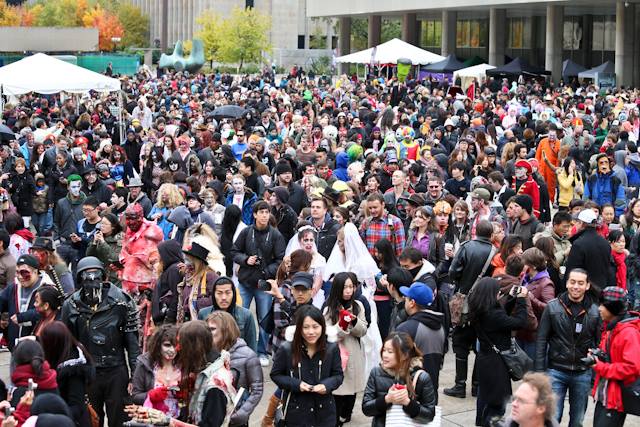
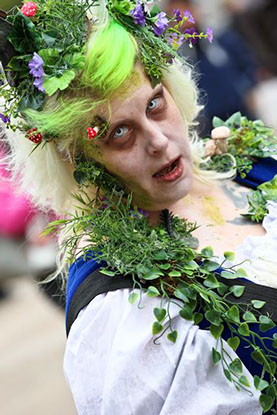
Toronto Zombie Walk 2013


Photos by: Aashni Shah #1
Photos by: Aashni Shah #2
Photos by: Aashni Shah #3
Photos by: Aashni Shah #4
Photos by: Aashni Shah #5
Photos by: Aashni Shah #6
Photos by: Aashni Shah #7
Photos by: Aashni Shah #8
Photos by: Aashni Shah #9
Photos by: Aashni Shah #10
Photos by: Aashni Shah #11
Photos by: Aashni Shah #12
Photos by: Aashni Shah #13
Photos by: Aashni Shah #14
Photos by: Aashni Shah #15
Photos by: Aashni Shah #16
Photos by: Aashni Shah #17
Photos by: Aashni Shah #18
Photos by: Aashni Shah #19
Photos by: Aashni Shah #20
Photos by: Aashni Shah #21
Photos by: Aashni Shah #22
Photos by: Aashni Shah #23
Photos by: Aashni Shah #24
Photos by: Aashni Shah #25
Photos by: Aashni Shah #26
Photos by: Aashni Shah #27
Photos by: Aashni Shah #28
Photos by: Aashni Shah #29
Photos by: Aashni Shah #30
Photos by: Aashni Shah #31
Photos by: Aashni Shah #32
Photos by: Aashni Shah #33
Photos by: Aashni Shah #34
Photos by: Aashni Shah #35
Photos by: Aashni Shah #36
Photos by: Aashni Shah #37
Photos by: Aashni Shah #38
Photos by: Aashni Shah #39
Photos by: Aashni Shah #40
Photos by: Aashni Shah #41
Photos by: Aashni Shah #42
Photos by: Aashni Shah #43
Photos by: Aashni Shah #44
Photos by: Aashni Shah #45
Photos by: Aashni Shah #46
Photos by: Aashni Shah #47
Photos by: Aashni Shah #48
Photos by: Aashni Shah #49
Photos by: Aashni Shah #50
1 - 50
<
>


Photos by: Aben at Torontosmurf Photography #1
Photos by: Aben at Torontosmurf Photography #2
Photos by: Aben at Torontosmurf Photography #3
Photos by: Aben at Torontosmurf Photography #4
Photos by: Aben at Torontosmurf Photography #5
Photos by: Aben at Torontosmurf Photography #6
Photos by: Aben at Torontosmurf Photography #7
Photos by: Aben at Torontosmurf Photography #8
Photos by: Aben at Torontosmurf Photography #9
Photos by: Aben at Torontosmurf Photography #10
Photos by: Aben at Torontosmurf Photography #11
Photos by: Aben at Torontosmurf Photography #12
Photos by: Aben at Torontosmurf Photography #13
Photos by: Aben at Torontosmurf Photography #14
Photos by: Aben at Torontosmurf Photography #15
Photos by: Aben at Torontosmurf Photography #16
Photos by: Aben at Torontosmurf Photography #17
Photos by: Aben at Torontosmurf Photography #18
Photos by: Aben at Torontosmurf Photography #19
Photos by: Aben at Torontosmurf Photography #20
Photos by: Aben at Torontosmurf Photography #21
Photos by: Aben at Torontosmurf Photography #22
Photos by: Aben at Torontosmurf Photography #23
Photos by: Aben at Torontosmurf Photography #24
Photos by: Aben at Torontosmurf Photography #25
Photos by: Aben at Torontosmurf Photography #26
Photos by: Aben at Torontosmurf Photography #27
Photos by: Aben at Torontosmurf Photography #28
Photos by: Aben at Torontosmurf Photography #29
Photos by: Aben at Torontosmurf Photography #30
Photos by: Aben at Torontosmurf Photography #31
Photos by: Aben at Torontosmurf Photography #32
Photos by: Aben at Torontosmurf Photography #33
Photos by: Aben at Torontosmurf Photography #34
Photos by: Aben at Torontosmurf Photography #35
Photos by: Aben at Torontosmurf Photography #36
Photos by: Aben at Torontosmurf Photography #37
Photos by: Aben at Torontosmurf Photography #38
Photos by: Aben at Torontosmurf Photography #39
Photos by: Aben at Torontosmurf Photography #40
Photos by: Aben at Torontosmurf Photography #41
Photos by: Aben at Torontosmurf Photography #42
Photos by: Aben at Torontosmurf Photography #43
Photos by: Aben at Torontosmurf Photography #44
Photos by: Aben at Torontosmurf Photography #45
Photos by: Aben at Torontosmurf Photography #46
Photos by: Aben at Torontosmurf Photography #47
Photos by: Aben at Torontosmurf Photography #48
Photos by: Aben at Torontosmurf Photography #49
Photos by: Aben at Torontosmurf Photography #50
Photos by: Aben at Torontosmurf Photography #51
Photos by: Aben at Torontosmurf Photography #52
Photos by: Aben at Torontosmurf Photography #53
Photos by: Aben at Torontosmurf Photography #54
Photos by: Aben at Torontosmurf Photography #55
Photos by: Aben at Torontosmurf Photography #56
Photos by: Aben at Torontosmurf Photography #57
Photos by: Aben at Torontosmurf Photography #58
Photos by: Aben at Torontosmurf Photography #59
Photos by: Aben at Torontosmurf Photography #60
Photos by: Aben at Torontosmurf Photography #61
Photos by: Aben at Torontosmurf Photography #62
Photos by: Aben at Torontosmurf Photography #63
Photos by: Aben at Torontosmurf Photography #64
Photos by: Aben at Torontosmurf Photography #65
Photos by: Aben at Torontosmurf Photography #66
Photos by: Aben at Torontosmurf Photography #67
Photos by: Aben at Torontosmurf Photography #68
Photos by: Aben at Torontosmurf Photography #69
Photos by: Aben at Torontosmurf Photography #70
Photos by: Aben at Torontosmurf Photography #71
Photos by: Aben at Torontosmurf Photography #72
Photos by: Aben at Torontosmurf Photography #73
Photos by: Aben at Torontosmurf Photography #74
Photos by: Aben at Torontosmurf Photography #75
Photos by: Aben at Torontosmurf Photography #76
Photos by: Aben at Torontosmurf Photography #77
Photos by: Aben at Torontosmurf Photography #78
Photos by: Aben at Torontosmurf Photography #79
Photos by: Aben at Torontosmurf Photography #80
Photos by: Aben at Torontosmurf Photography #81
Photos by: Aben at Torontosmurf Photography #82
Photos by: Aben at Torontosmurf Photography #83
Photos by: Aben at Torontosmurf Photography #84
Photos by: Aben at Torontosmurf Photography #85
Photos by: Aben at Torontosmurf Photography #86
Photos by: Aben at Torontosmurf Photography #87
Photos by: Aben at Torontosmurf Photography #88
Photos by: Aben at Torontosmurf Photography #89
Photos by: Aben at Torontosmurf Photography #90
Photos by: Aben at Torontosmurf Photography #91
Photos by: Aben at Torontosmurf Photography #92
Photos by: Aben at Torontosmurf Photography #93
Photos by: Aben at Torontosmurf Photography #94
Photos by: Aben at Torontosmurf Photography #95
1 - 95
<
>
Photos by: Alexander Meoko #1
1 - 1
<
>


Photos by: Andres Musta #1
Photos by: Andres Musta #2
Photos by: Andres Musta #3
Photos by: Andres Musta #4
Photos by: Andres Musta #5
Photos by: Andres Musta #6
Photos by: Andres Musta #7
Photos by: Andres Musta #8
Photos by: Andres Musta #9
Photos by: Andres Musta #10
Photos by: Andres Musta #11
Photos by: Andres Musta #12
Photos by: Andres Musta #13
Photos by: Andres Musta #14
Photos by: Andres Musta #15
Photos by: Andres Musta #16
Photos by: Andres Musta #17
Photos by: Andres Musta #18
Photos by: Andres Musta #19
Photos by: Andres Musta #20
Photos by: Andres Musta #21
Photos by: Andres Musta #22
Photos by: Andres Musta #23
Photos by: Andres Musta #24
Photos by: Andres Musta #25
Photos by: Andres Musta #26
Photos by: Andres Musta #27
Photos by: Andres Musta #28
Photos by: Andres Musta #29
Photos by: Andres Musta #30
Photos by: Andres Musta #31
Photos by: Andres Musta #32
Photos by: Andres Musta #33
1 - 33
<
>


Photos by: Anna Monika #1
Photos by: Anna Monika #2
Photos by: Anna Monika #3
Photos by: Anna Monika #4
Photos by: Anna Monika #5
Photos by: Anna Monika #6
Photos by: Anna Monika #7
Photos by: Anna Monika #8
Photos by: Anna Monika #9
1 - 9
<
>


Photos by: Ben Roffelsen #1
Photos by: Ben Roffelsen #2
Photos by: Ben Roffelsen #3
Photos by: Ben Roffelsen #4
Photos by: Ben Roffelsen #5
Photos by: Ben Roffelsen #6
Photos by: Ben Roffelsen #7
Photos by: Ben Roffelsen #8
Photos by: Ben Roffelsen #9
Photos by: Ben Roffelsen #10
Photos by: Ben Roffelsen #11
Photos by: Ben Roffelsen #12
Photos by: Ben Roffelsen #13
Photos by: Ben Roffelsen #14
Photos by: Ben Roffelsen #15
1 - 15
<
>


Photos by: Che Rosales #1
Photos by: Che Rosales #2
Photos by: Che Rosales #3
Photos by: Che Rosales #4
Photos by: Che Rosales #5
Photos by: Che Rosales #6
Photos by: Che Rosales #7
Photos by: Che Rosales #8
Photos by: Che Rosales #9
Photos by: Che Rosales #10
1 - 10
<
>


Photos by: Dan Cronin #1
Photos by: Dan Cronin #2
Photos by: Dan Cronin #3
Photos by: Dan Cronin #4
Photos by: Dan Cronin #5
Photos by: Dan Cronin #6
Photos by: Dan Cronin #7
Photos by: Dan Cronin #8
Photos by: Dan Cronin #9
Photos by: Dan Cronin #10
Photos by: Dan Cronin #11
Photos by: Dan Cronin #12
1 - 12
<
>


Photos by: Gerardo at Toronto Events #1
Photos by: Gerardo at Toronto Events #2
Photos by: Gerardo at Toronto Events #3
Photos by: Gerardo at Toronto Events #4
Photos by: Gerardo at Toronto Events #5
Photos by: Gerardo at Toronto Events #6
Photos by: Gerardo at Toronto Events #7
Photos by: Gerardo at Toronto Events #8
Photos by: Gerardo at Toronto Events #9
Photos by: Gerardo at Toronto Events #10
Photos by: Gerardo at Toronto Events #11
Photos by: Gerardo at Toronto Events #12
Photos by: Gerardo at Toronto Events #13
Photos by: Gerardo at Toronto Events #14
Photos by: Gerardo at Toronto Events #15
Photos by: Gerardo at Toronto Events #16
Photos by: Gerardo at Toronto Events #17
Photos by: Gerardo at Toronto Events #18
Photos by: Gerardo at Toronto Events #19
1 - 19
<
>


Photos by: Grace Willan #1
Photos by: Grace Willan #2
Photos by: Grace Willan #3
Photos by: Grace Willan #4
Photos by: Grace Willan #5
Photos by: Grace Willan #6
Photos by: Grace Willan #7
Photos by: Grace Willan #8
Photos by: Grace Willan #9
Photos by: Grace Willan #10
Photos by: Grace Willan #11
Photos by: Grace Willan #12
Photos by: Grace Willan #13
Photos by: Grace Willan #14
Photos by: Grace Willan #15
Photos by: Grace Willan #16
Photos by: Grace Willan #17
Photos by: Grace Willan #18
Photos by: Grace Willan #19
Photos by: Grace Willan #20
Photos by: Grace Willan #21
Photos by: Grace Willan #22
Photos by: Grace Willan #23
Photos by: Grace Willan #24
Photos by: Grace Willan #25
Photos by: Grace Willan #26
1 - 26
<
>


Photos by: Jen Yeaman #1
Photos by: Jen Yeaman #2
Photos by: Jen Yeaman #3
Photos by: Jen Yeaman #4
Photos by: Jen Yeaman #5
Photos by: Jen Yeaman #6
Photos by: Jen Yeaman #7
Photos by: Jen Yeaman #8
Photos by: Jen Yeaman #9
Photos by: Jen Yeaman #10
Photos by: Jen Yeaman #11
Photos by: Jen Yeaman #12
Photos by: Jen Yeaman #13
Photos by: Jen Yeaman #14
Photos by: Jen Yeaman #15
Photos by: Jen Yeaman #16
1 - 16
<
>
Photos by: Kevin Coles #1
Photos by: Kevin Coles #2
Photos by: Kevin Coles #3
Photos by: Kevin Coles #4
Photos by: Kevin Coles #5
Photos by: Kevin Coles #6
Photos by: Kevin Coles #7
1 - 7
<
>


Photos by: Kevin Edward Proulx #1
Photos by: Kevin Edward Proulx #2
Photos by: Kevin Edward Proulx #3
Photos by: Kevin Edward Proulx #4
Photos by: Kevin Edward Proulx #5
Photos by: Kevin Edward Proulx #6
Photos by: Kevin Edward Proulx #7
Photos by: Kevin Edward Proulx #8
Photos by: Kevin Edward Proulx #9
Photos by: Kevin Edward Proulx #10
Photos by: Kevin Edward Proulx #11
Photos by: Kevin Edward Proulx #12
Photos by: Kevin Edward Proulx #13
Photos by: Kevin Edward Proulx #14
Photos by: Kevin Edward Proulx #15
Photos by: Kevin Edward Proulx #16
Photos by: Kevin Edward Proulx #17
Photos by: Kevin Edward Proulx #18
Photos by: Kevin Edward Proulx #19
Photos by: Kevin Edward Proulx #20
Photos by: Kevin Edward Proulx #21
Photos by: Kevin Edward Proulx #22
Photos by: Kevin Edward Proulx #23
Photos by: Kevin Edward Proulx #24
Photos by: Kevin Edward Proulx #25
Photos by: Kevin Edward Proulx #26
Photos by: Kevin Edward Proulx #27
Photos by: Kevin Edward Proulx #28
Photos by: Kevin Edward Proulx #29
Photos by: Kevin Edward Proulx #30
Photos by: Kevin Edward Proulx #31
Photos by: Kevin Edward Proulx #32
Photos by: Kevin Edward Proulx #33
Photos by: Kevin Edward Proulx #34
Photos by: Kevin Edward Proulx #35
Photos by: Kevin Edward Proulx #36
Photos by: Kevin Edward Proulx #37
Photos by: Kevin Edward Proulx #38
Photos by: Kevin Edward Proulx #39
Photos by: Kevin Edward Proulx #40
Photos by: Kevin Edward Proulx #41
Photos by: Kevin Edward Proulx #42
Photos by: Kevin Edward Proulx #43
Photos by: Kevin Edward Proulx #44
Photos by: Kevin Edward Proulx #45
Photos by: Kevin Edward Proulx #46
Photos by: Kevin Edward Proulx #47
Photos by: Kevin Edward Proulx #48
Photos by: Kevin Edward Proulx #49
Photos by: Kevin Edward Proulx #50
Photos by: Kevin Edward Proulx #51
Photos by: Kevin Edward Proulx #52
Photos by: Kevin Edward Proulx #53
Photos by: Kevin Edward Proulx #54
Photos by: Kevin Edward Proulx #55
Photos by: Kevin Edward Proulx #56
Photos by: Kevin Edward Proulx #57
Photos by: Kevin Edward Proulx #58
Photos by: Kevin Edward Proulx #59
Photos by: Kevin Edward Proulx #60
Photos by: Kevin Edward Proulx #61
Photos by: Kevin Edward Proulx #62
Photos by: Kevin Edward Proulx #63
Photos by: Kevin Edward Proulx #64
Photos by: Kevin Edward Proulx #65
Photos by: Kevin Edward Proulx #66
Photos by: Kevin Edward Proulx #67
Photos by: Kevin Edward Proulx #68
Photos by: Kevin Edward Proulx #69
Photos by: Kevin Edward Proulx #70
Photos by: Kevin Edward Proulx #71
Photos by: Kevin Edward Proulx #72
Photos by: Kevin Edward Proulx #73
Photos by: Kevin Edward Proulx #74
Photos by: Kevin Edward Proulx #75
Photos by: Kevin Edward Proulx #76
Photos by: Kevin Edward Proulx #77
Photos by: Kevin Edward Proulx #78
Photos by: Kevin Edward Proulx #79
Photos by: Kevin Edward Proulx #80
Photos by: Kevin Edward Proulx #81
Photos by: Kevin Edward Proulx #82
Photos by: Kevin Edward Proulx #83
Photos by: Kevin Edward Proulx #84
Photos by: Kevin Edward Proulx #85
Photos by: Kevin Edward Proulx #86
Photos by: Kevin Edward Proulx #87
Photos by: Kevin Edward Proulx #88
Photos by: Kevin Edward Proulx #89
Photos by: Kevin Edward Proulx #90
Photos by: Kevin Edward Proulx #91
Photos by: Kevin Edward Proulx #92
Photos by: Kevin Edward Proulx #93
Photos by: Kevin Edward Proulx #94
Photos by: Kevin Edward Proulx #95
Photos by: Kevin Edward Proulx #96
Photos by: Kevin Edward Proulx #97
Photos by: Kevin Edward Proulx #98
Photos by: Kevin Edward Proulx #99
Photos by: Kevin Edward Proulx #100
Photos by: Kevin Edward Proulx #101
Photos by: Kevin Edward Proulx #102
Photos by: Kevin Edward Proulx #103
Photos by: Kevin Edward Proulx #104
Photos by: Kevin Edward Proulx #105
Photos by: Kevin Edward Proulx #106
Photos by: Kevin Edward Proulx #107
Photos by: Kevin Edward Proulx #108
Photos by: Kevin Edward Proulx #109
Photos by: Kevin Edward Proulx #110
Photos by: Kevin Edward Proulx #111
Photos by: Kevin Edward Proulx #112
Photos by: Kevin Edward Proulx #113
Photos by: Kevin Edward Proulx #114
Photos by: Kevin Edward Proulx #115
Photos by: Kevin Edward Proulx #116
Photos by: Kevin Edward Proulx #117
Photos by: Kevin Edward Proulx #118
Photos by: Kevin Edward Proulx #119
Photos by: Kevin Edward Proulx #120
Photos by: Kevin Edward Proulx #121
Photos by: Kevin Edward Proulx #122
Photos by: Kevin Edward Proulx #123
Photos by: Kevin Edward Proulx #124
Photos by: Kevin Edward Proulx #125
Photos by: Kevin Edward Proulx #126
Photos by: Kevin Edward Proulx #127
Photos by: Kevin Edward Proulx #128
Photos by: Kevin Edward Proulx #129
Photos by: Kevin Edward Proulx #130
Photos by: Kevin Edward Proulx #131
Photos by: Kevin Edward Proulx #132
Photos by: Kevin Edward Proulx #133
Photos by: Kevin Edward Proulx #134
Photos by: Kevin Edward Proulx #135
Photos by: Kevin Edward Proulx #136
Photos by: Kevin Edward Proulx #137
Photos by: Kevin Edward Proulx #138
1 - 138
<
>


Photos by: Kristen Schagen #1
Photos by: Kristen Schagen #2
Photos by: Kristen Schagen #3
Photos by: Kristen Schagen #4
Photos by: Kristen Schagen #5
Photos by: Kristen Schagen #6
Photos by: Kristen Schagen #7
1 - 7
<
>


Photos by: Lissa Sears #1
Photos by: Lissa Sears #2
Photos by: Lissa Sears #3
Photos by: Lissa Sears #4
Photos by: Lissa Sears #5
Photos by: Lissa Sears #6
Photos by: Lissa Sears #7
Photos by: Lissa Sears #8
1 - 8
<
>

.jpg?crc=3997251723)
.jpg?crc=363535501)
.jpg?crc=484314165)
.jpg?crc=4199171663)
.jpg?crc=4173104898)
.jpg?crc=255818810)
.jpg?crc=41818103)
.jpg?crc=4128124142)
.jpg?crc=4119286992)
.jpg?crc=3877375942)
.jpg?crc=3850700255)
.jpg?crc=3935499354)
.jpg?crc=3962082120)
.jpg?crc=3844508492)
.jpg?crc=4015488111)
.jpg?crc=22814461)
.jpg?crc=4099039100)
.jpg?crc=536317424)
.jpg?crc=496046574)
.jpg?crc=4166650272)
.jpg?crc=77027970)
.jpg?crc=4173943072)
.jpg?crc=4249645095)
.jpg?crc=33975677)
.jpg?crc=3983395347)
.jpg?crc=519626056)
.jpg?crc=127931563)
.jpg?crc=3847818160)
.jpg?crc=4141111414)
.jpg?crc=317249185)
.jpg?crc=3776679632)
.jpg?crc=3782908839)
.jpg?crc=301219352)
.jpg?crc=3996804665)
.jpg?crc=3777250582)
.jpg?crc=3789366346)
.jpg?crc=3878696033)
.jpg?crc=378817439)
.jpg?crc=356439427)
.jpg?crc=3962184092)
.jpg?crc=3989968360)
.jpg?crc=81528892)
.jpg?crc=139589165)
.jpg?crc=125271969)
.jpg?crc=4237301703)
.jpg?crc=212160426)
.jpg?crc=3788098904)
.jpg?crc=427918108)
.jpg?crc=4155087700)
.jpg?crc=70959027)
.jpg?crc=68722257)
.jpg?crc=79723454)
.jpg?crc=14935532)


.jpg?crc=4045620885)


Photos by: Louie De Leon #1
Photos by: Louie De Leon #2
Photos by: Louie De Leon #3
Photos by: Louie De Leon #4
Photos by: Louie De Leon #5
Photos by: Louie De Leon #6
Photos by: Louie De Leon #7
Photos by: Louie De Leon #8
Photos by: Louie De Leon #9
Photos by: Louie De Leon #10
Photos by: Louie De Leon #11
Photos by: Louie De Leon #12
Photos by: Louie De Leon #13
Photos by: Louie De Leon #14
Photos by: Louie De Leon #15
Photos by: Louie De Leon #16
Photos by: Louie De Leon #17
Photos by: Louie De Leon #18
Photos by: Louie De Leon #19
Photos by: Louie De Leon #20
Photos by: Louie De Leon #21
Photos by: Louie De Leon #22
Photos by: Louie De Leon #23
Photos by: Louie De Leon #24
Photos by: Louie De Leon #25
Photos by: Louie De Leon #26
Photos by: Louie De Leon #27
Photos by: Louie De Leon #28
Photos by: Louie De Leon #29
Photos by: Louie De Leon #30
Photos by: Louie De Leon #31
Photos by: Louie De Leon #32
Photos by: Louie De Leon #33
Photos by: Louie De Leon #34
Photos by: Louie De Leon #35
Photos by: Louie De Leon #36
Photos by: Louie De Leon #37
Photos by: Louie De Leon #38
Photos by: Louie De Leon #39
Photos by: Louie De Leon #40
Photos by: Louie De Leon #41
Photos by: Louie De Leon #42
Photos by: Louie De Leon #43
Photos by: Louie De Leon #44
Photos by: Louie De Leon #45
Photos by: Louie De Leon #46
Photos by: Louie De Leon #47
Photos by: Louie De Leon #48
Photos by: Louie De Leon #49
Photos by: Louie De Leon #50
Photos by: Louie De Leon #51
Photos by: Louie De Leon #52
Photos by: Louie De Leon #53
Photos by: Louie De Leon #54
Photos by: Louie De Leon #55
Photos by: Louie De Leon #56
Photos by: Louie De Leon #57
Photos by: Louie De Leon #58
Photos by: Louie De Leon #59
Photos by: Louie De Leon #60
Photos by: Louie De Leon #61
Photos by: Louie De Leon #62
Photos by: Louie De Leon #63
Photos by: Louie De Leon #64
Photos by: Louie De Leon #65
Photos by: Louie De Leon #66
Photos by: Louie De Leon #67
Photos by: Louie De Leon #68
Photos by: Louie De Leon #69
Photos by: Louie De Leon #70
Photos by: Louie De Leon #71
Photos by: Louie De Leon #72
Photos by: Louie De Leon #73
Photos by: Louie De Leon #74
Photos by: Louie De Leon #75
Photos by: Louie De Leon #76
Photos by: Louie De Leon #77
Photos by: Louie De Leon #78
Photos by: Louie De Leon #79
Photos by: Louie De Leon #80
Photos by: Louie De Leon #81
Photos by: Louie De Leon #82
Photos by: Louie De Leon #83
Photos by: Louie De Leon #84
Photos by: Louie De Leon #85
Photos by: Louie De Leon #86
Photos by: Louie De Leon #87
Photos by: Louie De Leon #88
Photos by: Louie De Leon #89
Photos by: Louie De Leon #90
Photos by: Louie De Leon #91
Photos by: Louie De Leon #92
Photos by: Louie De Leon #93
Photos by: Louie De Leon #94
Photos by: Louie De Leon #95
Photos by: Louie De Leon #96
Photos by: Louie De Leon #97
Photos by: Louie De Leon #98
Photos by: Louie De Leon #99
Photos by: Louie De Leon #100
Photos by: Louie De Leon #101
Photos by: Louie De Leon #102
Photos by: Louie De Leon #103
Photos by: Louie De Leon #104
Photos by: Louie De Leon #105
Photos by: Louie De Leon #106
Photos by: Louie De Leon #107
Photos by: Louie De Leon #108
Photos by: Louie De Leon #109
Photos by: Louie De Leon #110
Photos by: Louie De Leon #111
Photos by: Louie De Leon #112
Photos by: Louie De Leon #113
Photos by: Louie De Leon #114
Photos by: Louie De Leon #115
Photos by: Louie De Leon #116
Photos by: Louie De Leon #117
Photos by: Louie De Leon #118
Photos by: Louie De Leon #119
Photos by: Louie De Leon #120
Photos by: Louie De Leon #121
Photos by: Louie De Leon #122
Photos by: Louie De Leon #123
Photos by: Louie De Leon #124
Photos by: Louie De Leon #125
Photos by: Louie De Leon #126
Photos by: Louie De Leon #127
Photos by: Louie De Leon #128
Photos by: Louie De Leon #129
Photos by: Louie De Leon #130
Photos by: Louie De Leon #131
Photos by: Louie De Leon #132
Photos by: Louie De Leon #133
Photos by: Louie De Leon #134
Photos by: Louie De Leon #135
Photos by: Louie De Leon #136
Photos by: Louie De Leon #137
Photos by: Louie De Leon #138
Photos by: Louie De Leon #139
Photos by: Louie De Leon #140
Photos by: Louie De Leon #141
Photos by: Louie De Leon #142
Photos by: Louie De Leon #143
Photos by: Louie De Leon #144
Photos by: Louie De Leon #145
Photos by: Louie De Leon #146
Photos by: Louie De Leon #147
Photos by: Louie De Leon #148
Photos by: Louie De Leon #149
Photos by: Louie De Leon #150
Photos by: Louie De Leon #151
Photos by: Louie De Leon #152
Photos by: Louie De Leon #153
Photos by: Louie De Leon #154
Photos by: Louie De Leon #155
Photos by: Louie De Leon #156
Photos by: Louie De Leon #157
Photos by: Louie De Leon #158
Photos by: Louie De Leon #159
Photos by: Louie De Leon #160
Photos by: Louie De Leon #161
Photos by: Louie De Leon #162
Photos by: Louie De Leon #163
Photos by: Louie De Leon #164
Photos by: Louie De Leon #165
Photos by: Louie De Leon #166
Photos by: Louie De Leon #167
Photos by: Louie De Leon #168
Photos by: Louie De Leon #169
Photos by: Louie De Leon #170
Photos by: Louie De Leon #171
Photos by: Louie De Leon #172
Photos by: Louie De Leon #173
Photos by: Louie De Leon #174
Photos by: Louie De Leon #175
Photos by: Louie De Leon #176
Photos by: Louie De Leon #177
Photos by: Louie De Leon #178
Photos by: Louie De Leon #179
Photos by: Louie De Leon #180
Photos by: Louie De Leon #181
Photos by: Louie De Leon #182
Photos by: Louie De Leon #183
Photos by: Louie De Leon #184
Photos by: Louie De Leon #185
Photos by: Louie De Leon #186
Photos by: Louie De Leon #187
1 - 187
<
>


Photos by: Matt Mattei #1
Photos by: Matt Mattei #2
Photos by: Matt Mattei #3
Photos by: Matt Mattei #4
Photos by: Matt Mattei #5
Photos by: Matt Mattei #6
Photos by: Matt Mattei #7
Photos by: Matt Mattei #8
Photos by: Matt Mattei #9
Photos by: Matt Mattei #10
Photos by: Matt Mattei #11
Photos by: Matt Mattei #12
1 - 12
<
>


Photos by: Michael Starcevic #1
Photos by: Michael Starcevic #2
Photos by: Michael Starcevic #3
Photos by: Michael Starcevic #4
Photos by: Michael Starcevic #5
Photos by: Michael Starcevic #6
Photos by: Michael Starcevic #7
Photos by: Michael Starcevic #8
Photos by: Michael Starcevic #9
Photos by: Michael Starcevic #10
Photos by: Michael Starcevic #11
Photos by: Michael Starcevic #12
Photos by: Michael Starcevic #13
Photos by: Michael Starcevic #14
Photos by: Michael Starcevic #15
1 - 15
<
>


Photos by: Michelle Lynch #1
Photos by: Michelle Lynch #2
Photos by: Michelle Lynch #3
Photos by: Michelle Lynch #4
Photos by: Michelle Lynch #5
Photos by: Michelle Lynch #6
Photos by: Michelle Lynch #7
Photos by: Michelle Lynch #8
Photos by: Michelle Lynch #9
Photos by: Michelle Lynch #10
Photos by: Michelle Lynch #11
Photos by: Michelle Lynch #12
Photos by: Michelle Lynch #13
Photos by: Michelle Lynch #14
Photos by: Michelle Lynch #15
1 - 15
<
>
Photos by: Mike Koczka #1
Photos by: Mike Koczka #2
Photos by: Mike Koczka #3
Photos by: Mike Koczka #4
Photos by: Mike Koczka #1
1 - 5
<
>


Photos by: Ozge Dincer Dogan #1
Photos by: Ozge Dincer Dogan #2
Photos by: Ozge Dincer Dogan #3
Photos by: Ozge Dincer Dogan #4
Photos by: Ozge Dincer Dogan #5
Photos by: Ozge Dincer Dogan #6
Photos by: Ozge Dincer Dogan #7
Photos by: Ozge Dincer Dogan #8
1 - 8
<
>


Photos by: Rear Curtain Sync #1
Photos by: Rear Curtain Sync #2
Photos by: Rear Curtain Sync #3
Photos by: Rear Curtain Sync #4
Photos by: Rear Curtain Sync #5
Photos by: Rear Curtain Sync #6
1 - 6
<
>


.jpg?crc=3765679985)


Photos by: Scott Snider #1
Photos by: Scott Snider #2
Photos by: Scott Snider #3
Photos by: Scott Snider #4
Photos by: Scott Snider #5
Photos by: Scott Snider #6
Photos by: Scott Snider #7
Photos by: Scott Snider #8
Photos by: Scott Snider #9
Photos by: Scott Snider #10
Photos by: Scott Snider #11
Photos by: Scott Snider #12
Photos by: Scott Snider #13
Photos by: Scott Snider #14
Photos by: Scott Snider #15
Photos by: Scott Snider #16
Photos by: Scott Snider #17
Photos by: Scott Snider #18
Photos by: Scott Snider #19
Photos by: Scott Snider #20
Photos by: Scott Snider #21
1 - 21
<
>


Photos by: Sue Holland #1
Photos by: Sue Holland #2
Photos by: Sue Holland #3
Photos by: Sue Holland #4
Photos by: Sue Holland #5
Photos by: Sue Holland #6
Photos by: Sue Holland #7
Photos by: Sue Holland #8
Photos by: Sue Holland #9
Photos by: Sue Holland #10
Photos by: Sue Holland #11
Photos by: Sue Holland #12
Photos by: Sue Holland #13
Photos by: Sue Holland #14
Photos by: Sue Holland #15
Photos by: Sue Holland #16
Photos by: Sue Holland #17
Photos by: Sue Holland #18
Photos by: Sue Holland #19
Photos by: Sue Holland #20
Photos by: Sue Holland #21
Photos by: Sue Holland #22
Photos by: Sue Holland #23
Photos by: Sue Holland #24
Photos by: Sue Holland #25
Photos by: Sue Holland #26
Photos by: Sue Holland #27
Photos by: Sue Holland #28
Photos by: Sue Holland #29
Photos by: Sue Holland #30
Photos by: Sue Holland #31
Photos by: Sue Holland #32
Photos by: Sue Holland #33
Photos by: Sue Holland #34
Photos by: Sue Holland #35
Photos by: Sue Holland #36
Photos by: Sue Holland #37
Photos by: Sue Holland #38
Photos by: Sue Holland #39
Photos by: Sue Holland #40
Photos by: Sue Holland #41
Photos by: Sue Holland #42
Photos by: Sue Holland #43
1 - 43
<
>


Photos by: Tomy Pags #1
Photos by: Tomy Pags #2
Photos by: Tomy Pags #3
Photos by: Tomy Pags #4
Photos by: Tomy Pags #5
Photos by: Tomy Pags #6
Photos by: Tomy Pags #7
Photos by: Tomy Pags #8
Photos by: Tomy Pags #9
Photos by: Tomy Pags #10
Photos by: Tomy Pags #11
Photos by: Tomy Pags #12
Photos by: Tomy Pags #13
Photos by: Tomy Pags #14
Photos by: Tomy Pags #15
Photos by: Tomy Pags #16
Photos by: Tomy Pags #17
Photos by: Tomy Pags #18
Photos by: Tomy Pags #19
Photos by: Tomy Pags #20
Photos by: Tomy Pags #21
Photos by: Tomy Pags #22
Photos by: Tomy Pags #23
Photos by: Tomy Pags #24
Photos by: Tomy Pags #25
Photos by: Tomy Pags #26
Photos by: Tomy Pags #27
Photos by: Tomy Pags #28
Photos by: Tomy Pags #29
Photos by: Tomy Pags #30
Photos by: Tomy Pags #31
Photos by: Tomy Pags #32
Photos by: Tomy Pags #33
Photos by: Tomy Pags #34
Photos by: Tomy Pags #35
Photos by: Tomy Pags #36
Photos by: Tomy Pags #37
Photos by: Tomy Pags #38
Photos by: Tomy Pags #39
Photos by: Tomy Pags #40
Photos by: Tomy Pags #41
Photos by: Tomy Pags #42
Photos by: Tomy Pags #43
Photos by: Tomy Pags #44
Photos by: Tomy Pags #45
Photos by: Tomy Pags #46
Photos by: Tomy Pags #47
Photos by: Tomy Pags #48
Photos by: Tomy Pags #49
Photos by: Tomy Pags #50
Photos by: Tomy Pags #51
Photos by: Tomy Pags #52
Photos by: Tomy Pags #53
Photos by: Tomy Pags #54
Photos by: Tomy Pags #55
Photos by: Tomy Pags #56
Photos by: Tomy Pags #57
Photos by: Tomy Pags #58
Photos by: Tomy Pags #59
Photos by: Tomy Pags #60
Photos by: Tomy Pags #61
Photos by: Tomy Pags #62
Photos by: Tomy Pags #63
Photos by: Tomy Pags #64
Photos by: Tomy Pags #65
Photos by: Tomy Pags #66
Photos by: Tomy Pags #67
Photos by: Tomy Pags #68
Photos by: Tomy Pags #69
Photos by: Tomy Pags #70
Photos by: Tomy Pags #71
Photos by: Tomy Pags #72
1 - 72
<
>

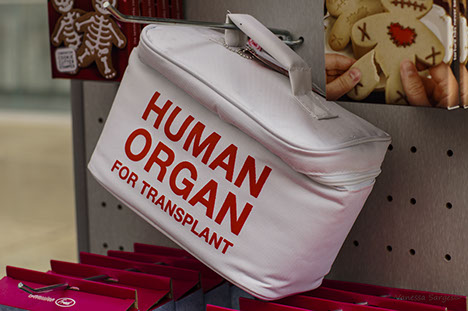


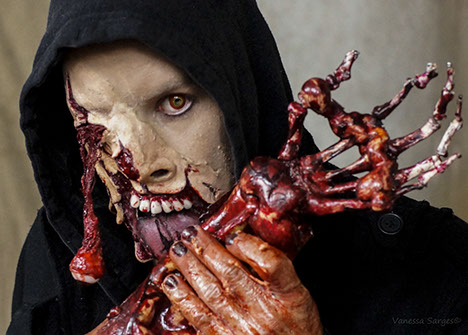


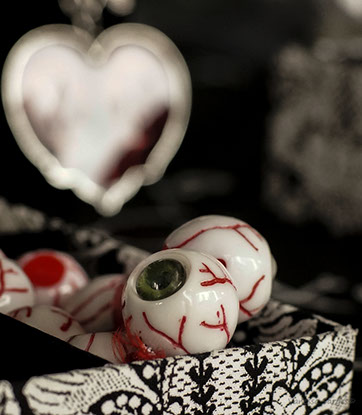


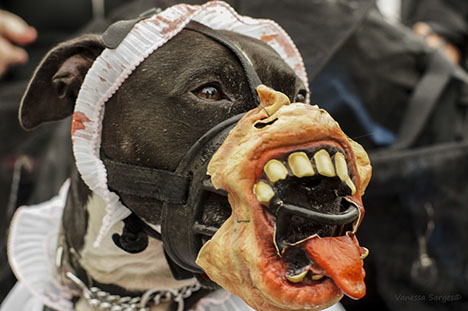


Photos by: Vanessa Sarges #1
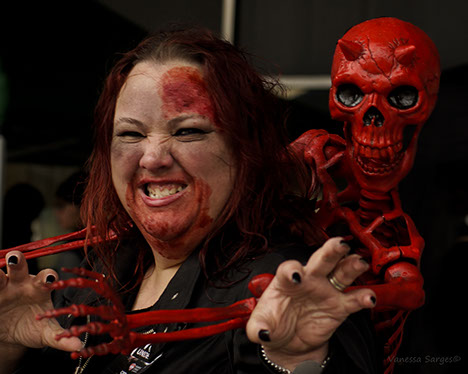
Photos by: Vanessa Sarges #2
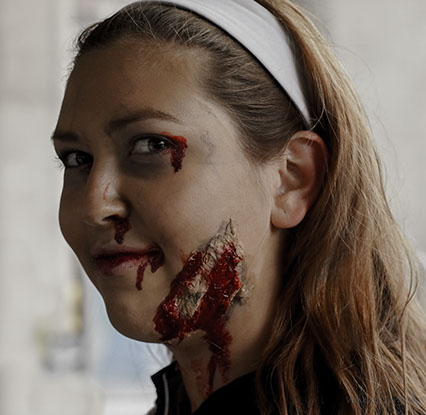
Photos by: Vanessa Sarges #3
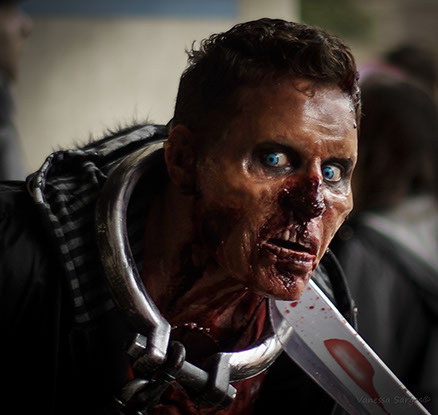
Photos by: Vanessa Sarges #4
Photos by: Vanessa Sarges #5
Photos by: Vanessa Sarges #6
Photos by: Vanessa Sarges #7
Photos by: Vanessa Sarges #8
Photos by: Vanessa Sarges #9
Photos by: Vanessa Sarges #10
Photos by: Vanessa Sarges #11
Photos by: Vanessa Sarges #12
Photos by: Vanessa Sarges #13
Photos by: Vanessa Sarges #14
Photos by: Vanessa Sarges #15
Photos by: Vanessa Sarges #16
Photos by: Vanessa Sarges #17
Photos by: Vanessa Sarges #18
Photos by: Vanessa Sarges #19
Photos by: Vanessa Sarges #20
Photos by: Vanessa Sarges #21
Photos by: Vanessa Sarges #22
Photos by: Vanessa Sarges #23
Photos by: Vanessa Sarges #24
Photos by: Vanessa Sarges #25
1 - 25
<
>
TORONTO ZOMBIE WALK © 2017


